Old Hollywood-Inspired Hair and Makeup Look with Vintage Secrets: Hollywood Beauty
Disclaimer: This book was provided free of charge by in exchange for a blog post. All opinions are my own, and you can read my full disclosure policy here.
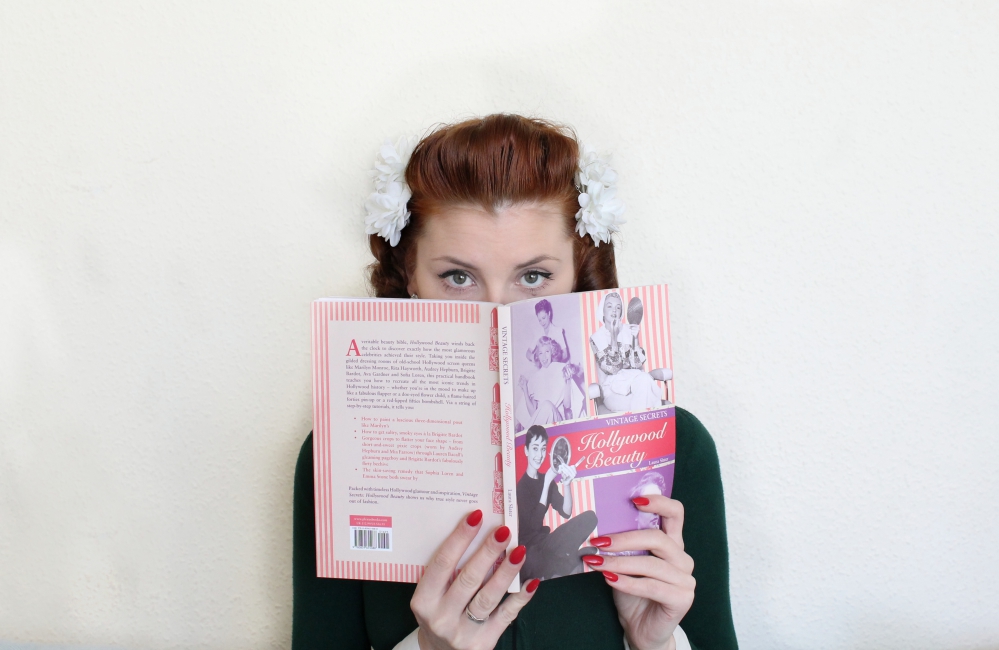
Hi everyone! Today I'm going to be putting together an Old Hollywood-inspired hair and makeup look which I've created using instructions from Vintage Secrets: Hollywood Beauty, a coffee table/vintage beauty source book by Laura Slater. I followed the steps to create a 1940s pompadour hairstyle and a 1940s daytime makeup look à la Rita Hayworth. I adapted the instructions according to the products I personally own, and I'll point out where my own method differed from the original instructions. I have put the excerpts from the instructions in italics so you can see which is which. Of course to see the original instructions in full, make sure you get yourself a copy of the book!
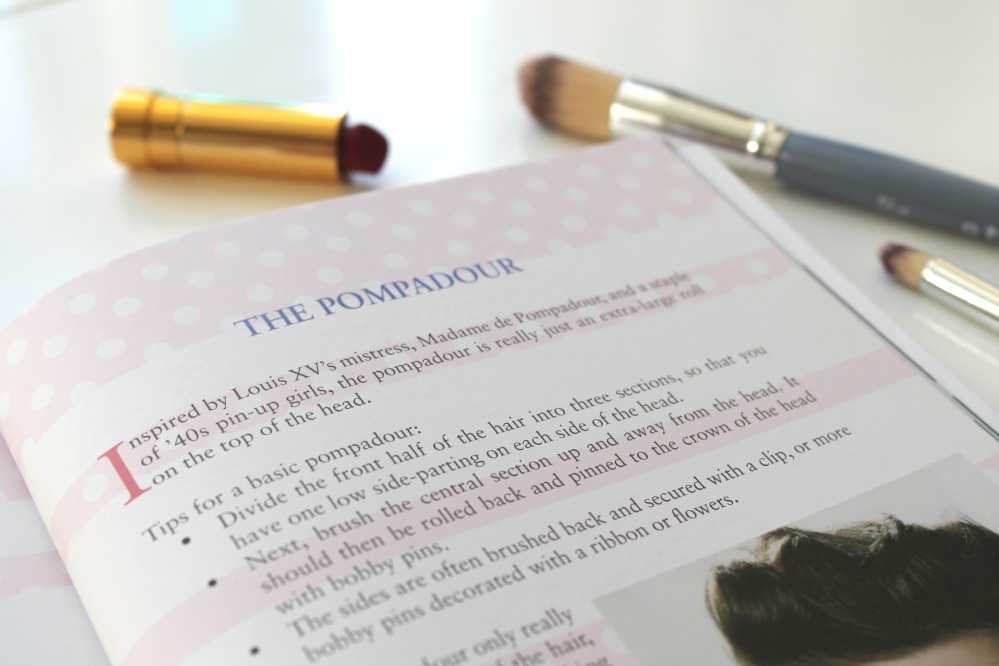
I chose a pinup girl pompadour for my hairstyle as it's quite different to how I would usually style my hair, and I love how Rita Hayworth's hair (just seen in the picture above) looked effortless and a bit less 'done', as it keeps the style fun as well as achievable and a less formal for a daytime look.
Here's how to create this style:
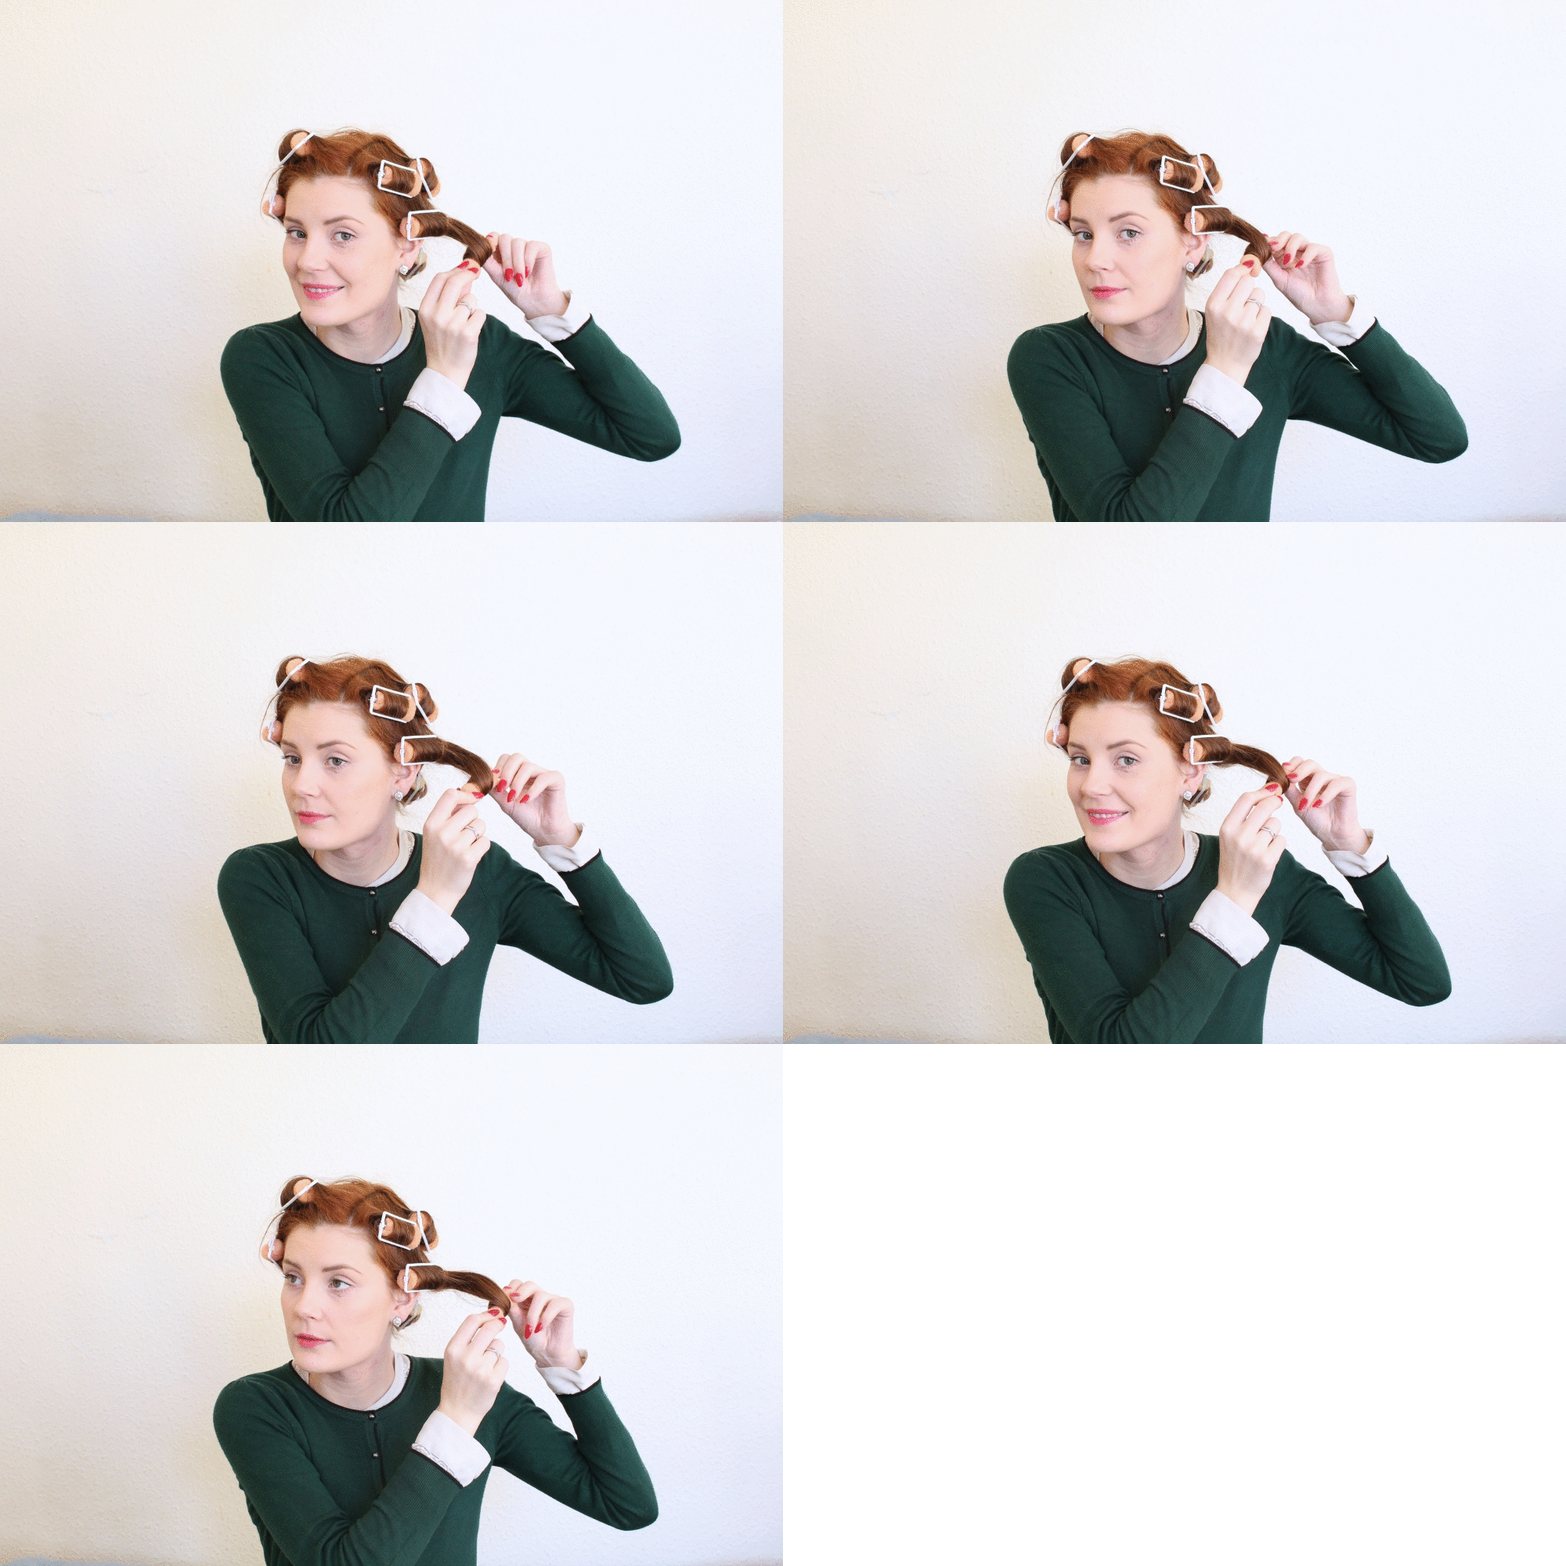
I'm starting with hair that's been set in foam rollers overnight to create some nice curls and volume to my hair, so the first step for me is to remove all my rollers.
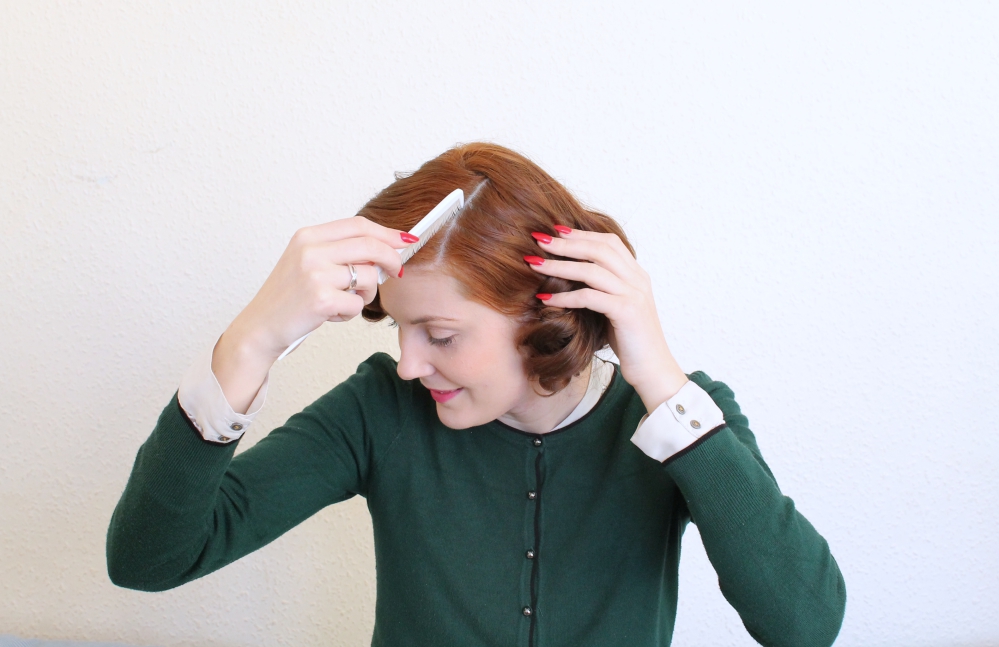
The first step to creating a basic pompadour according to the instructions is to divide the front half of the hair into three sections, so that you have one low side-parting on each side of the head. I spent some time playing around with the placement of the partings to make sure that they were even on each side, and that I was happy with the amount of hair that I was left with in the centre section.
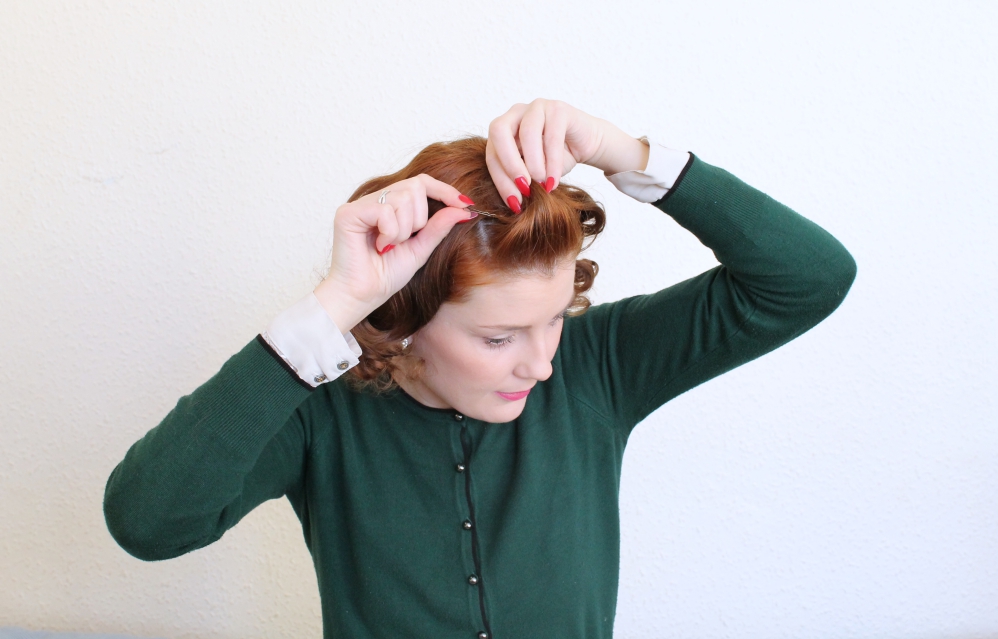
Next, brush the central section up and away from the head. It should then be rolled back and pinned to the crown of the head with bobby pins. Again with this step I spent some time rolling and re-rolling, until I was happy with the placement of the roll and the shape of the pompadour. Taking inspiration from the photo of Rita Hayworth, I fiddled with it until I was happy that it was neat enough but I wasn't too bothered about getting it absolutely perfect. Of course if you're more talented than me or particularly want it to be very neat (maybe for a formal event? I can see this looking very sweet for a summer wedding), then you spend more time on making the roll.
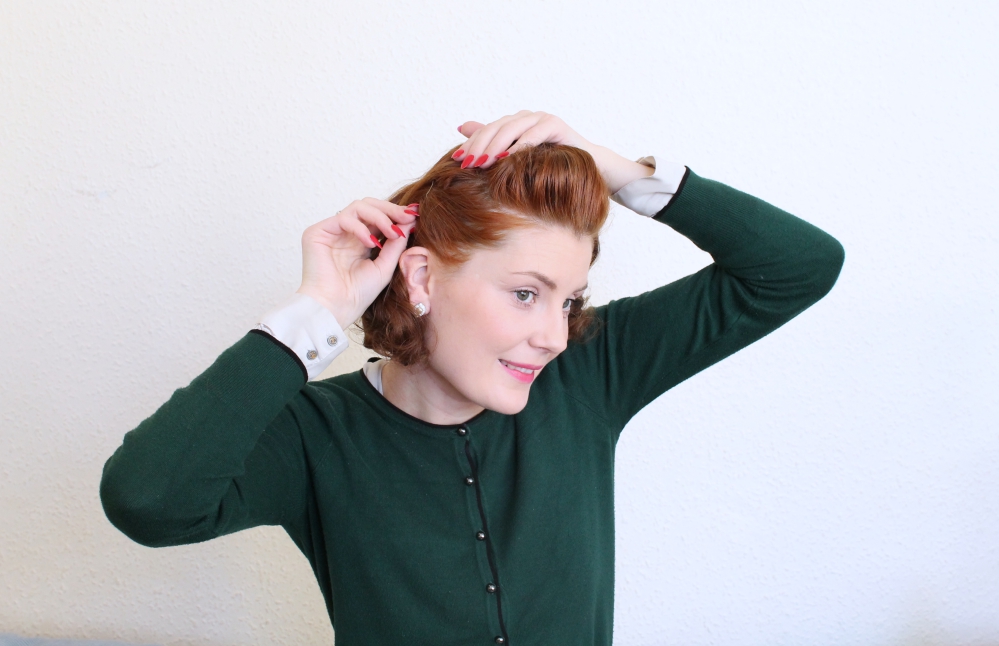
Next, the instructions advise that the sides are often brushed back and secured with a clip, or more bobby pins decorated with a ribbon or flowers. I only have plain bobby pins, but I secured the sides in place and will add some flowers separately at the end.
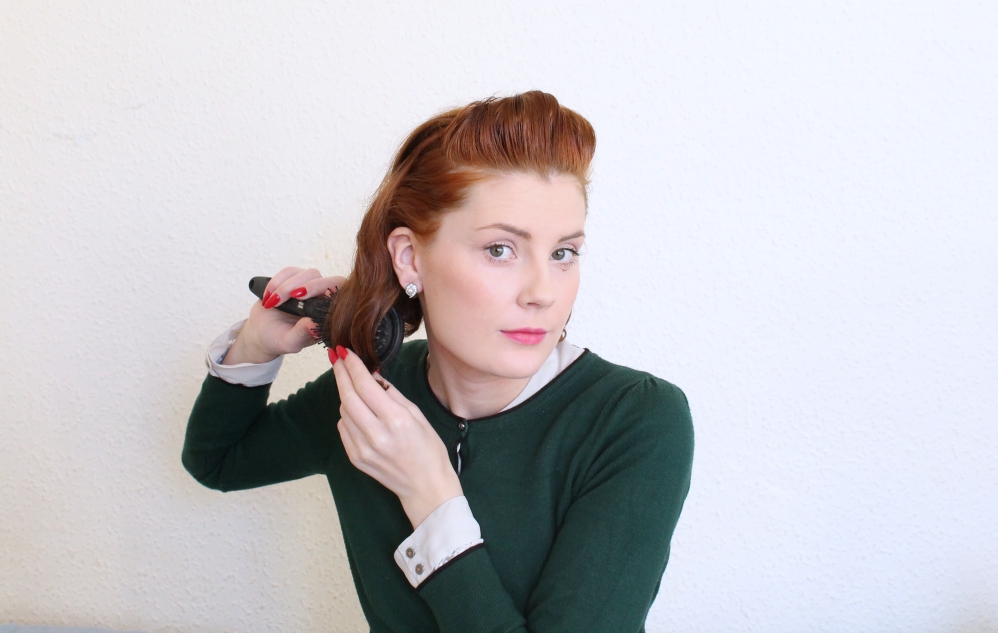
As the pompadour only really refers to the front of the hair, you can do almost anything you like with the back. Here I am just brushing and arranging my curls into a pleasing shape before pinning some flowers into the sides of my hair.
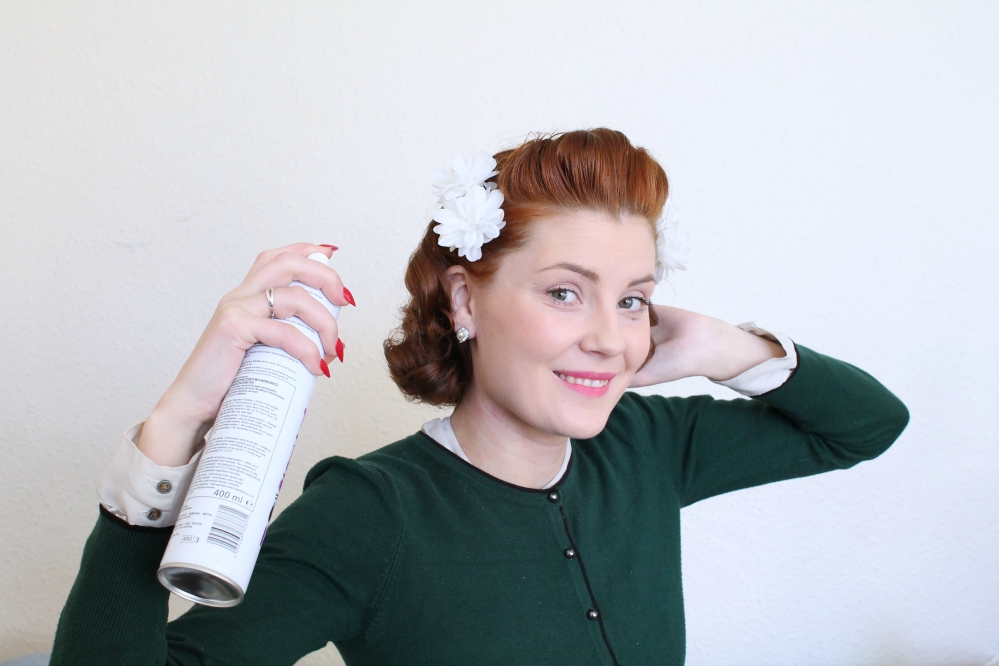
Lastly I just gave my hair a generous spritz with the hairspray to finish off.
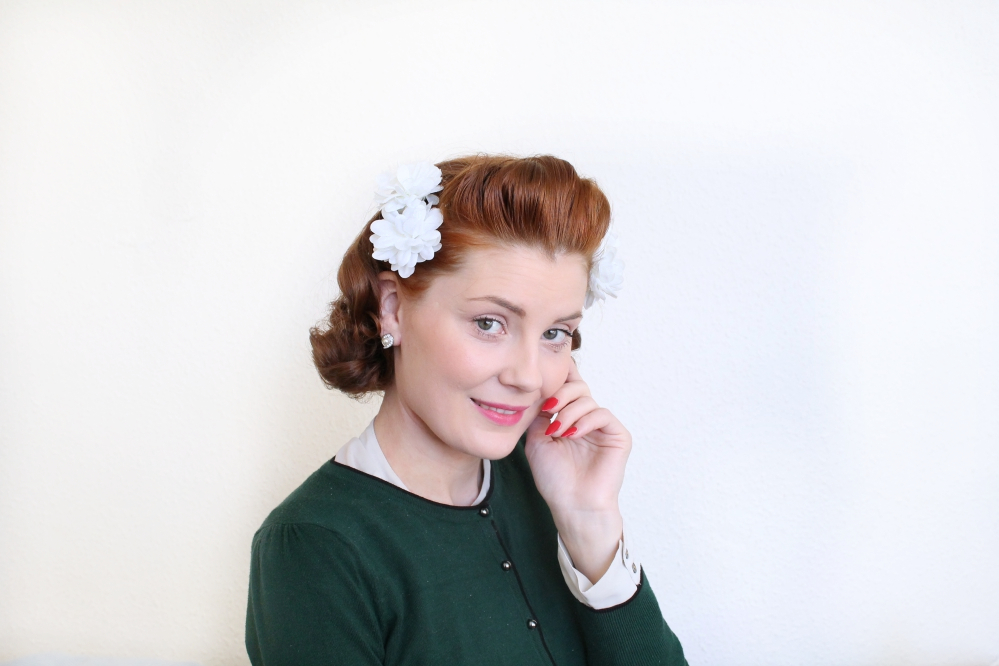
Here's the finished product for the hair. I'm really pleased with the result and it was very simple to follow the tips for achieving the 'do.
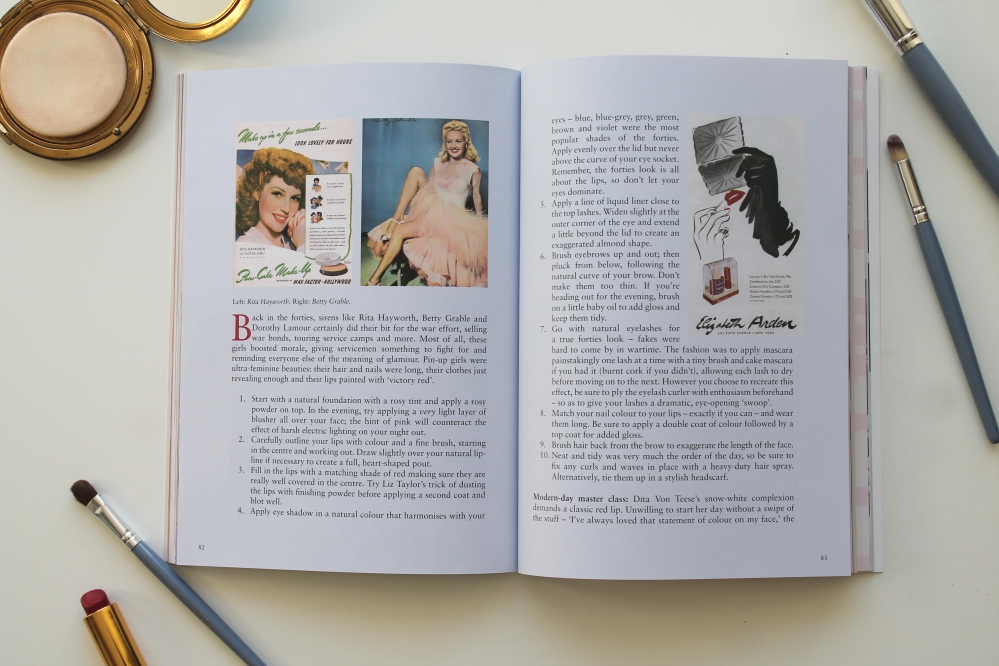
As I'd chosen a 1940s style for my hair, I felt a 1940s makeup look would complement it the best. The instructions show how the look can be taken from day to night with a few small changes, but here I am concentrating on the daytime version. As I don't own all the products mentioned, I made some substitutions - but if you're completely invested in creating an authentic look it might be worth getting your hands on a cake mascara, for example, instead of using a modern one.
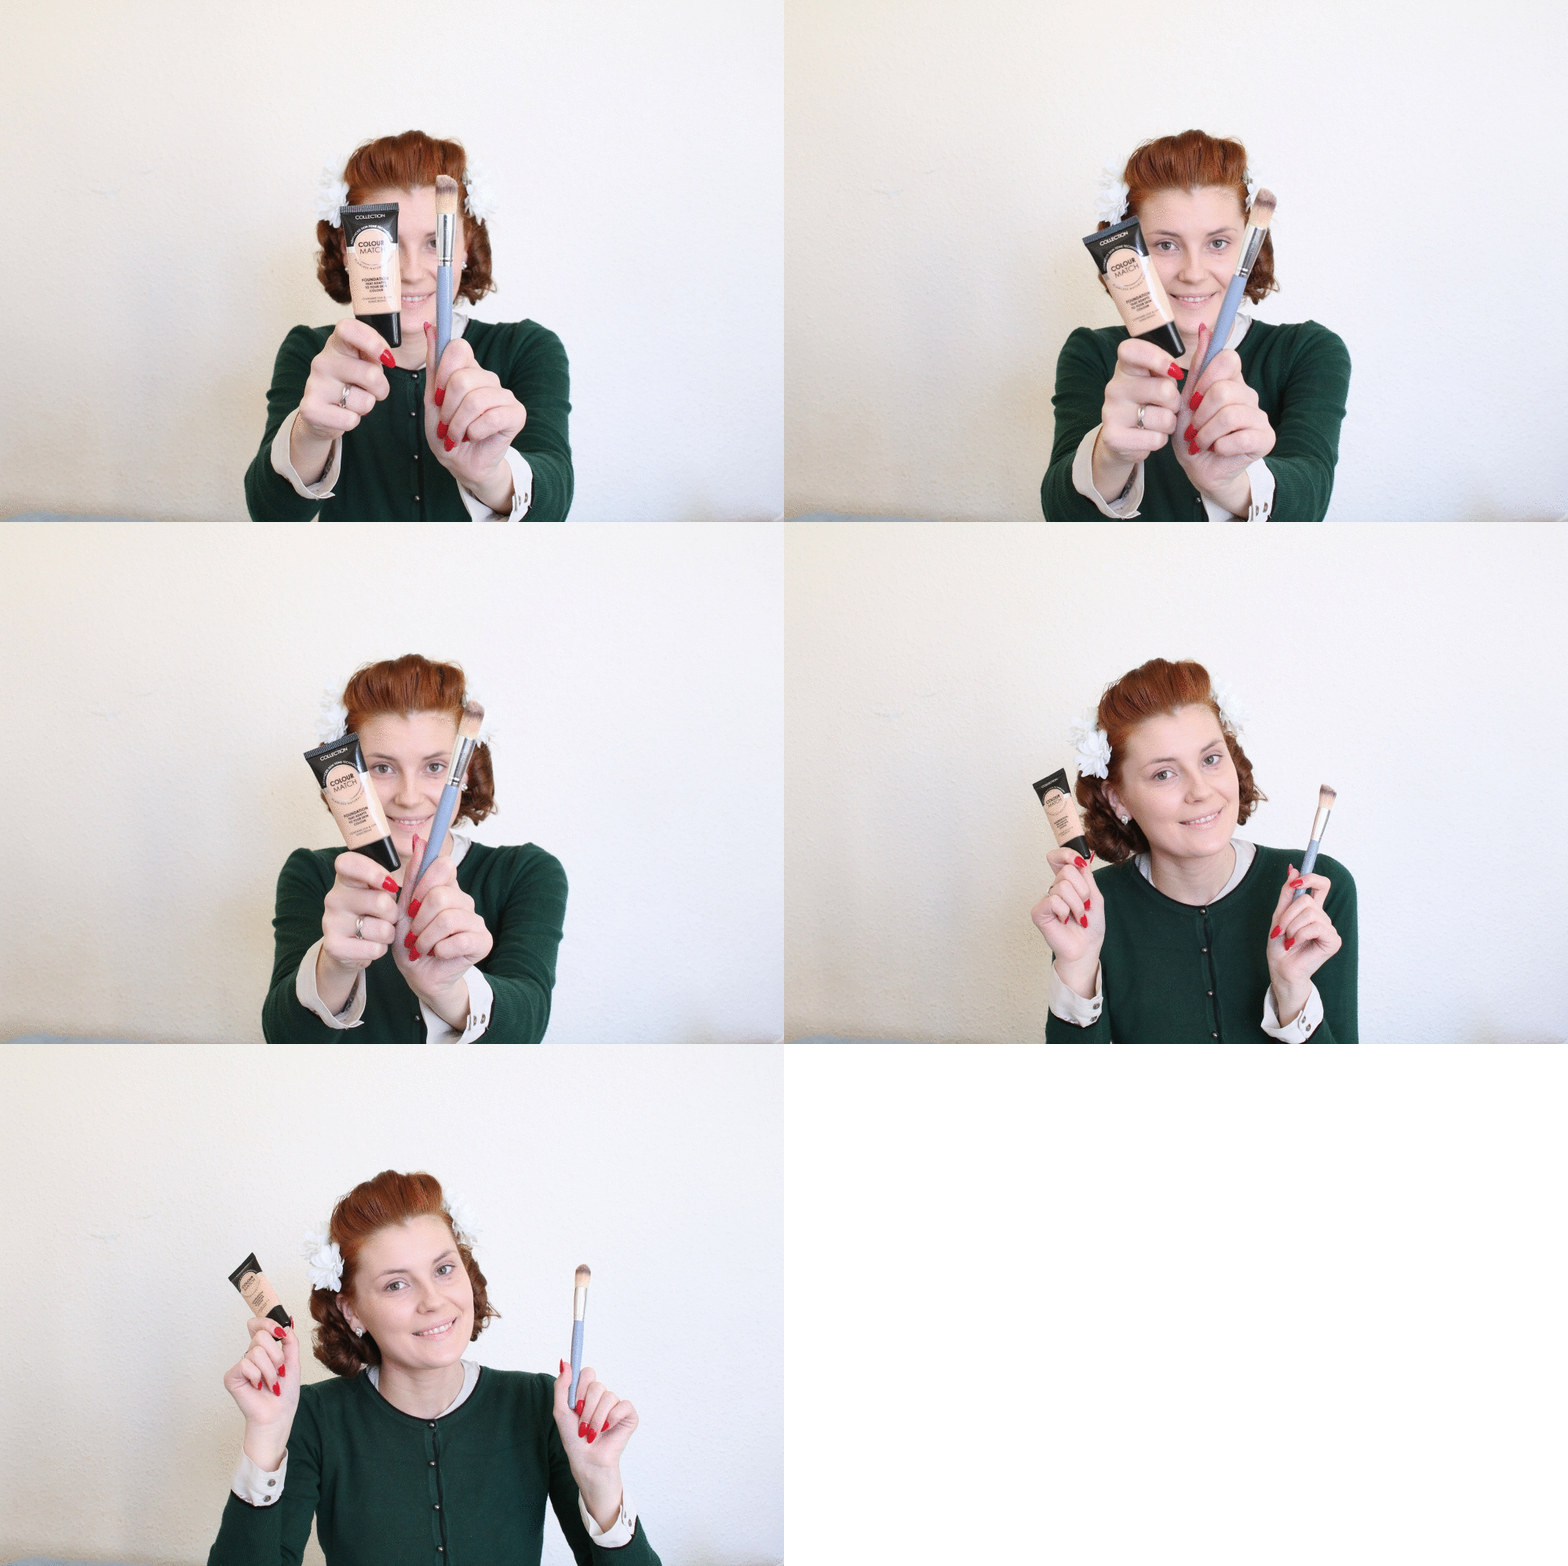
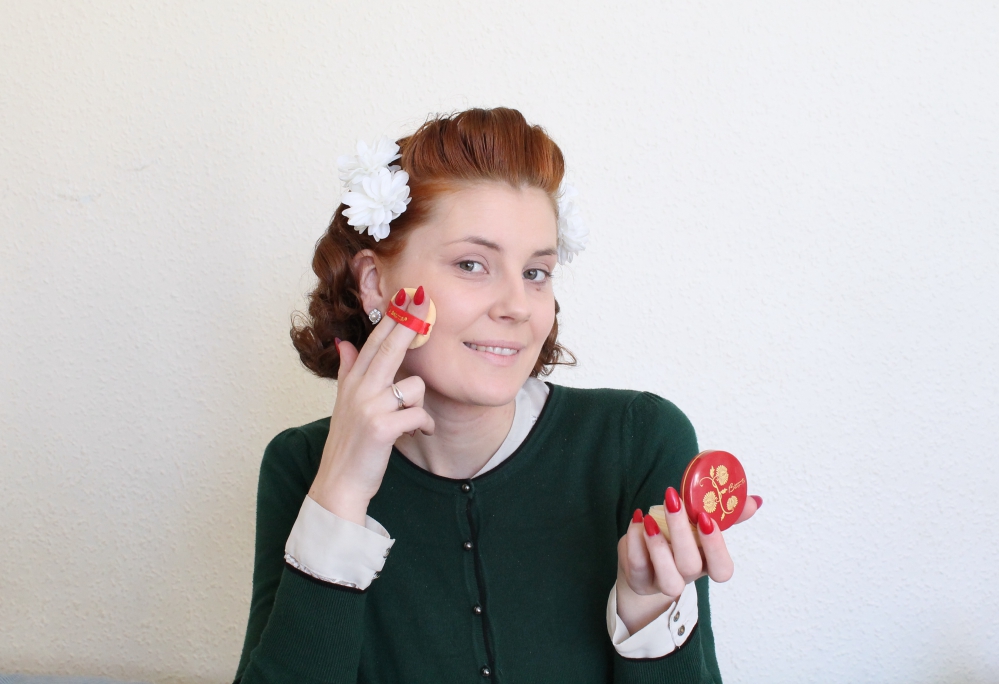
1. Start with a natural foundation with a rosy tint and apply a rosy powder on top. Here I am using my Collection Colour Match foundation in the shade Porcelain which is actually a bit pinker than my natural skin tone anyway. Because of this I'm avoiding using a rosy powder (which I don't own anyway) and have substituted my Besame Cosmetics Brightening Vanilla Powder to set my foundation in place.
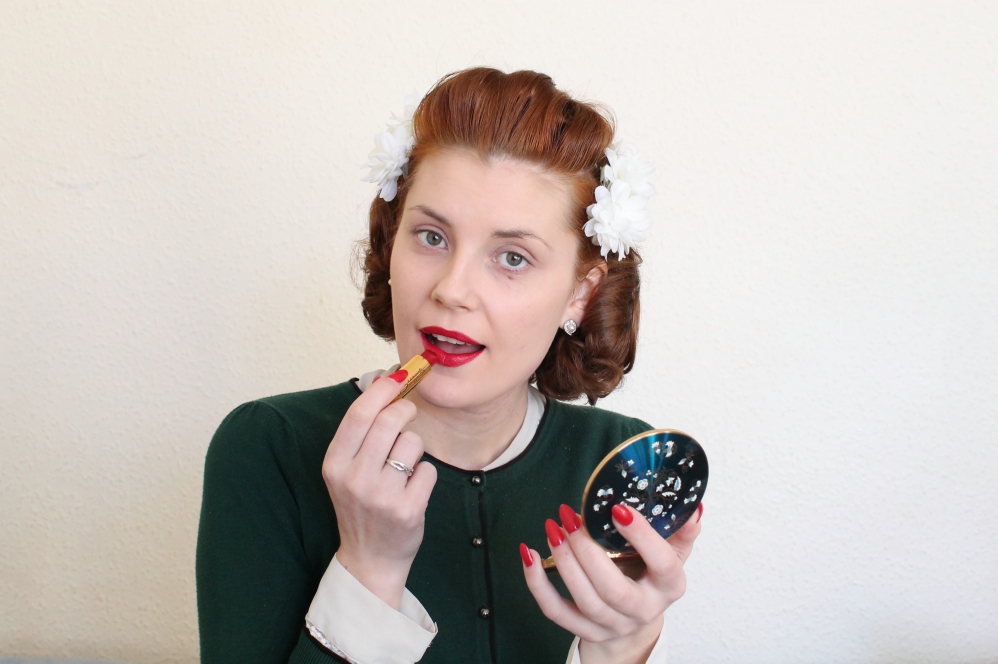
2. Carefully outline your lips with colour and a fine brush, starting in the centre and working out. Draw slightly over your natural lip-line if necessary to create a full, heart shaped pout. Instead of outlining using a brush, I just used my usual pencil lip liner. I always slightly overdraw my lips anyway as my upper lip in particular is a bit on the small side and I also like to create a nice 1940s/50s style shape to my lips.
3. Fill in the lips with a matching shade of red, making sure they are really well covered in the centre. I am using my Besame Cosmetics American Beauty lipstick, which is probably my favourite of all the red lipsticks I own.
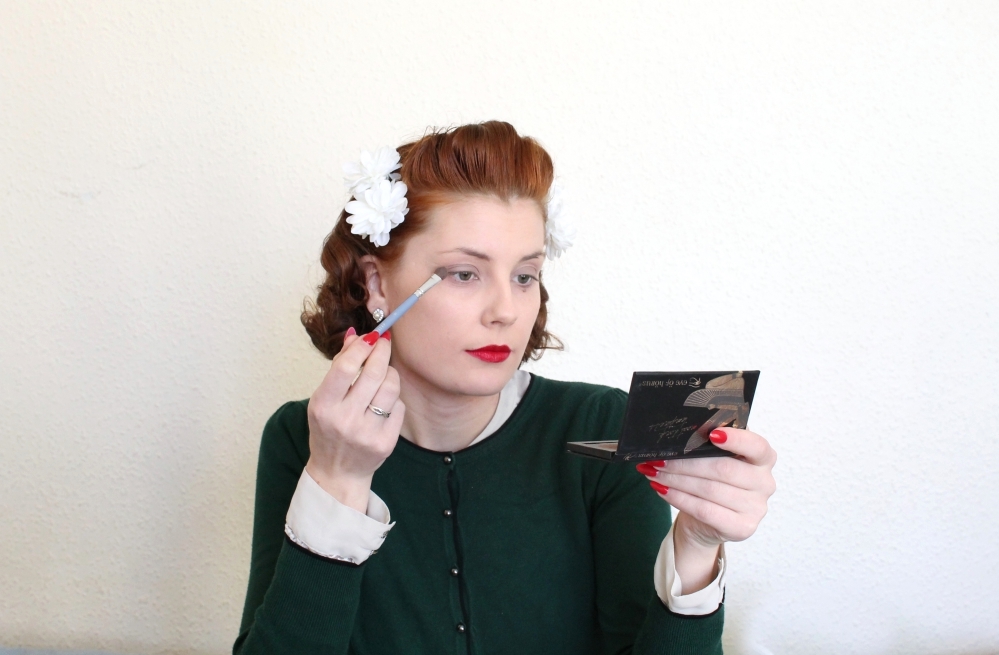
4. Apply eyeshadow in a natural colour that harmonises with your eyes. I'm using a taupe-y brown from Eye of Horus Cosmetics (the shade is called Ankh Odyssey).
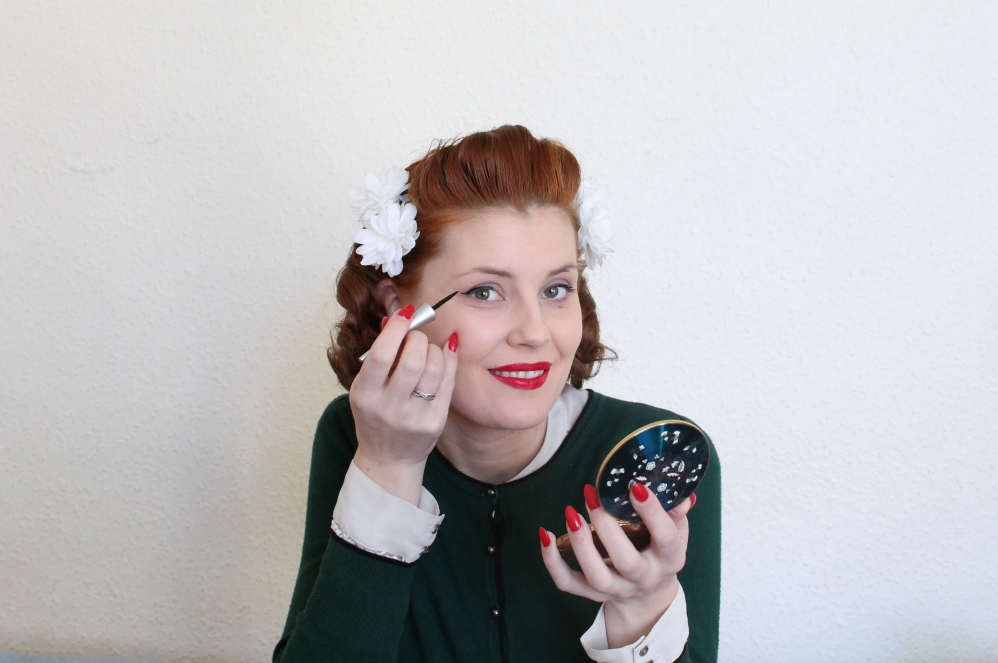
5. Apply a line of liquid liner close to the top lashes. Widen slightly at the outer corner of the eye and extend a little beyond the lid to create an exaggerated almond shape. I used a black liquid liner as that's all I own, but I think a brown liner would have been very flattering for this look. I don't usually take my eyeliner all the way across to the inner corner of my eye as I find lining my eyes to halfway across is more flattering on my eye shape.
6. Brush eyebrows up and out. These particular instructions don't include the use of any kind of eyebrow products (pencil, powder, pomade etc) so I stuck to the script and left mine bare. There are, however, instructions and plenty of information elsewhere in the book about making up your eyebrows, so you could easily combine the instructions if you'd prefer.
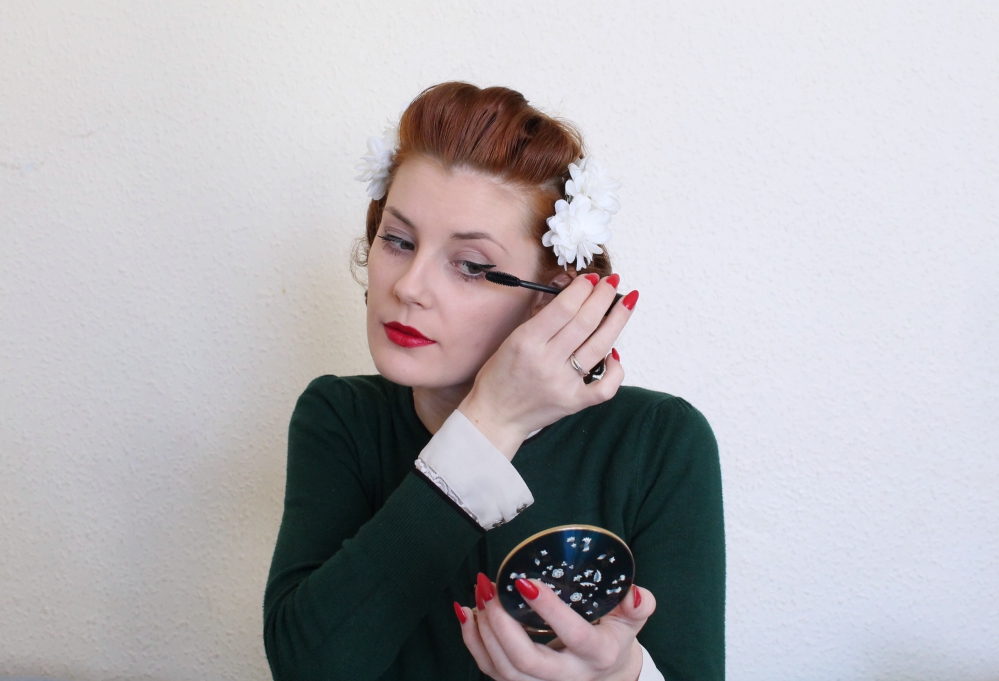
7. Go with natural eyelashes for a true forties look [...] The fashion was to apply mascara painstakingly one lash at a time using a tiny brush and cake mascara if you had it (burnt cork if you didn't). Since I don't own a cake mascara and the last bottle of wine I opened had a plastic cork, I stuck with my usual mascara. Mine is black as that's what I usually prefer, but the book recommends brown mascara for blondes and redheads.
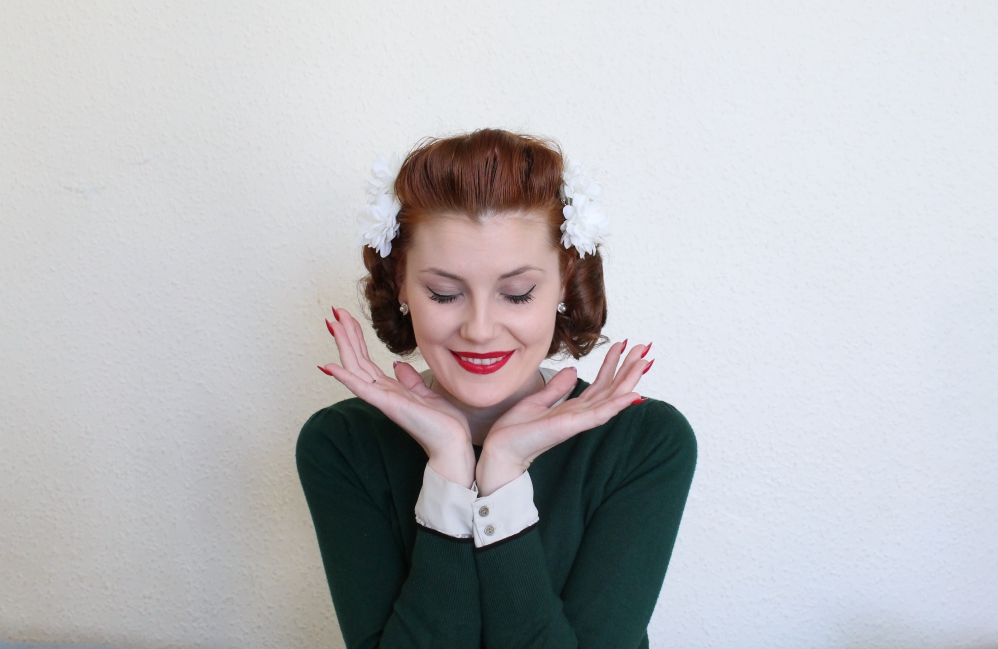
Since my hair and nails are already done, that's it for these instructions. I was really pleased with the final look and I'd definitely wear it to go to re-enactment or on days when I wanted a particularly authentic 1940s look. To make me feel more like "myself" for the rest of the day, I filled in my eyebrows using my usual eyebrow pencil, and added some blusher. I noticed that the instructions don't mention using any colour on the cheeks but I do have a Besame rouge which I was tempted to use, but in the end decided that it would be better to represent the look as instructed from the book.
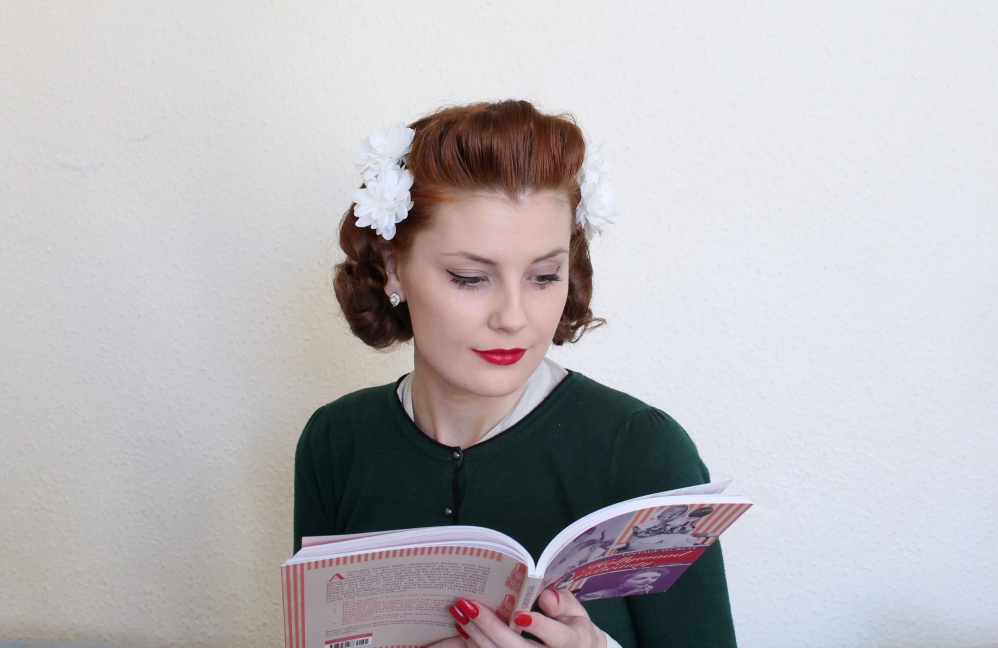
As well as the photos of my hair and makeup, here are a few photos of the inside of the book to give you a little taste of what else you can find inside. I have to admit that although it's possibly not the sort of book that's intended to be read from cover to cover, I did end up reading most of the book in one sitting as it's so interesting! I'd definitely consider it more of a coffee table book than one that's truly instructional as not all of the instructions are as thorough as the ones that I followed in order to create my Old Hollywood-inspired look, but there are plenty of great tips and interesting tidbits of information. Personally I really enjoy reading about the different products and techniques that the starlets used in the past, even if I'm not actually going to incorporate them into my own routine.
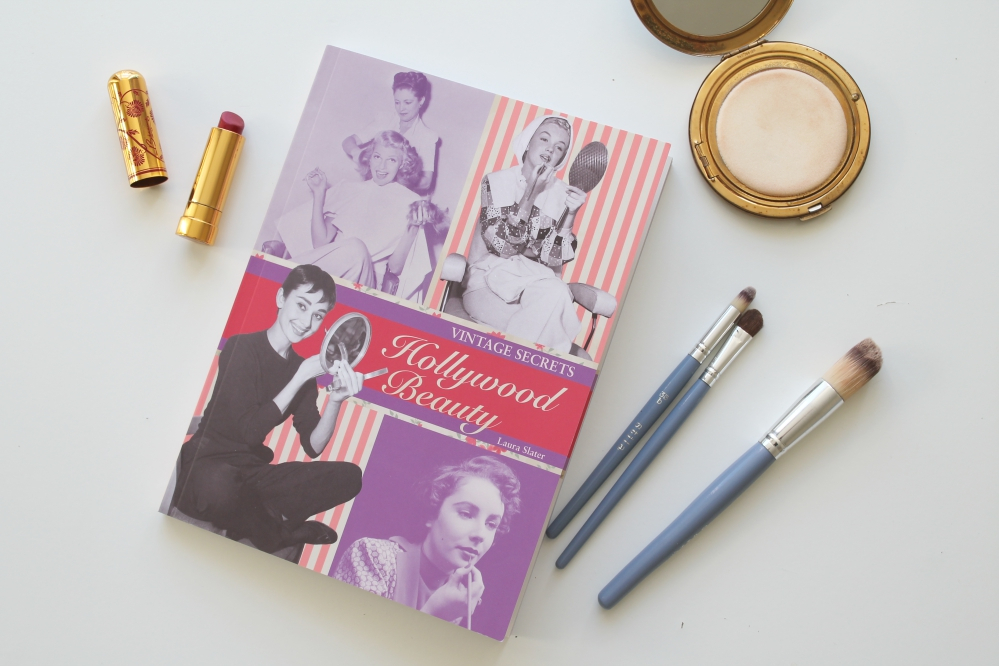
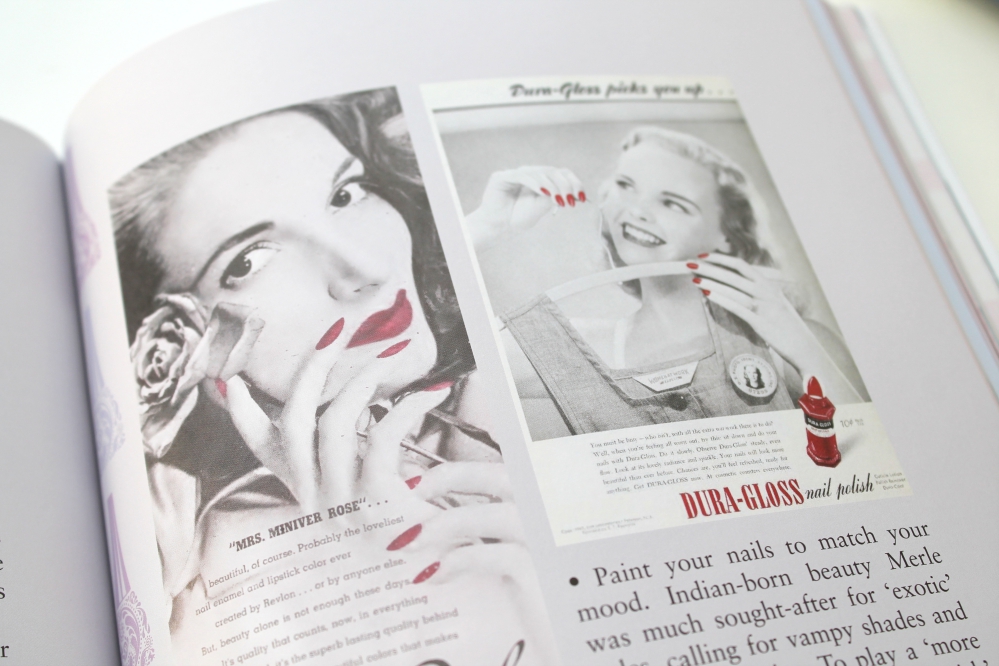
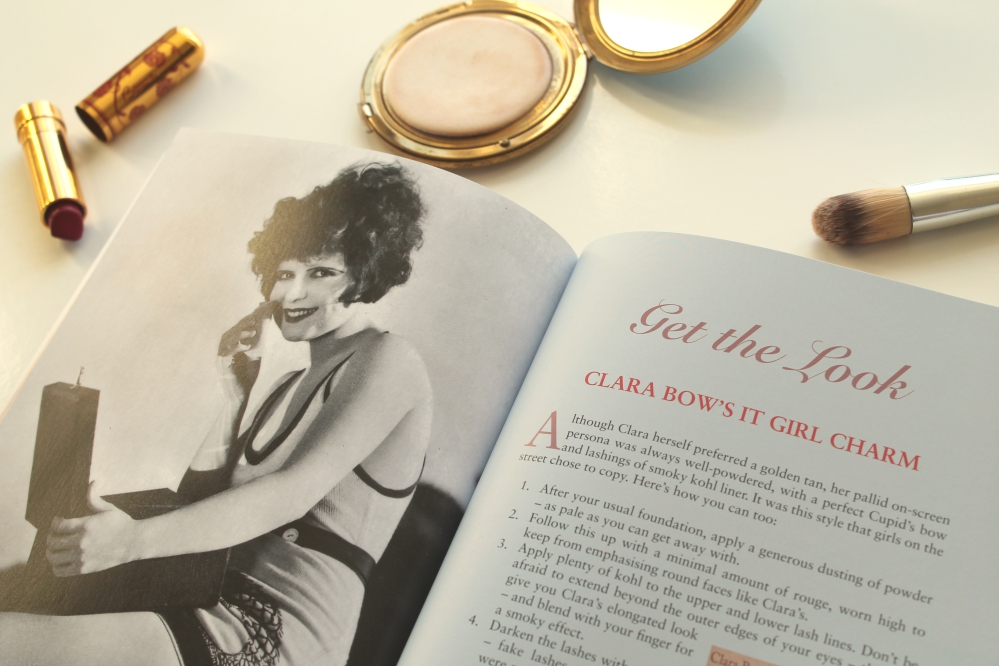
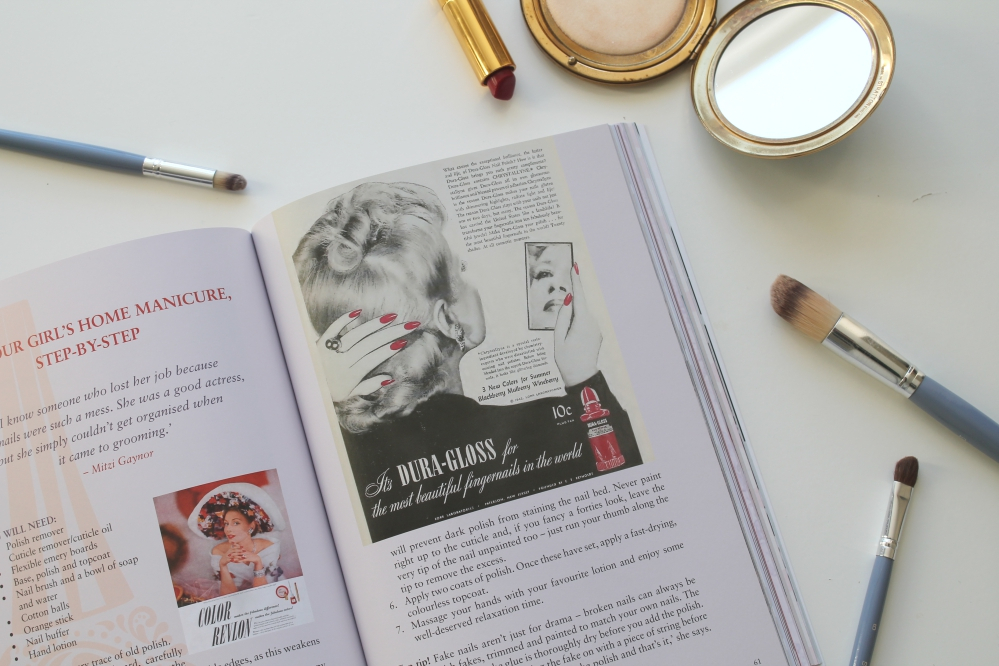
If you're a fan of this type of coffee table/source book, this would be a really nice one to add to your collection. It's quite different to the two others that I own, as one of those focuses mainly on fashion and the other is more of a general overview of fashion, hair, and makeup from the 1920s-80s.
I hope you've really enjoyed seeing my recreation of two of the looks from this wonderful book! If you enjoy my content, please take a moment to like and share, and let me know in the comments if you'd wear this hairstyle and/or makeup look yourself.


5 comments
OH I need this book. I've seen a couple other bloggers just review it, but you went all out! Thanks for demonstrating! I'll see how my hair length is in May, but I'm sure I'll pick this baby up off amazon sometime sooner!
ReplyDeleteCarla, Tiny Angry Crafts
Thank you! I really wanted to do a "product demo" kind of post rather than just a straight-up review as I thought it might be useful to show the kind of thing you can actually use the book for. I'd love to see pictures if you recreate any of the looks!
DeleteI love your review of the book! You did such a thorough job. I've seen a few other bloggers did reviews too, and the book looks like such a great resource. Your final look was very nice.
ReplyDeleteThe Artyologist
Thank you!
DeleteI need to tey this book, it sounds amazing!!
ReplyDeletexo
www.laurajaneatelier.com