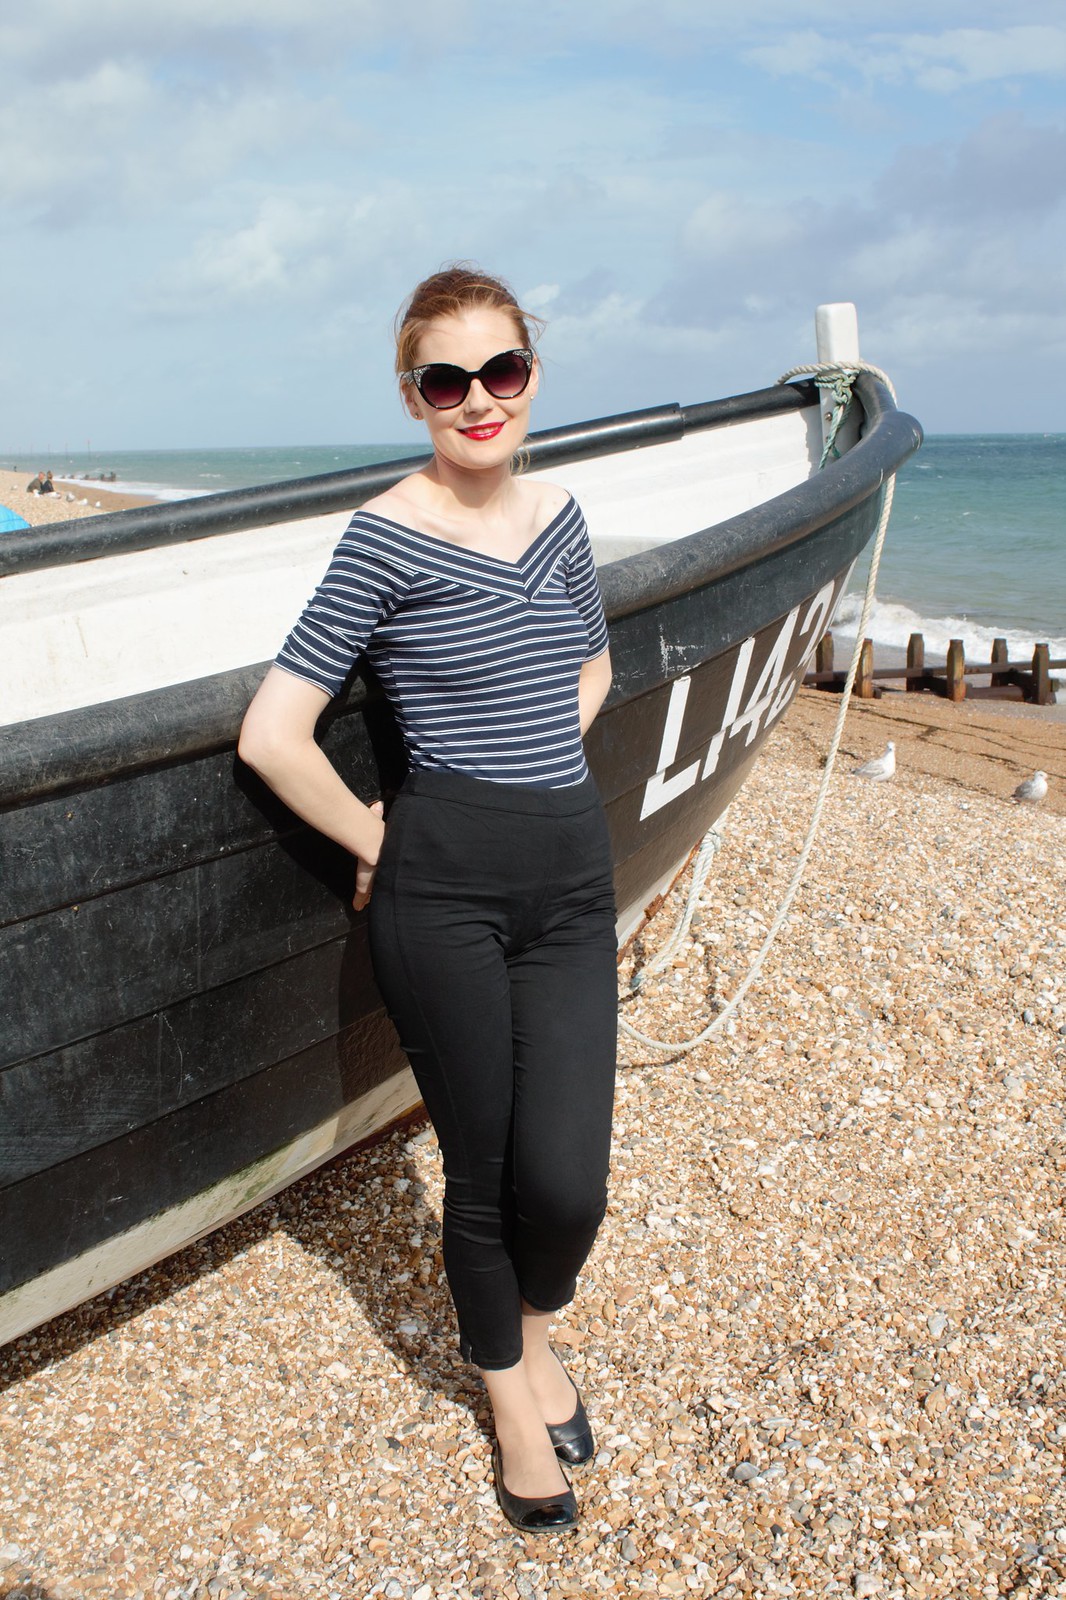
Lovebirds Vintage

    ABOUT & CONTACT // ADVERTISE & SPONSOR // MODELLING // DISCLOSURE // PRESS
Stripes

Stripes

Stripes

Stripes

Stripes

Stripes

Stripes

Stripes


Wearing:

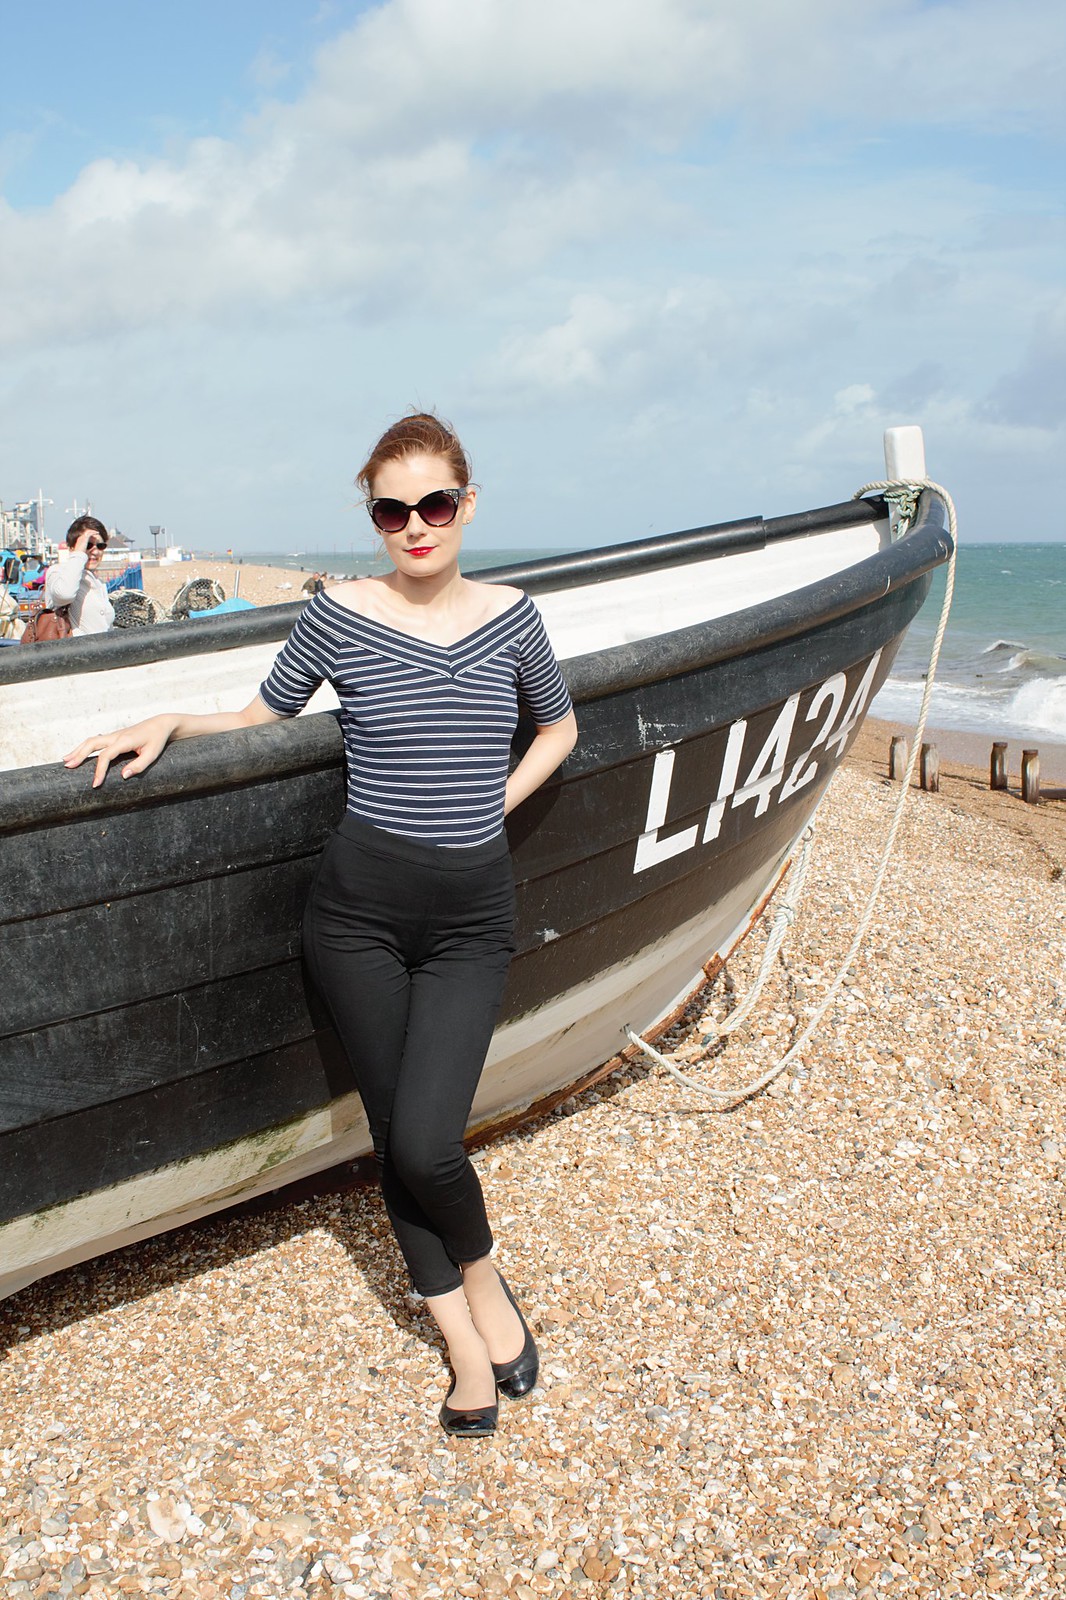
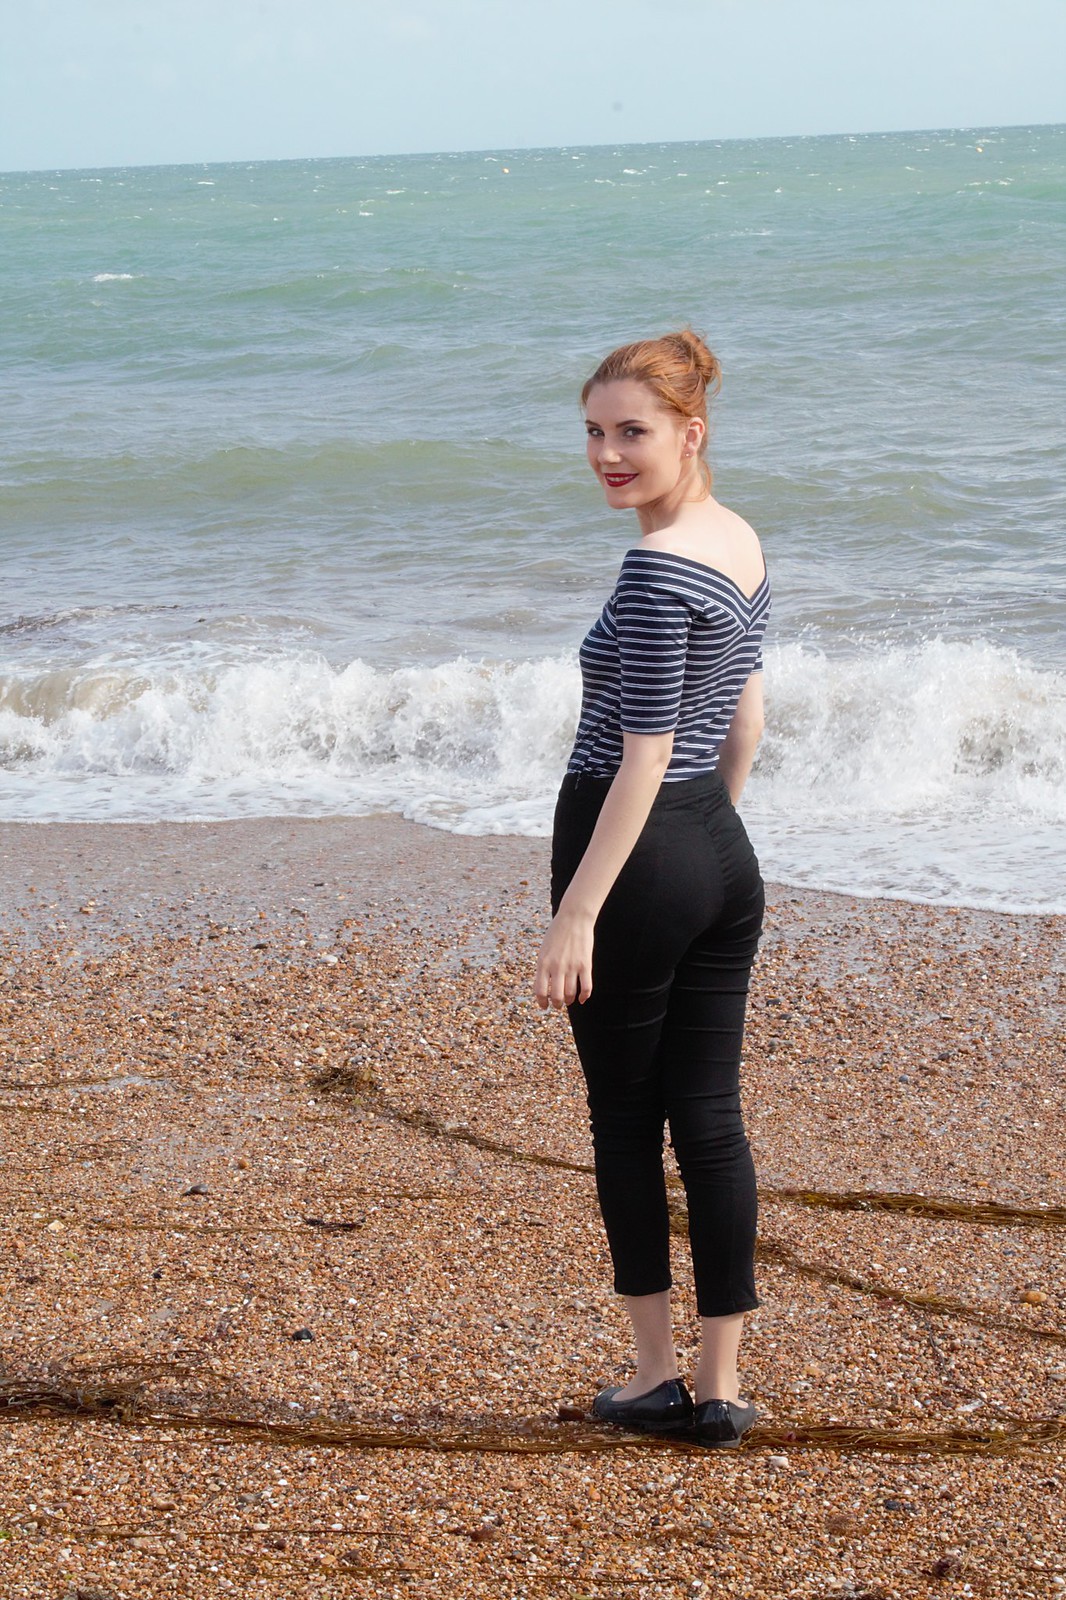
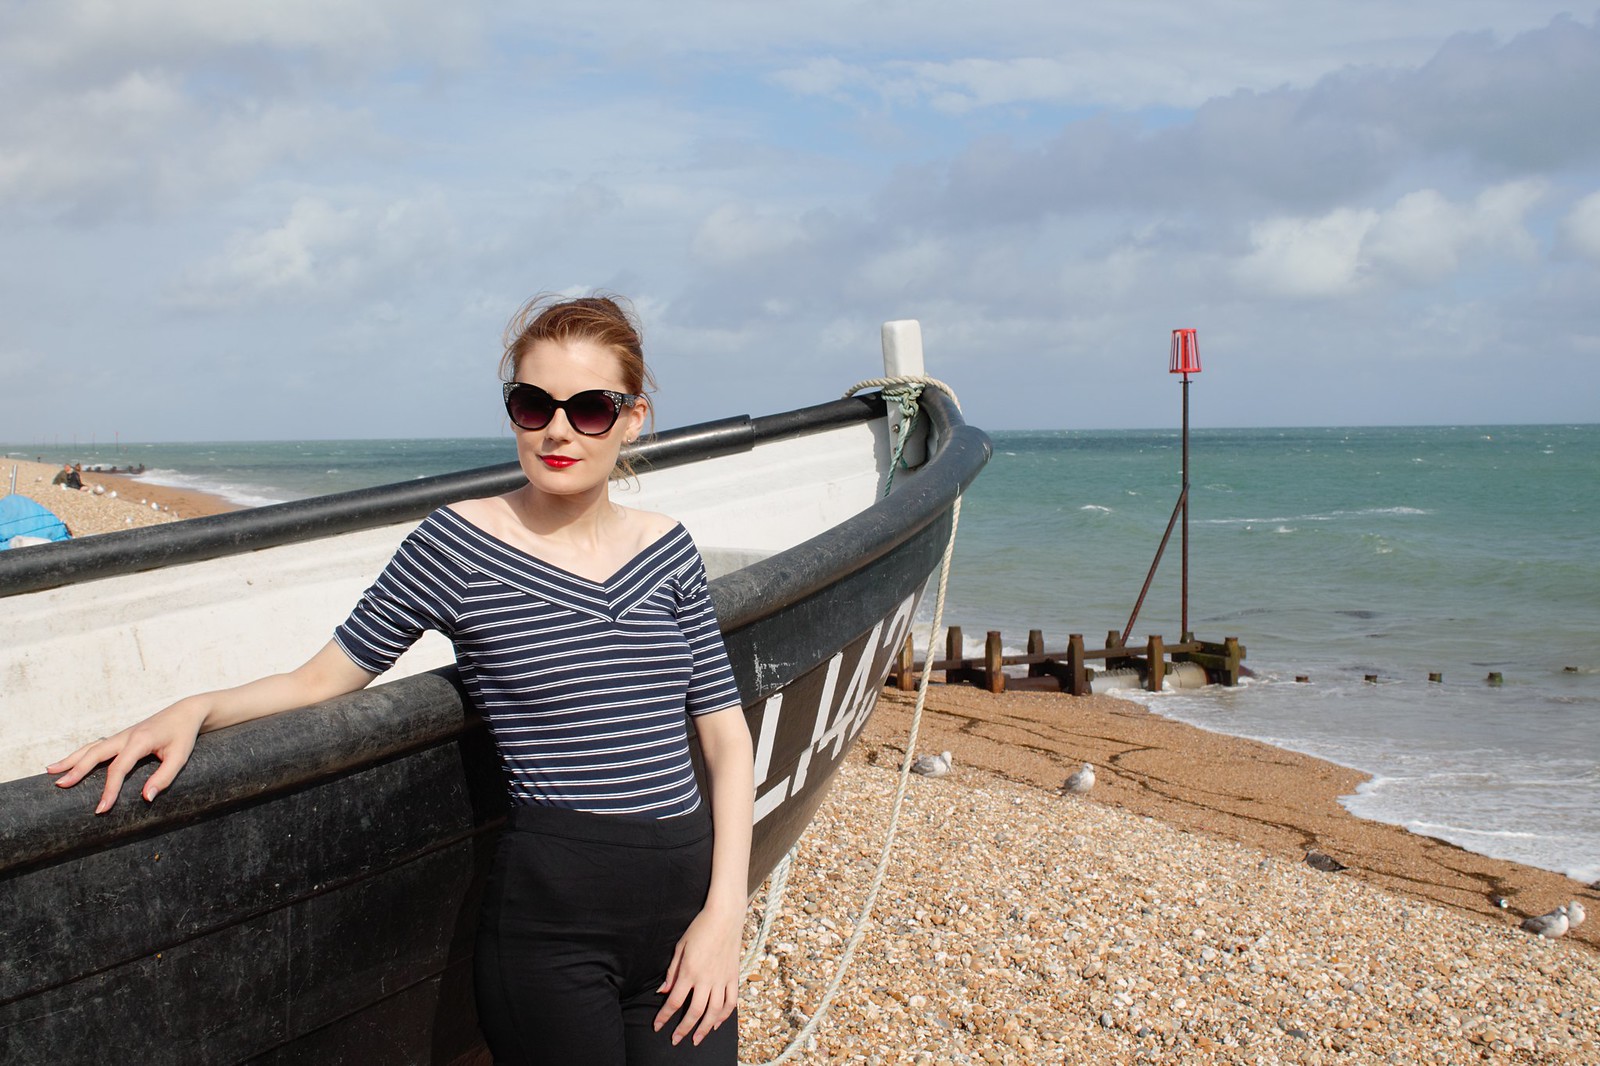
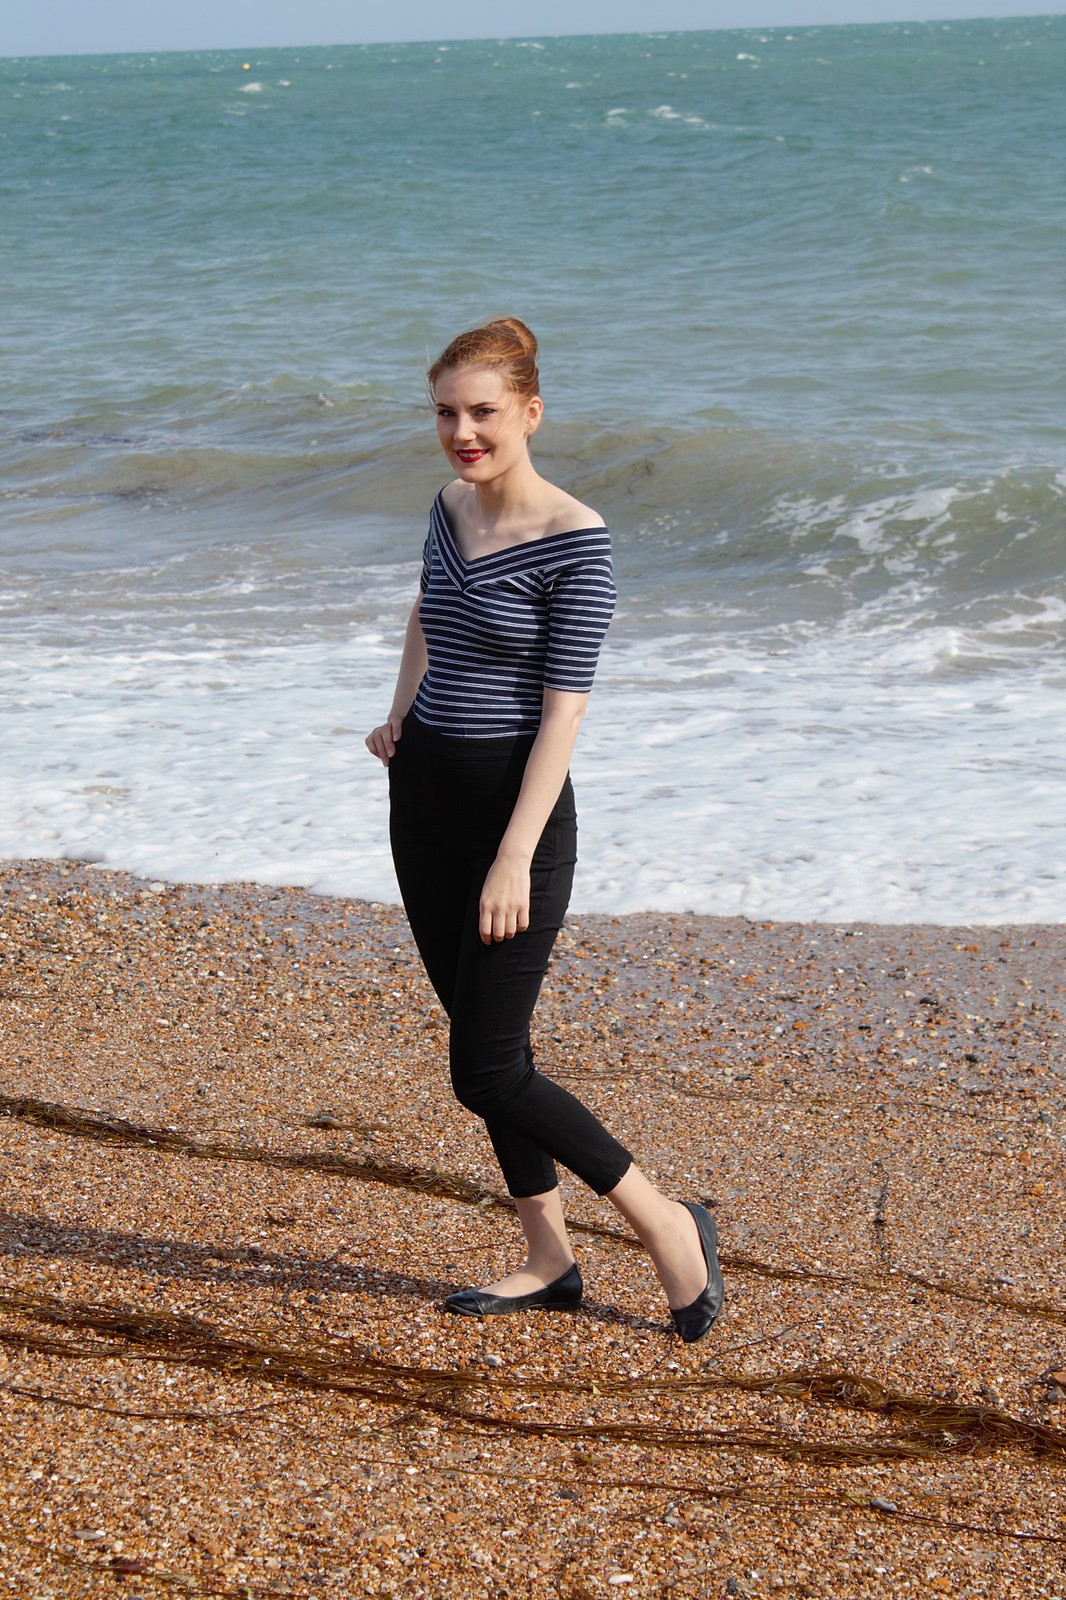
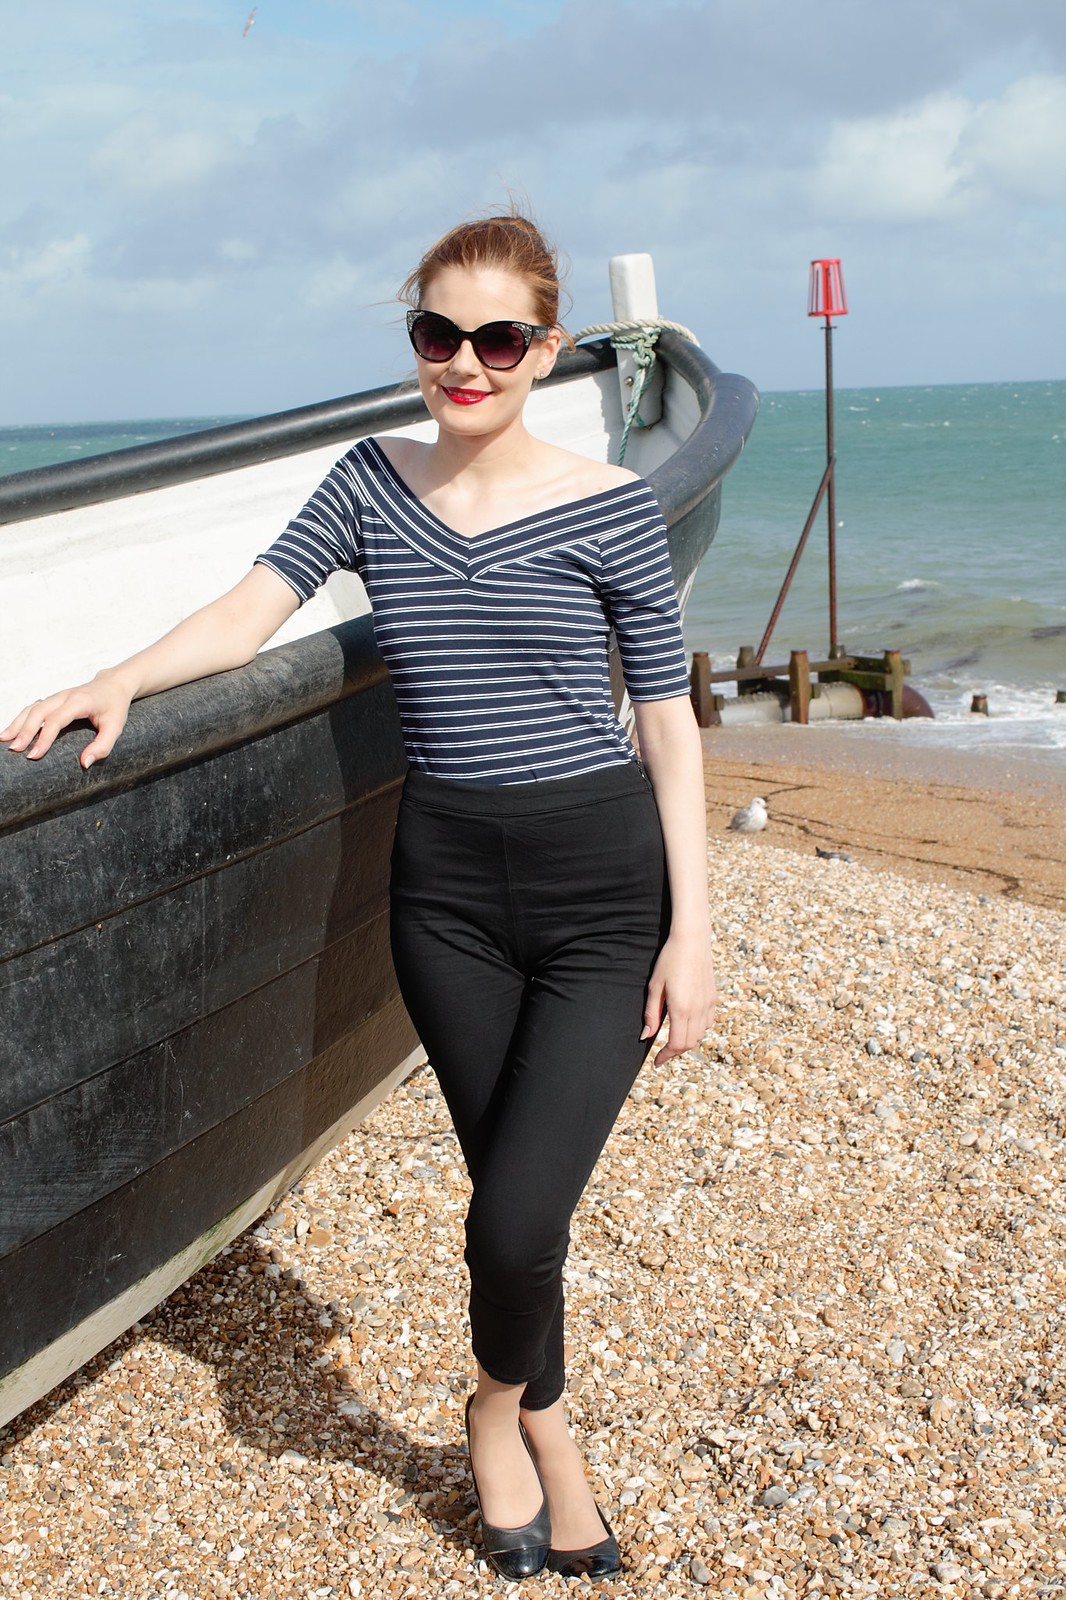
Top and sunglasses - Primark | Trousers - Lindy Bop | Shoes - Clarks


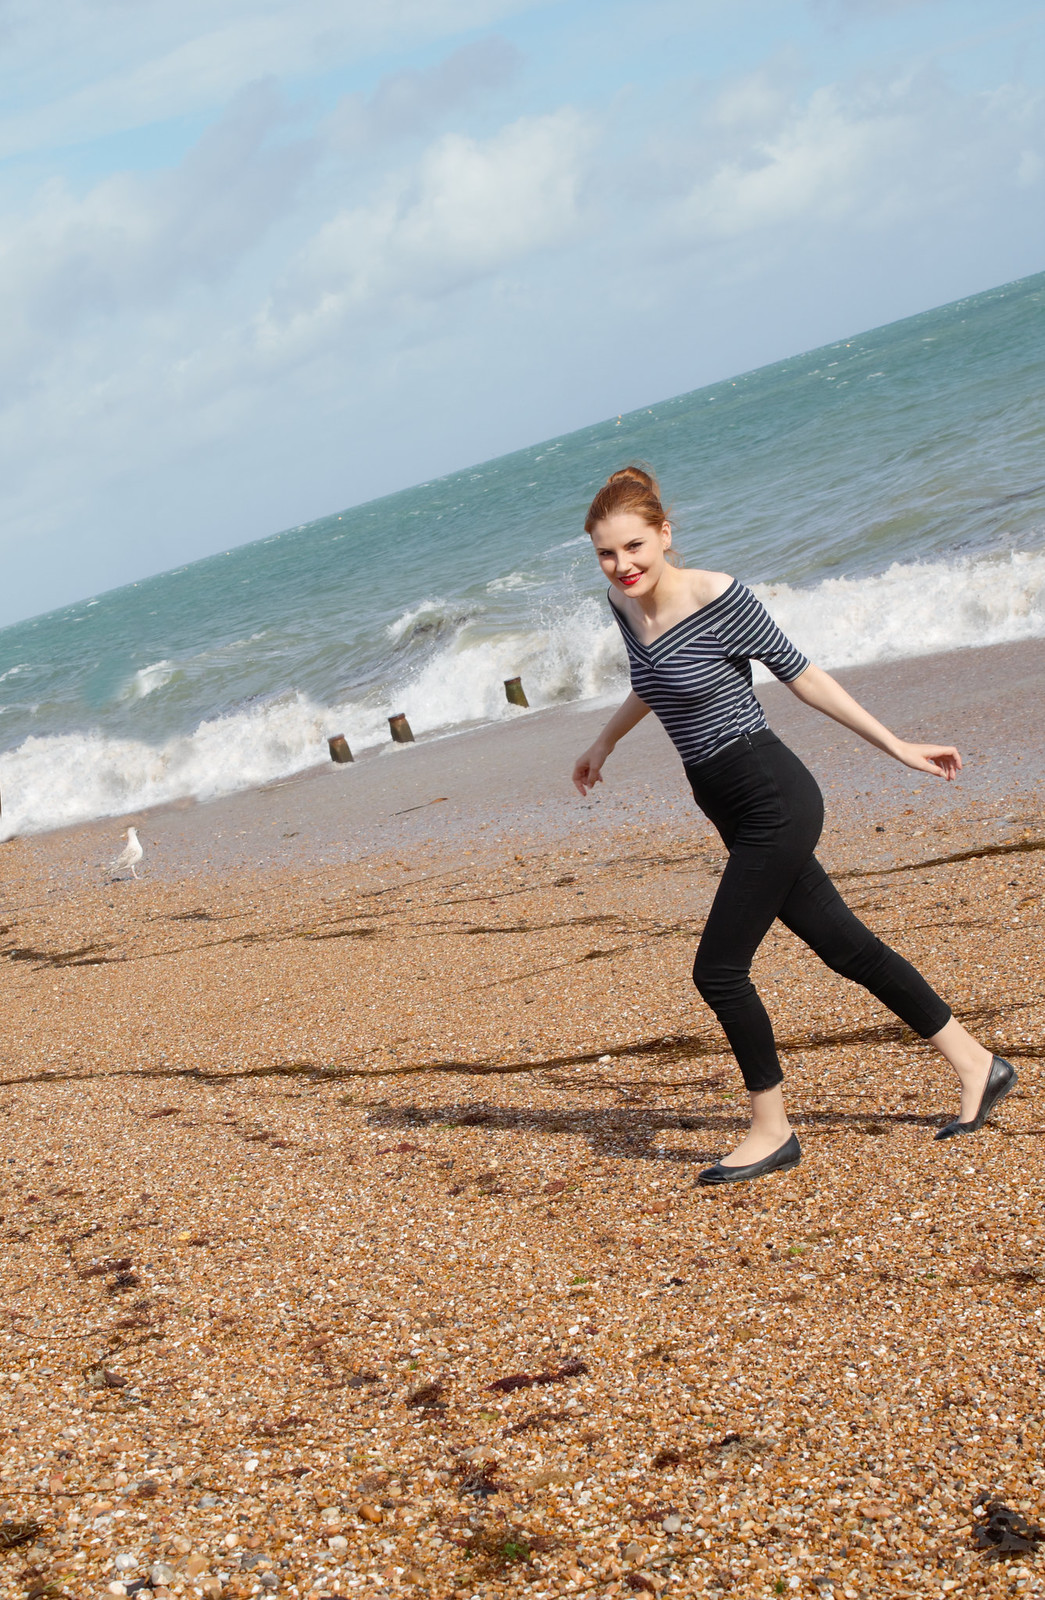
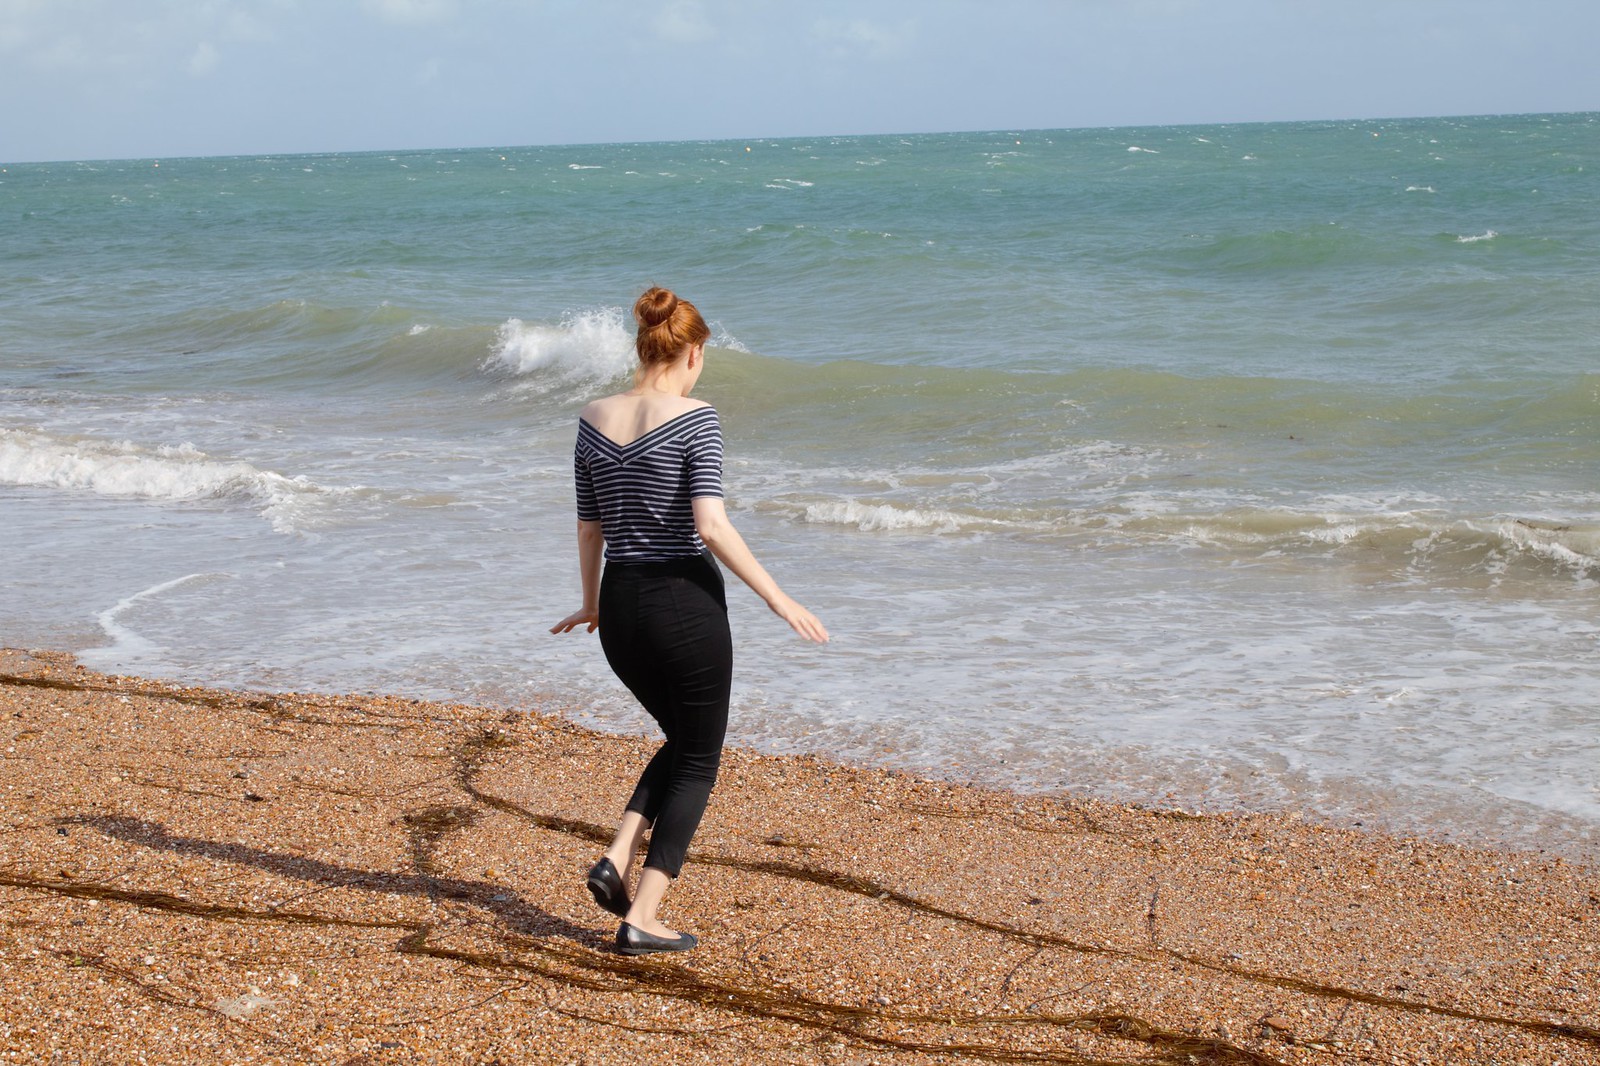
For someone who lives by the sea, I have surprisingly few photos taken actually on the beach. Since it was a very windy day I kept my hair in my favourite simple updo and avoided any "Marilyn moments" by choosing trousers instead of a skirt. The off-the-shoulder neckline on my top reminds me a lot of Brigitte Bardot - super cute and classic for the summer time. 

Let's get social!
Facebook | Instagram | Pinterest
Bloglovin' | Twitter
Share
Tweet
Pin
Share
2 comments
Astral

A couple of months ago I started using Astral Cream to moisturise. I spotted a perfectly handbag-sized tub and threw it in my basket more or less on a whim, but it's become a really essential thing for me to carry around.

Part of the initial attraction for me was the display in the shop - advertising that the product had not changed since it came on the market in 1953. Anything with vintage credentials usually catches my eye, and I really enjoy trying out the products to see what they're like. This goes especially if the formulation hasn't changed in over 60 years as with Astral! 


As far as the formulation goes, Astral Original is a thick, almost spongy-feeling cream. For my skin this is perfect as I find lighter lotions don't moisturise my skin properly and disappear almost as soon as I have applied them. The cream has a pleasant "old-fashioned cosmetics" scent that I really enjoy, although it might be a little strong for some people who are sensitive to this kind of scent. In addition, if you have especially sensitive skin, you may find an unscented moisturiser better for your skin. According to the Astral website, the scent is unique to Astral and has also remained unchanged throughout the product's history.

Astral is a barrier cream, meaning that it helps to keep moisture from leaving your skin. The moisturising effect comes from the glycerin in the cream while the barrier effect is achieved using lanolin which is extracted from sheep's wool. It is possible to be both sensitive and allergic to lanolin, so that's worth bearing in mind if you do have especially sensitive skin (or a known lanolin sensitivity). If you suspect you may have an allergy to lanolin, you can have a patch test done to confirm.

Astral

Anyway, I have the 50ml tub (because it was handbag sized) which is currently retailing at Superdrug for £1.29. A 200ml tub and a 500ml tub are also available, so I might buy a larger tub to refill my small one as I currently use this most when I'm out and about.

Since Astral has been sold since 1953, I of course also looked up some of the old adverts. I have included a couple here that I was able to embed from the Astral Facebook page but I highly recommend Googling to find some others. There are plenty available to view, and some of them are absolute beauties. I also really like the adverts for Astral soap, which sadly isn't available to buy any more.


Having done some reading around online, it appears that Astral has been suffering from some image problems. I have seen it being described as having a "fuddy-duddy" or "old-fashioned" image, which apparently is leading some people to believe that it is in some way not suitable for use by anyone below the age of retirement. Well, I'm more than aware that I'm preaching to the choir here but if a product has been working for over 60 years then surely "if it ain't broke, don't fix it"! I know not everyone is going to purposefully seek out products that have been available since the 1940s or 50s in the way I have been known to do, but equally I don't see why longevity of a brand should be offputting. Perhaps I'm in the minority in not caring about having fashionable moisturisers (why is that even a concern??) but if using Astral means I'll look as good as well-known fan of the brand Joanna Lumley when I get to her age - well then, sign me up! 

Astral
Share
Tweet
Pin
Share
1 comments
You might remember from a couple of years ago (wow, is it really that long?) that for a while I ran a feature called 'Steampunk Saturdays', where I shared a few steampunk (or steampunk-inspired) looks, mostly put together using items I already owned. The series fizzled out after a while because I ran out of clothing that I already had which could be considered even loosely steampunk-y, but I'm very happy to say that I recently discovered that there's quite a large steampunk scene in my area and therefore I'm once again looking into becoming more involved with the subculture.

With that in mind, I am reinstating my Steampunk Saturdays feature. I will not be posting every Saturday, only when I have something new to blog about, and of course as with before this will not be replacing any of my normal vintage/retro content.

If you'd like to read any of my previous Steampunk Saturdays blog posts, you can do so here.

Without further ado, for my first post of the newly reinstated series I will be sharing a little DIY project I have just completed, working on creating a slick pair of brass goggles to add to my outfits. A pair of goggles is pretty much an essential for a lot of steampunk outfits, but the nicer and fancier designs can be quite expensive. Fortunately it's not too hard to make your own, from scratch if you're good at that sort of thing (there are tutorials online) or like I've done here using a cheap mass-produced pair as a base.

Here is the final product. The goggles have three sets of interchangeable lenses which I can swap out according to which set best matches my outfit.

Goggles

Goggles

Goggles

I started the process off with this pair of cheap black goggles, which I bought for £10 at Head Case Curios in Southsea. This style is readily available online and comes in a number of different colour combinations. As I wanted mine in my hands ready to go to an event, I decided against ordering them online and therefore made my choice from the stock that was available in the shop on the day I happened to go in. Starting off with a pair that was already brass-coloured would have made the process quicker, cheaper, and easier - but overall the black frame and dark lenses made for a pretty good neutral base to start from.

Goggles DIY

The first thing I did was to dismantle the goggles and remove the lenses in order to spray paint them gold. Unfortunately I couldn't manage to remove the strap without cutting it off, so I just left it in place. In the future I might remove it and change it for a leather strap or a ribbon, but it's fine for now. I used this gold spray paint, which was a brighter gold than the copper/brass tone I had wanted, but which did an excellent job of  covering the black plastic. I used about 2-3 coats of paint (it covered well in 2 coats but I had to touch up some bits that I'd missed), and here is what the goggles looked like once they'd been sprayed:

Goggles DIY

Goggles DIY

Next, I set about making my new lenses. When I first bought the goggles I knew I wanted to do something to them to make them look less plain and generic, and when I discovered by accident that the lenses are removable (in fact it appears you can buy different lenses for them online), I decided it wouldn't be too difficult to make my own. My first idea was for a zoom lens, which I initially wanted to attach so that it would either flip up and down from the top of one of the lenses (similar to this), or for it to stand out a bit from the lens (something like this). In the end I couldn't find all the parts I needed to make either of these ideas work, but by then I had come up with the idea of making my own lenses so was able to change my plans accordingly.

To make the zoom lens itself, I used the lid from a Lush sample container for the frame and the lid from a clear plastic loose eyeshadow container (that just happened to fit perfectly inside the rim of the other lid) for the lens. I used a pen knife to cut a hole out of the centre of the larger black lid making sure to leave a small margin to attach the clear lid to.

Goggles DIY

Goggles DIY

For the new large lens (to attach the zoom lens to), I traced around the original lenses from the goggles onto some clear plastic packaging and cut the lenses out.

Goggles DIY

I then left the zoom lens alone for a while because I knew I wanted to work on that a little more, and instead I assembled the other decorative lenses.

I had found these very cool and perfectly steampunk-appropriate stickers in Poundland: Goggles DIY

The sticky part on the back of them wasn't good enough to properly fix them onto the new lenses so I just superglued them instead. Here's what they look like all glued together:

Goggles DIY

I sprayed the black rim from the zoom lens with the same gold paint as the other parts and then started to work on the finish, darkening and weathering the gold paint. I started off applying and then immediately wiping off a strong coffee solution to dirty and weather the surface of the paint. You can see Adam Savage using the technique at the end of this Tested video. In short, I just made up a strong instant coffee solution, applied a thick layer to the surface using a paper towel and then immediately wiped it off again with a dry paper towel. This causes the coffee to sink into any little cracks/edges/recesses etc and leave a dirty and old-looking finish.

Goggles DIY

After a few layers of coffee I decided that the effect of the coffee was a bit too subtle, so I hit it with a layer of reddish brown acrylic wash paint (I used Citadel Reikland Fleshshade) and left it to dry for a few minutes before decided it was too much. I ended up taking the coffee solution again to wipe away some of the acrylic paint to tone it back down again.

This left me with the following weathered/corroded looking finish with the bright gold having been darkened quite nicely to a much more brassy colour.

Goggles DIY

Last of all, I glued my zoom lens together:

Goggles DIY

So, that's it! Drab to pretty fab, if I do say so myself. I may add to these in the future but for now I'm pretty happy with how they came out, especially as a first attempt.

I'll be back soon with another installation of Steampunk Saturdays. Leave me a comment if you have enjoyed this post and let me know what other steampunk things you'd like to see in the future!

Goggles

Let's get social!
Facebook | Instagram | Pinterest
Bloglovin' | Twitter
Share
Tweet
Pin
Share
2 comments
Ambergate Wireworks

Ambergate Wireworks

Ambergate Wireworks

Ambergate Wireworks

Ambergate Wireworks

This is my second post featuring photos from the derelict Ambergate Wireworks. This time when I visited, I was able to get photos of some different parts of the buildings, although I still didn't spend much time exploring and only took photos through the most obvious and easily accessible windows or gaps in boards. Some other time it would be great to try and find some different angles. As with before, I didn't enter any of the buildings but it's still possible to get some good photos from outside.

If you're interested in my other urbex posts, you can find my first Ambergate Wireworks post here, Trentham Hall here, and Aqueduct Cottage here.

There is also some more information and some older photographs of Aqueduct Cottage on someone else's website here.

Let's get social!
Facebook | Instagram | Pinterest
Bloglovin' | Twitter
Share
Tweet
Pin
Share
1 comments
helen mae green for steve bond images and tip top hair design


helen mae green for steve bond images and tip top hair design

helen mae green for steve bond images and tip top hair design

helen mae green for steve bond images and tip top hair design

helen mae green for steve bond images and tip top hair design

helen mae green for steve bond images and tip top hair design

helen mae green for steve bond images and tip top hair design

helen mae green for steve bond images and tip top hair design


Hello everyone! Here's a little 30s-inspired shoot for your Monday morning. This outfit makes me feel like the "bitch" character from Poirot. You know - sometimes American, often a redhead, usually a murder suspect but is actually having an affair or embezzling money? I think I look a little too friendly to properly carry it off but hopefully you see where I was going with that! The hat really sets it off but I didn't want to squash my beautiful hair. 

If anyone wants me, I'll be sunning myself by the lido.


Photos by Steve Bond Images and hair by Jac at Tip Top Hair Design.

Let's get social!
Facebook | Instagram | Pinterest
Bloglovin' | Twitter
Share
Tweet
Pin
Share
4 comments
Newer Posts
Older Posts

About me


recent posts

Blog Archive

  • ►  2019 (1)
    • ►  March (1)
  • ►  2018 (19)
    • ►  December (2)
    • ►  November (2)
    • ►  September (1)
    • ►  July (1)
    • ►  May (1)
    • ►  April (2)
    • ►  March (4)
    • ►  February (4)
    • ►  January (2)
  • ▼  2017 (56)
    • ►  December (4)
    • ►  November (4)
    • ►  October (5)
    • ►  September (4)
    • ►  August (3)
    • ▼  July (5)
      • Outfit: British Bardot
      • Vintage Cosmetics Mini Review: Astral Cream
      • Steampunk Saturdays: Pimp My Goggles
      • Wireworks
      • And Then There Were None
    • ►  June (4)
    • ►  May (5)
    • ►  April (5)
    • ►  March (4)
    • ►  February (7)
    • ►  January (6)
  • ►  2016 (56)
    • ►  December (7)
    • ►  November (3)
    • ►  October (5)
    • ►  September (4)
    • ►  August (5)
    • ►  July (3)
    • ►  June (6)
    • ►  May (5)
    • ►  April (4)
    • ►  March (4)
    • ►  February (5)
    • ►  January (5)
  • ►  2015 (96)
    • ►  December (9)
    • ►  November (8)
    • ►  October (7)
    • ►  September (6)
    • ►  August (7)
    • ►  July (9)
    • ►  June (6)
    • ►  May (4)
    • ►  April (10)
    • ►  March (9)
    • ►  February (10)
    • ►  January (11)
  • ►  2014 (103)
    • ►  December (9)
    • ►  November (8)
    • ►  October (8)
    • ►  September (9)
    • ►  August (11)
    • ►  July (8)
    • ►  June (9)
    • ►  May (12)
    • ►  April (6)
    • ►  March (8)
    • ►  February (7)
    • ►  January (8)
  • ►  2013 (83)
    • ►  December (8)
    • ►  November (7)
    • ►  October (8)
    • ►  September (11)
    • ►  August (9)
    • ►  July (7)
    • ►  June (6)
    • ►  May (4)
    • ►  April (7)
    • ►  March (9)
    • ►  February (4)
    • ►  January (3)
  • ►  2012 (14)
    • ►  December (2)
    • ►  November (1)
    • ►  October (2)
    • ►  September (3)
    • ►  August (6)

Featured Topics

Outfits
Urbex
Steampunk

Popular

  • Outfit: Stepping Out Sailer
    Outfit: Stepping Out Sailer
  • Review: Collectif Clothing
    Review: Collectif Clothing
  • Kedleston at War
    Kedleston at War
  • Outfit: Teddy Girl
    Outfit: Teddy Girl
  • Finals Survival
    Finals Survival
Vintage Queen Number 134


VintageSearch

Created with by BeautyTemplates| Distributed By Gooyaabi Templates