Lovebirds Vintage

    ABOUT & CONTACT // ADVERTISE & SPONSOR // MODELLING // DISCLOSURE // PRESS
Disclaimer: The bag featured in this post were provided free of charge in exchange for a review by Blue Banana. This post contains affiliate links. All opinions are my own.
Click here to read my full disclosure policy, including more information about affiliate links.


Snowy Steampunk

Snowy Steampunk

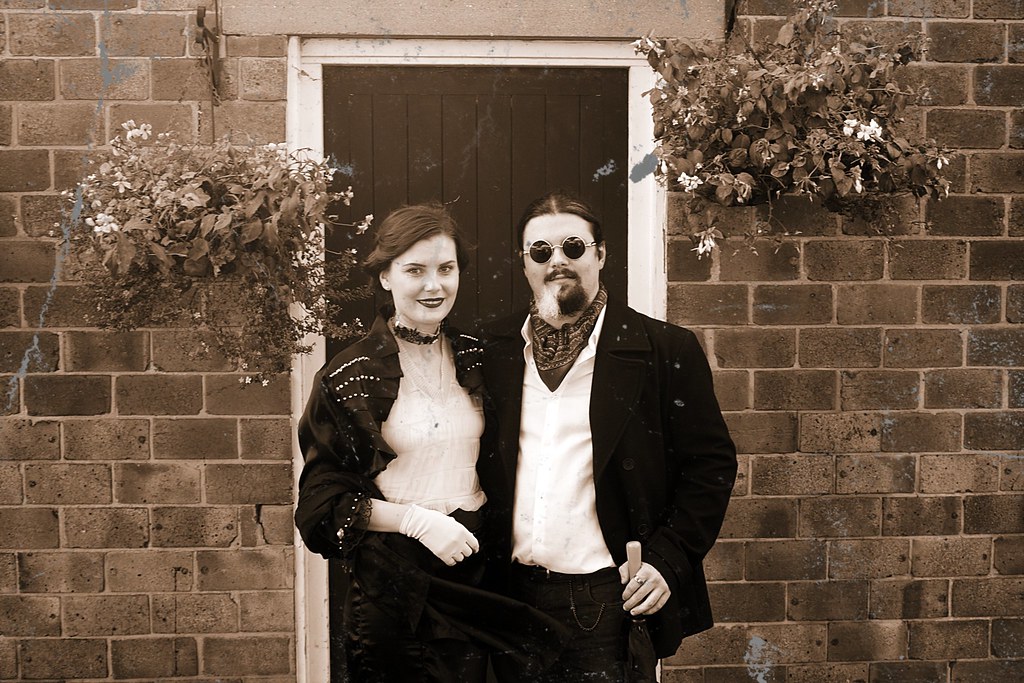
Hello everyone, and welcome back to Steampunk Saturdays. Today's outfit features a few items that I'm really excited about, and what I hope might be the last snow of the season (unless we get a white Easter like some are predicting), which arrived last weekend. We took the opportunity to shoot some photos that I've been excited about for absolutely ages and it's been a while in the planning so I hope you enjoy the results.

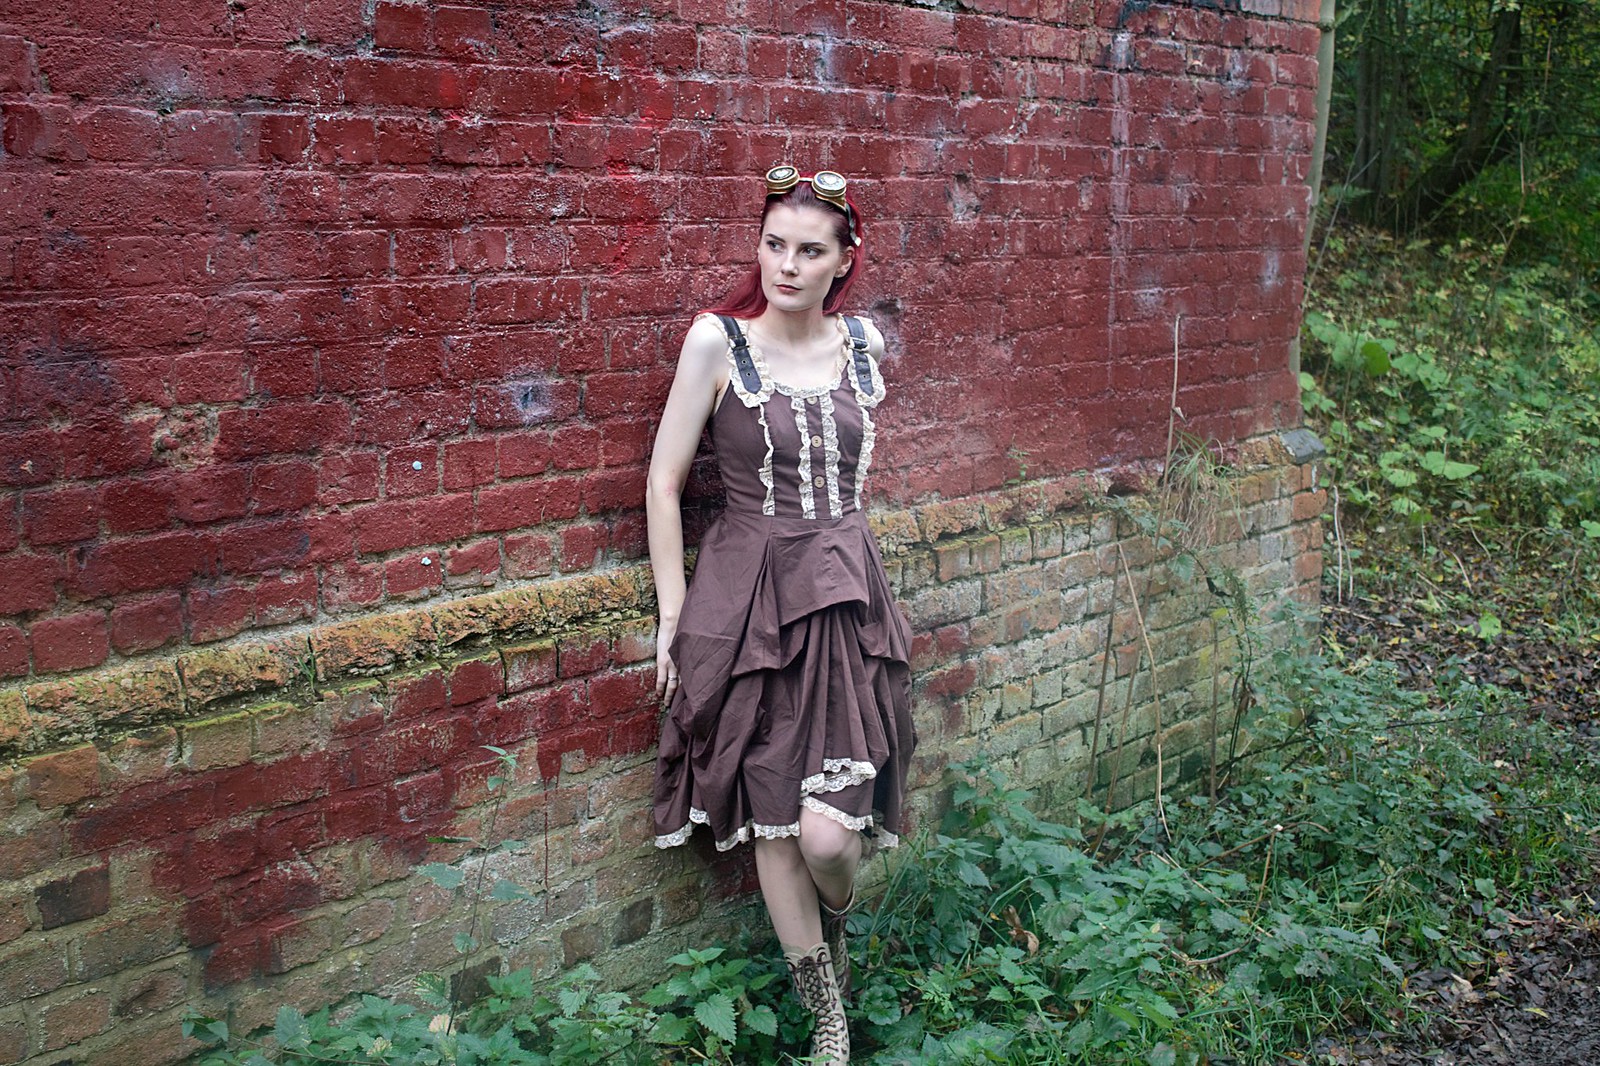
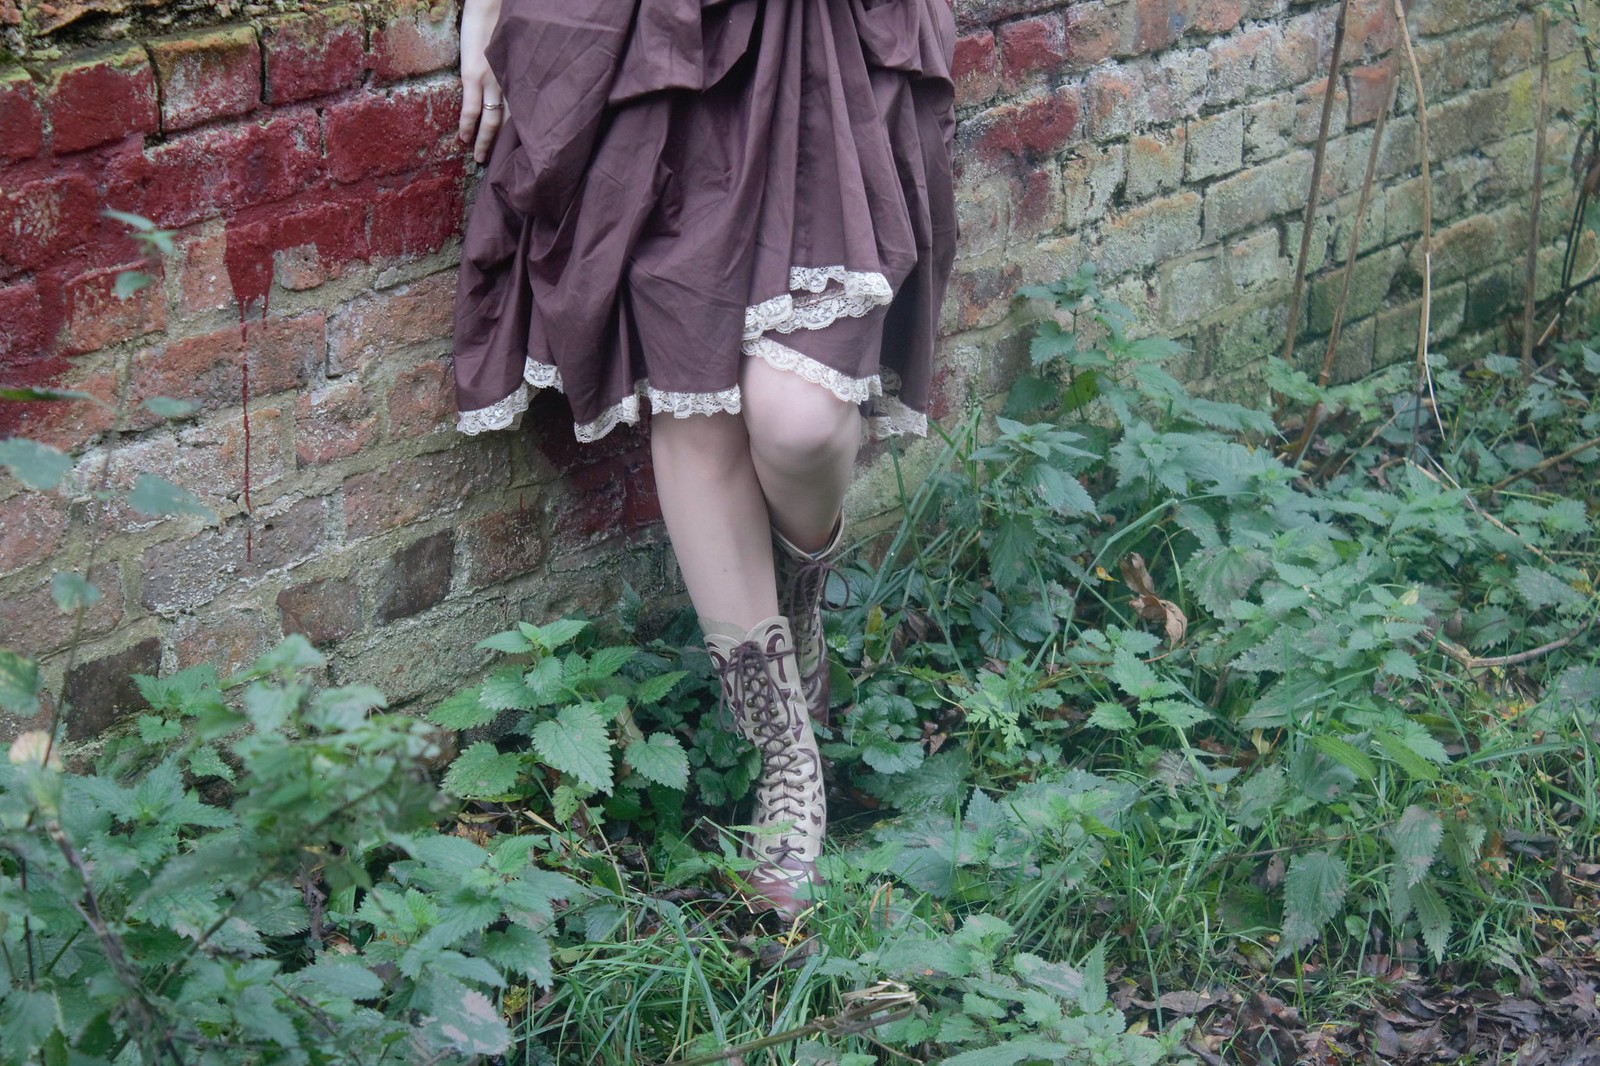
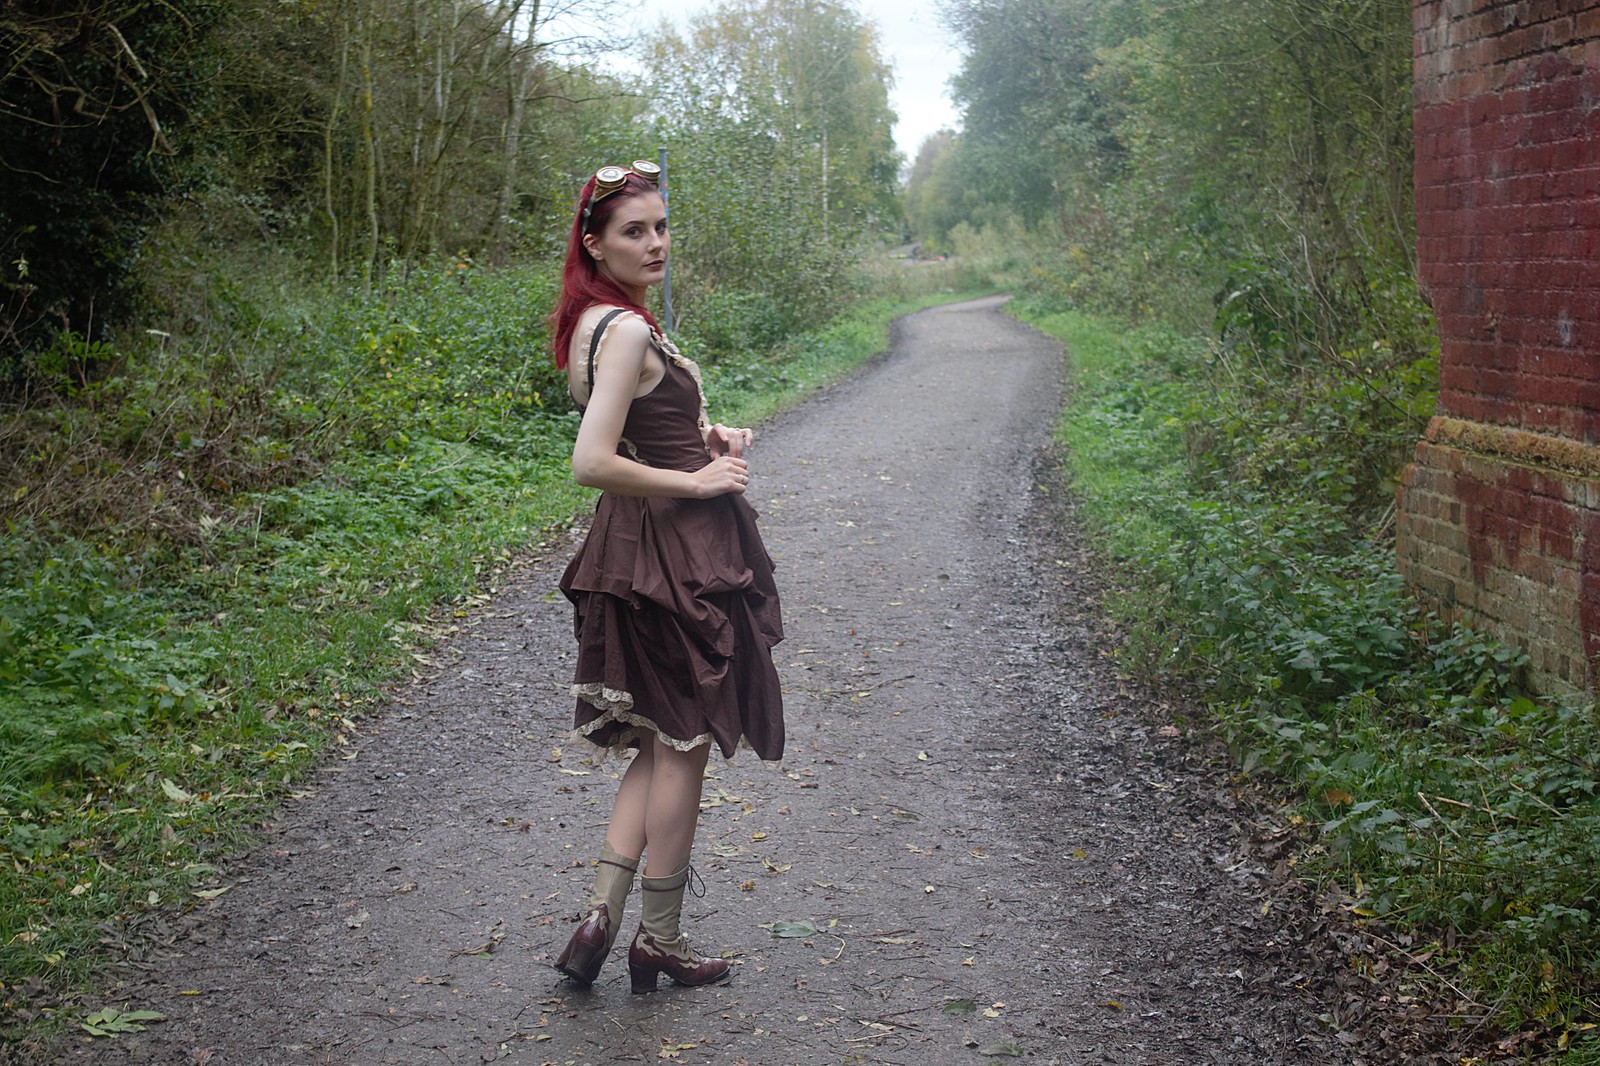
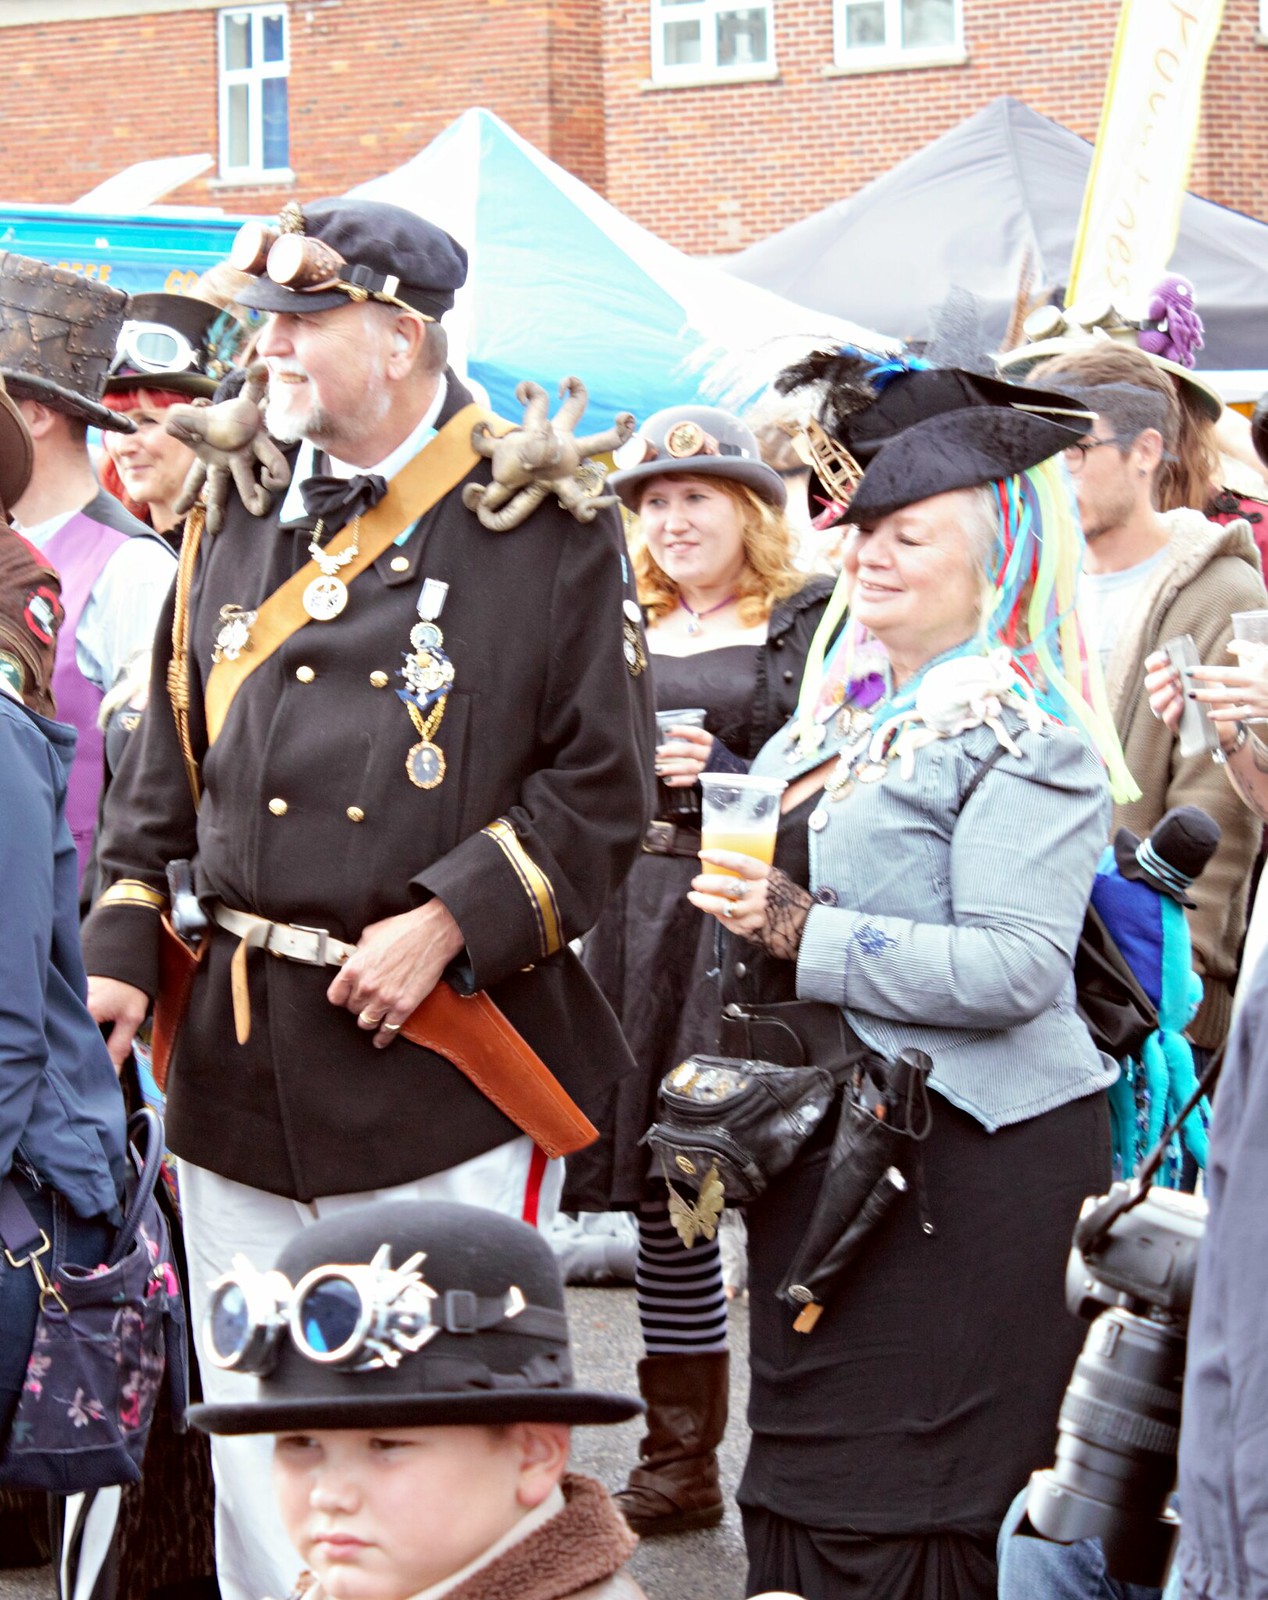
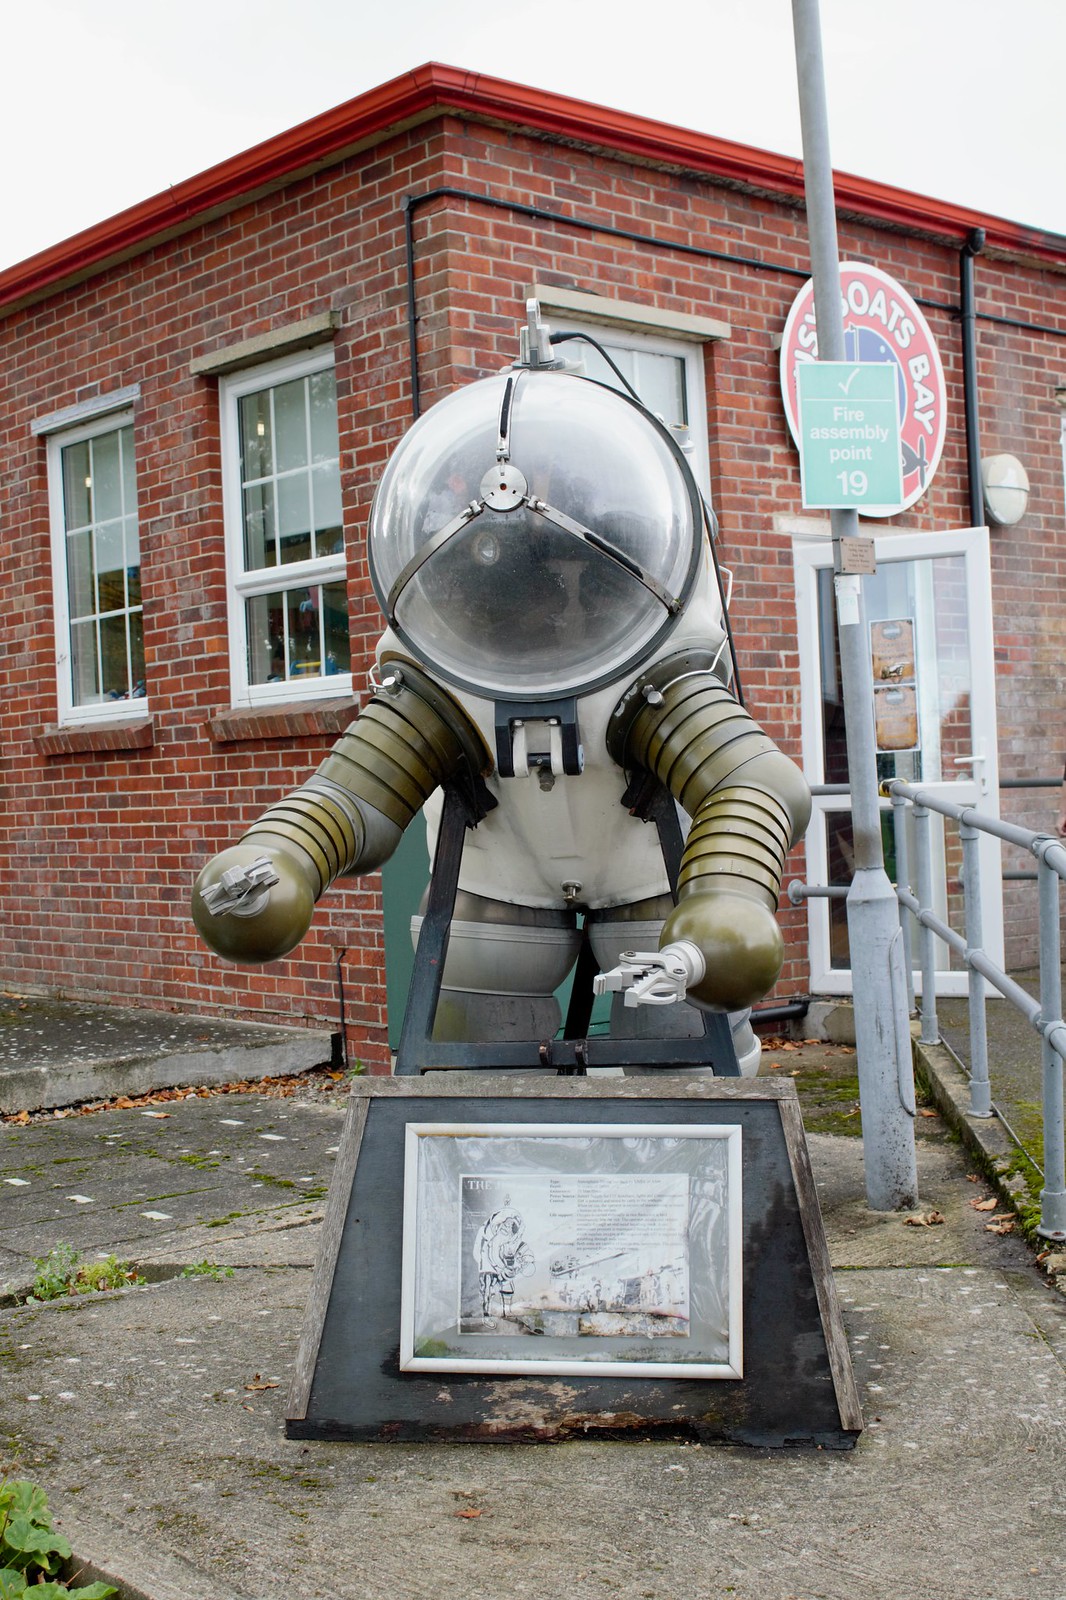
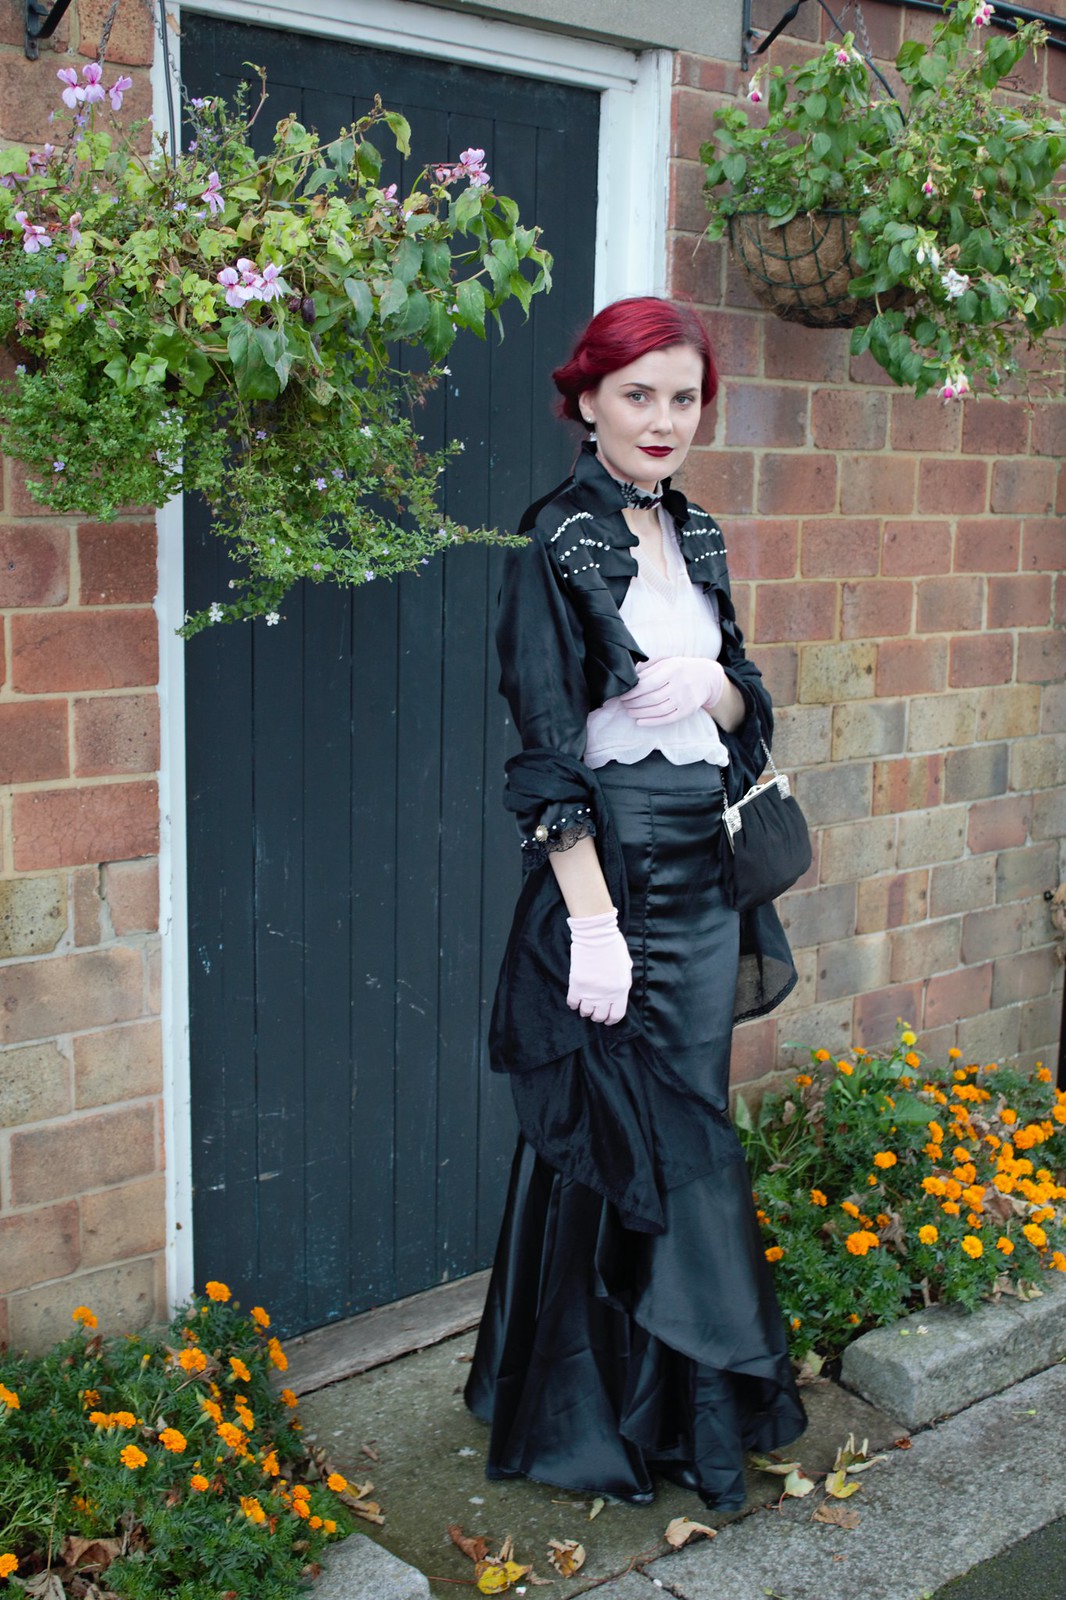
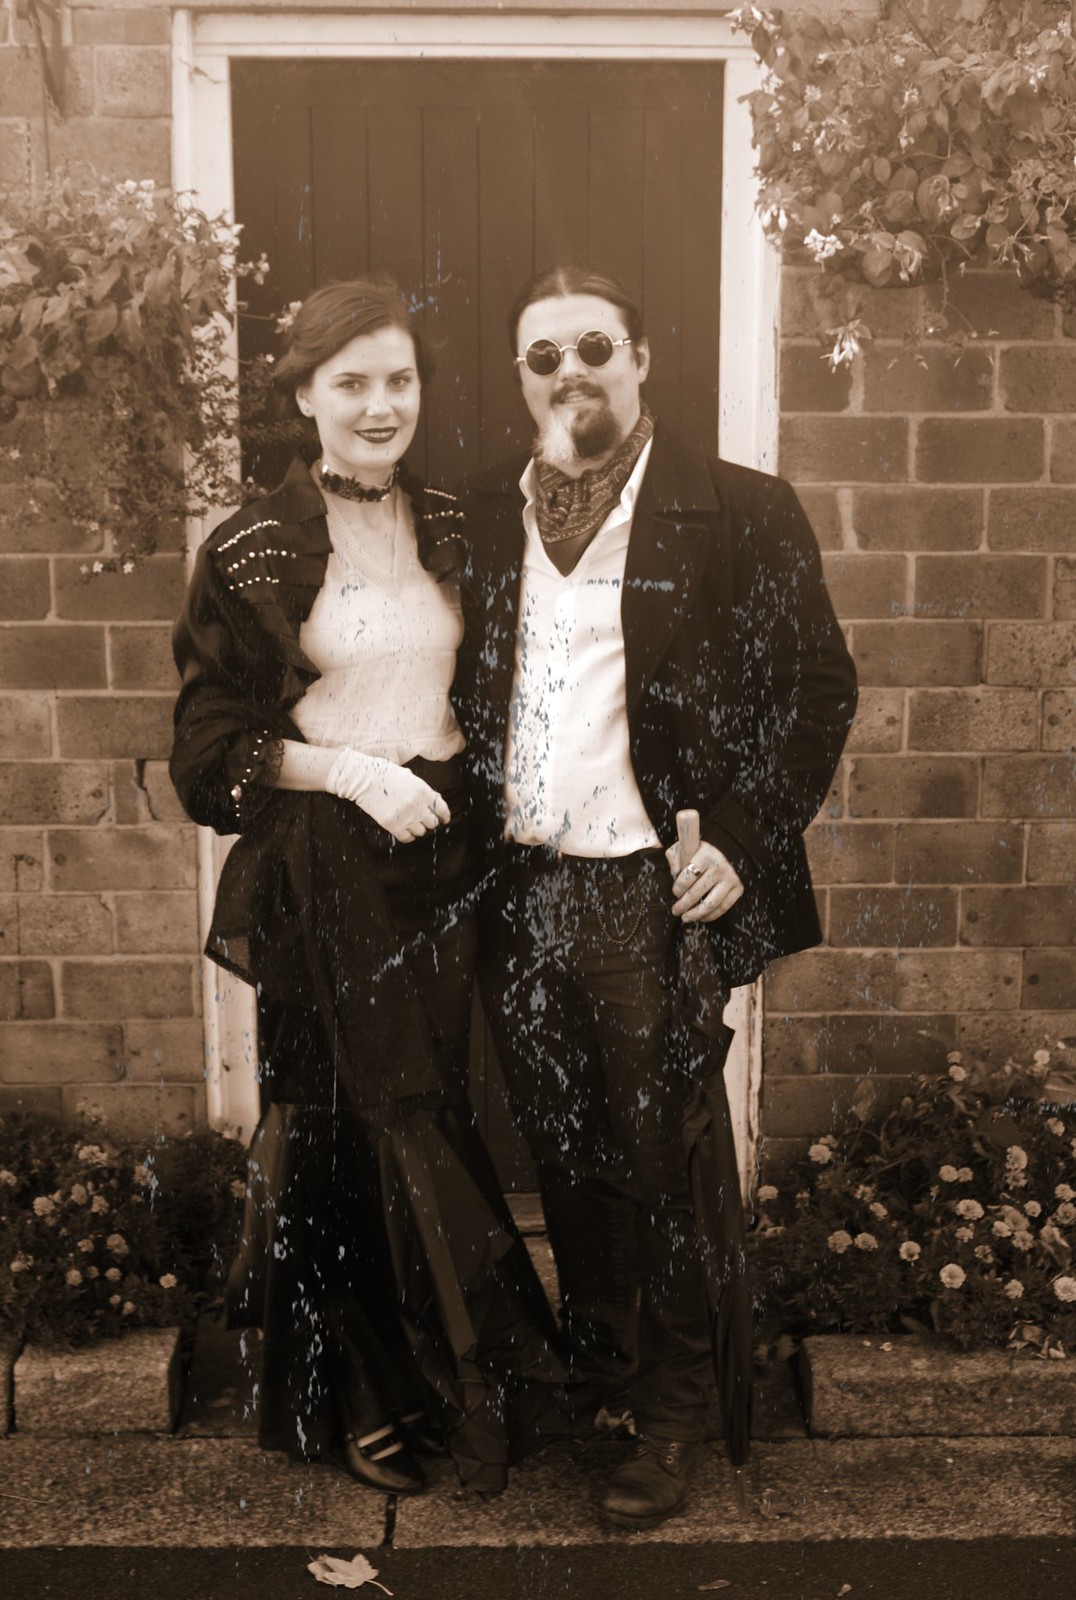
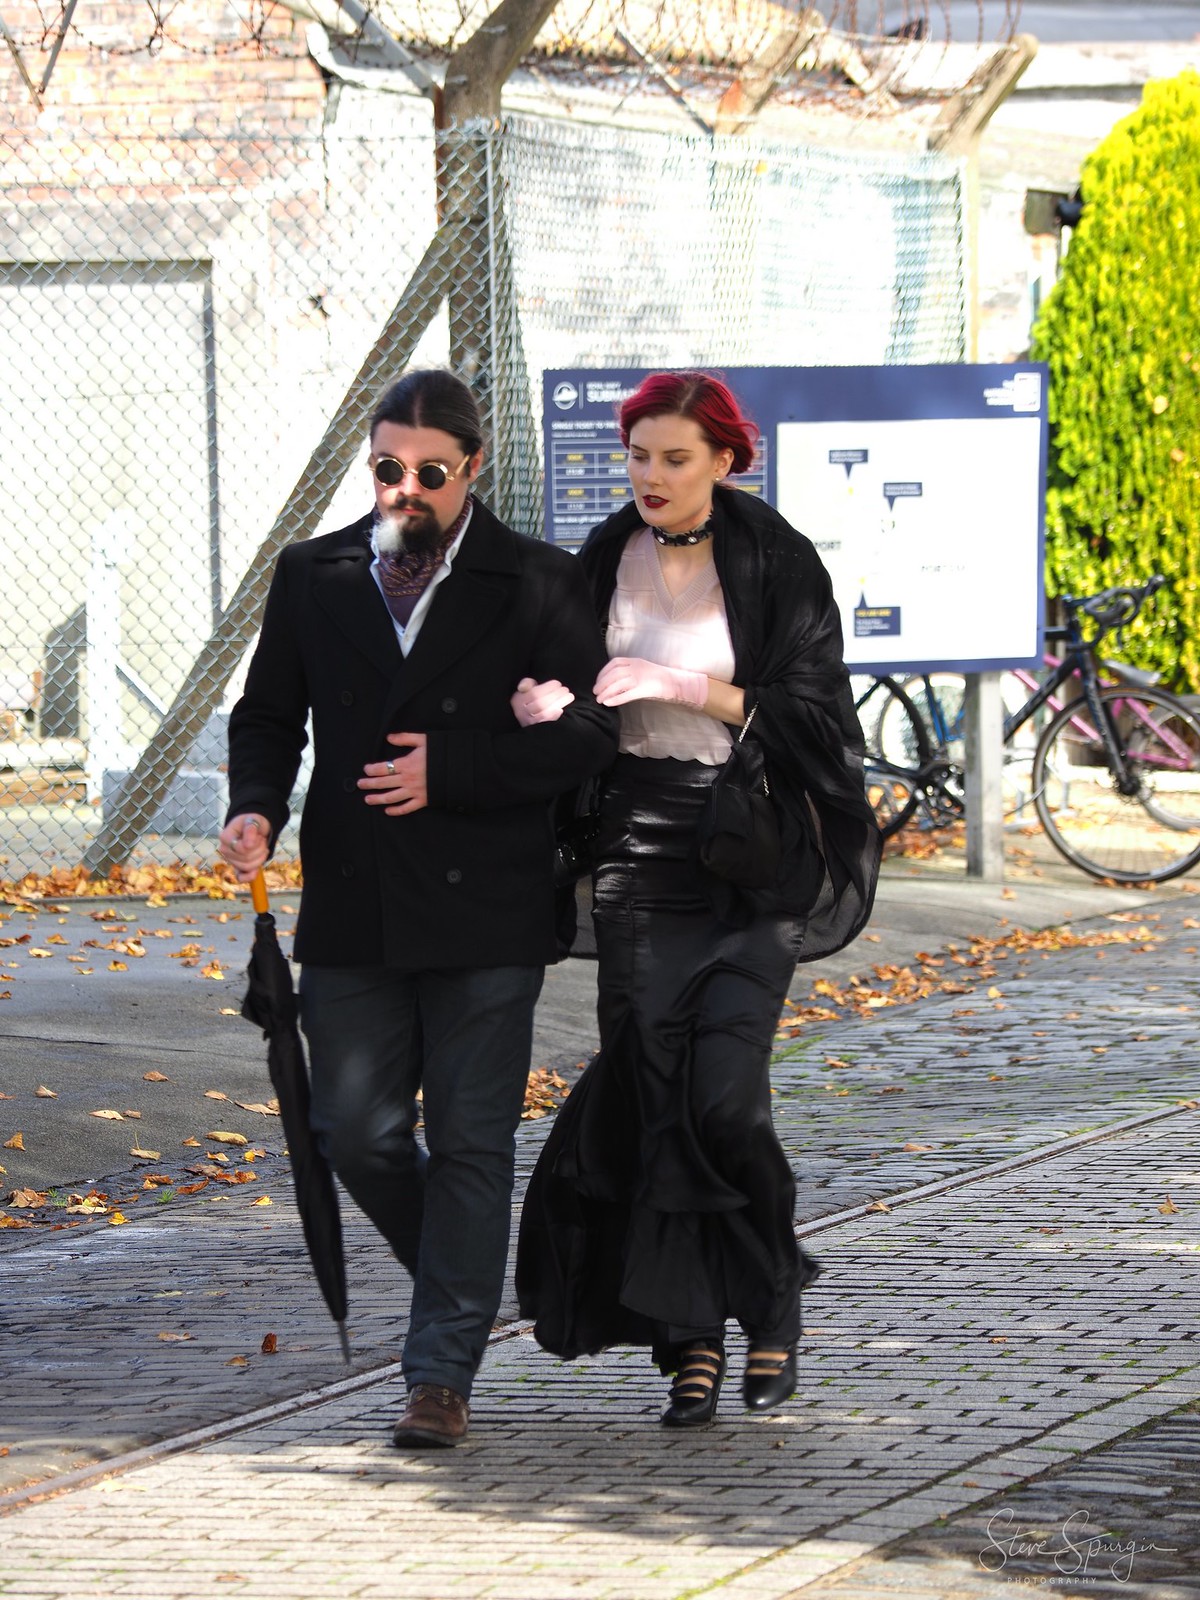
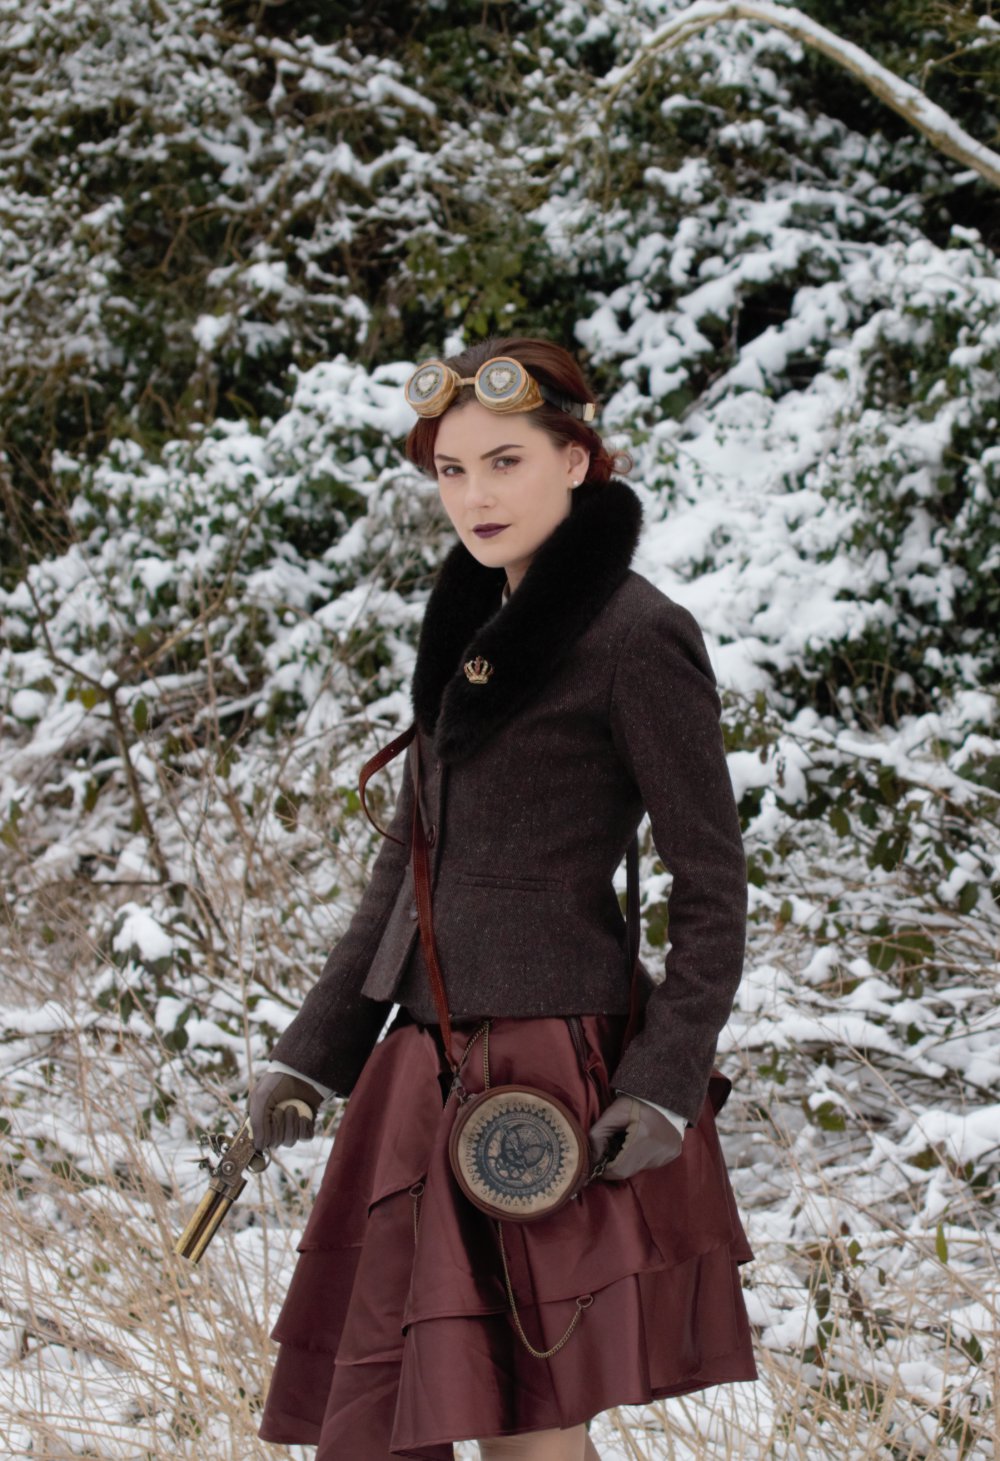
The outfit began after I attended the Subaquatic Steampunk Weekend where I wore a gorgeous black Victorian-style skirt that I purchased from Corsets UK. After I got back from the event I noticed that the skirt was starting to come apart at the seams, so I emailed Corsets UK's customer support. The customer service was absolutely excellent - something that I find is becoming more and more unusual - and they offered to send me out a new skirt as a replacement. As the original skirt was now sold out, I opted for this tiered brown satin number which I thought would make some pretty cool outfits. I also wasn't required to send the original skirt back, so if I can figure out a way to mend or alter it, I will be using it again for steampunk costumes in the future.

Snowy Steampunk

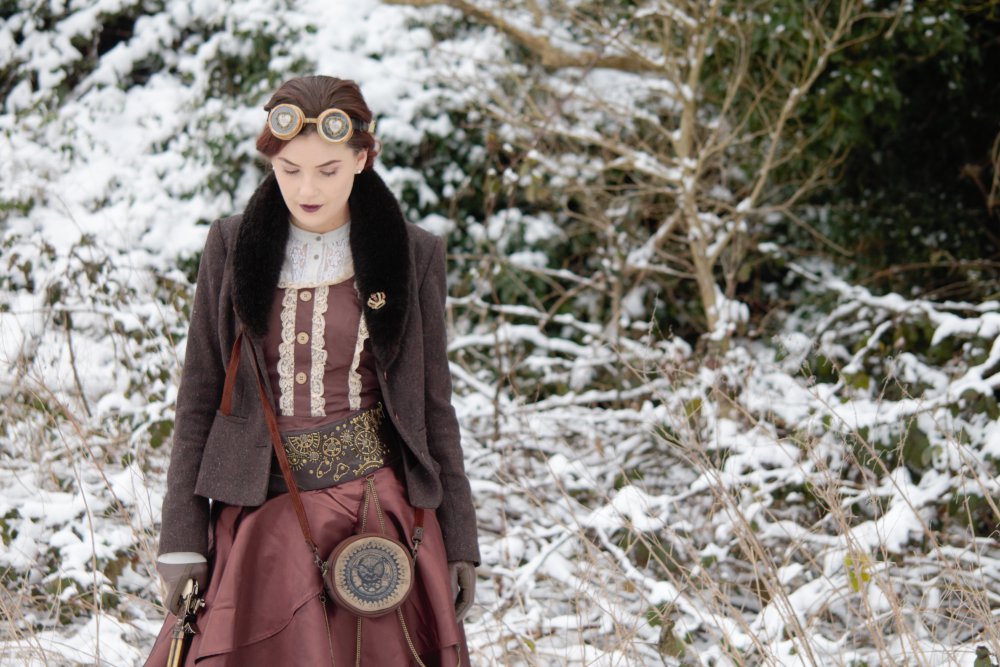
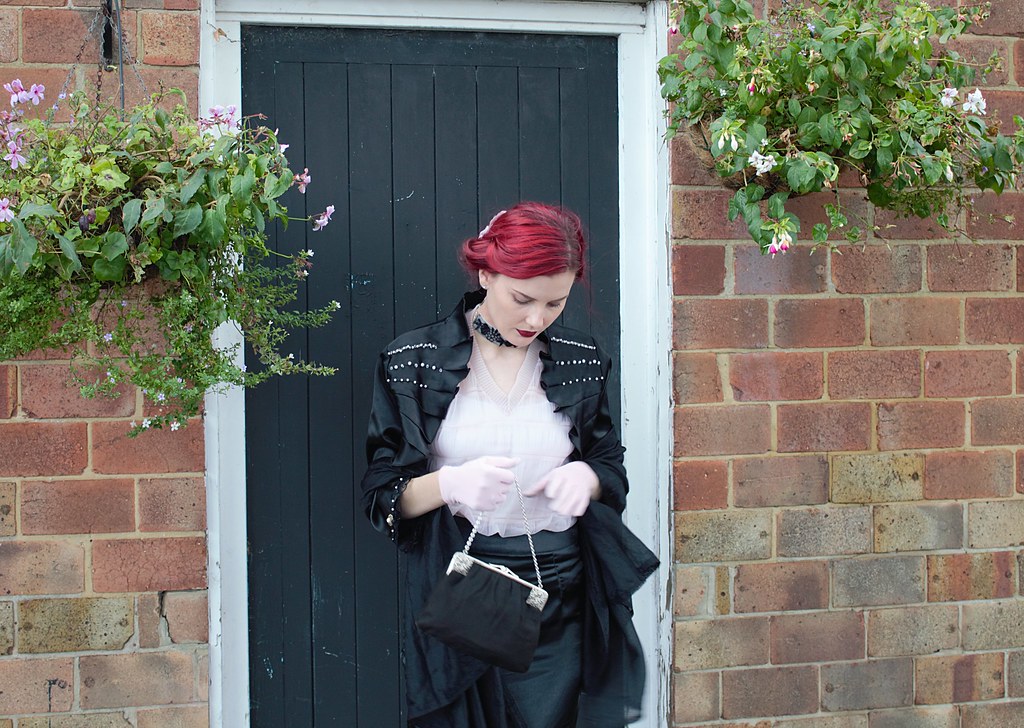
One of the things that particularly drew me to this skirt is the really cool beadwork on the waistband, which I think adds a very unique touch. It also has an interesting chain detail which looks great, but me being the clumsy person that I am, I keep getting it caught on door handles and things as I go past!

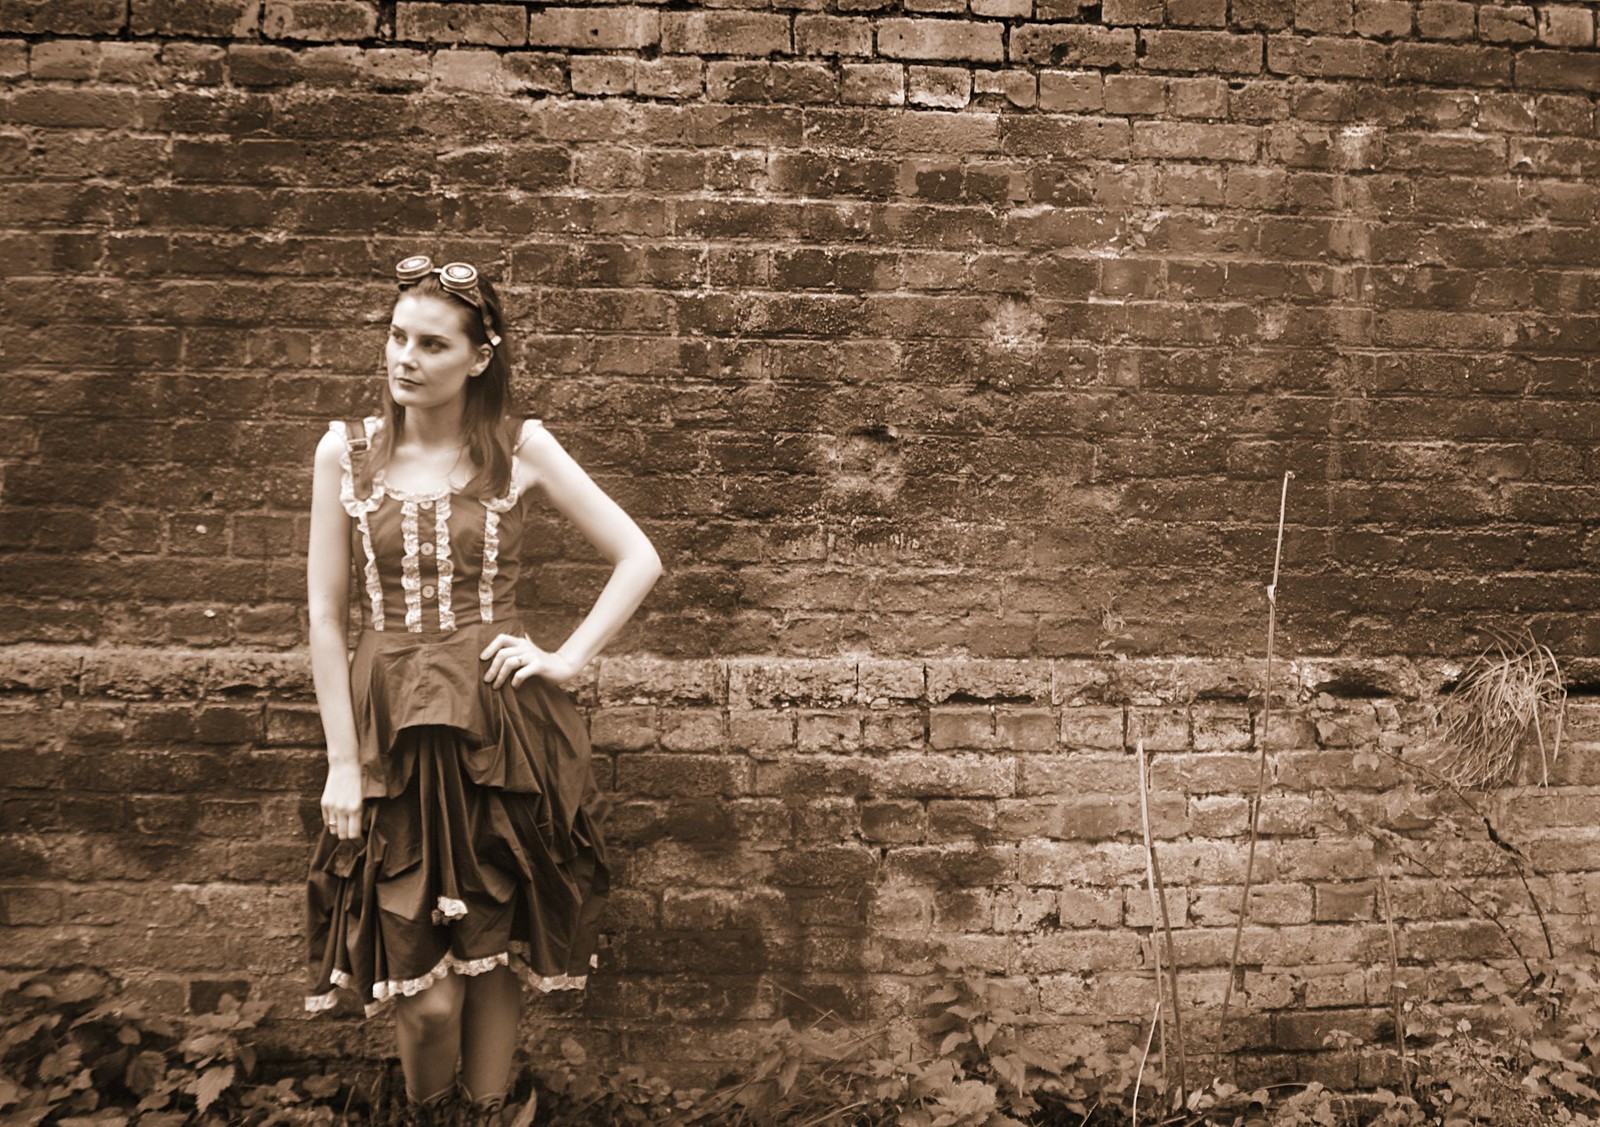
Unfortunately the skirt is quite a lot too big for me on the waist, and with no option to wear a belt due to the beading, the only way I can make it sort of fit is by wearing something a bit bulky underneath. I'm wearing the smallest size that was available (UK 8) but I'd say it fits more like a 10 if not even a 12. I can't see it on the website any more but if it does ever become available again (or if you see it for sale elsewhere), I'd definitely recommend sizing down if possible.

Snowy Steampunk

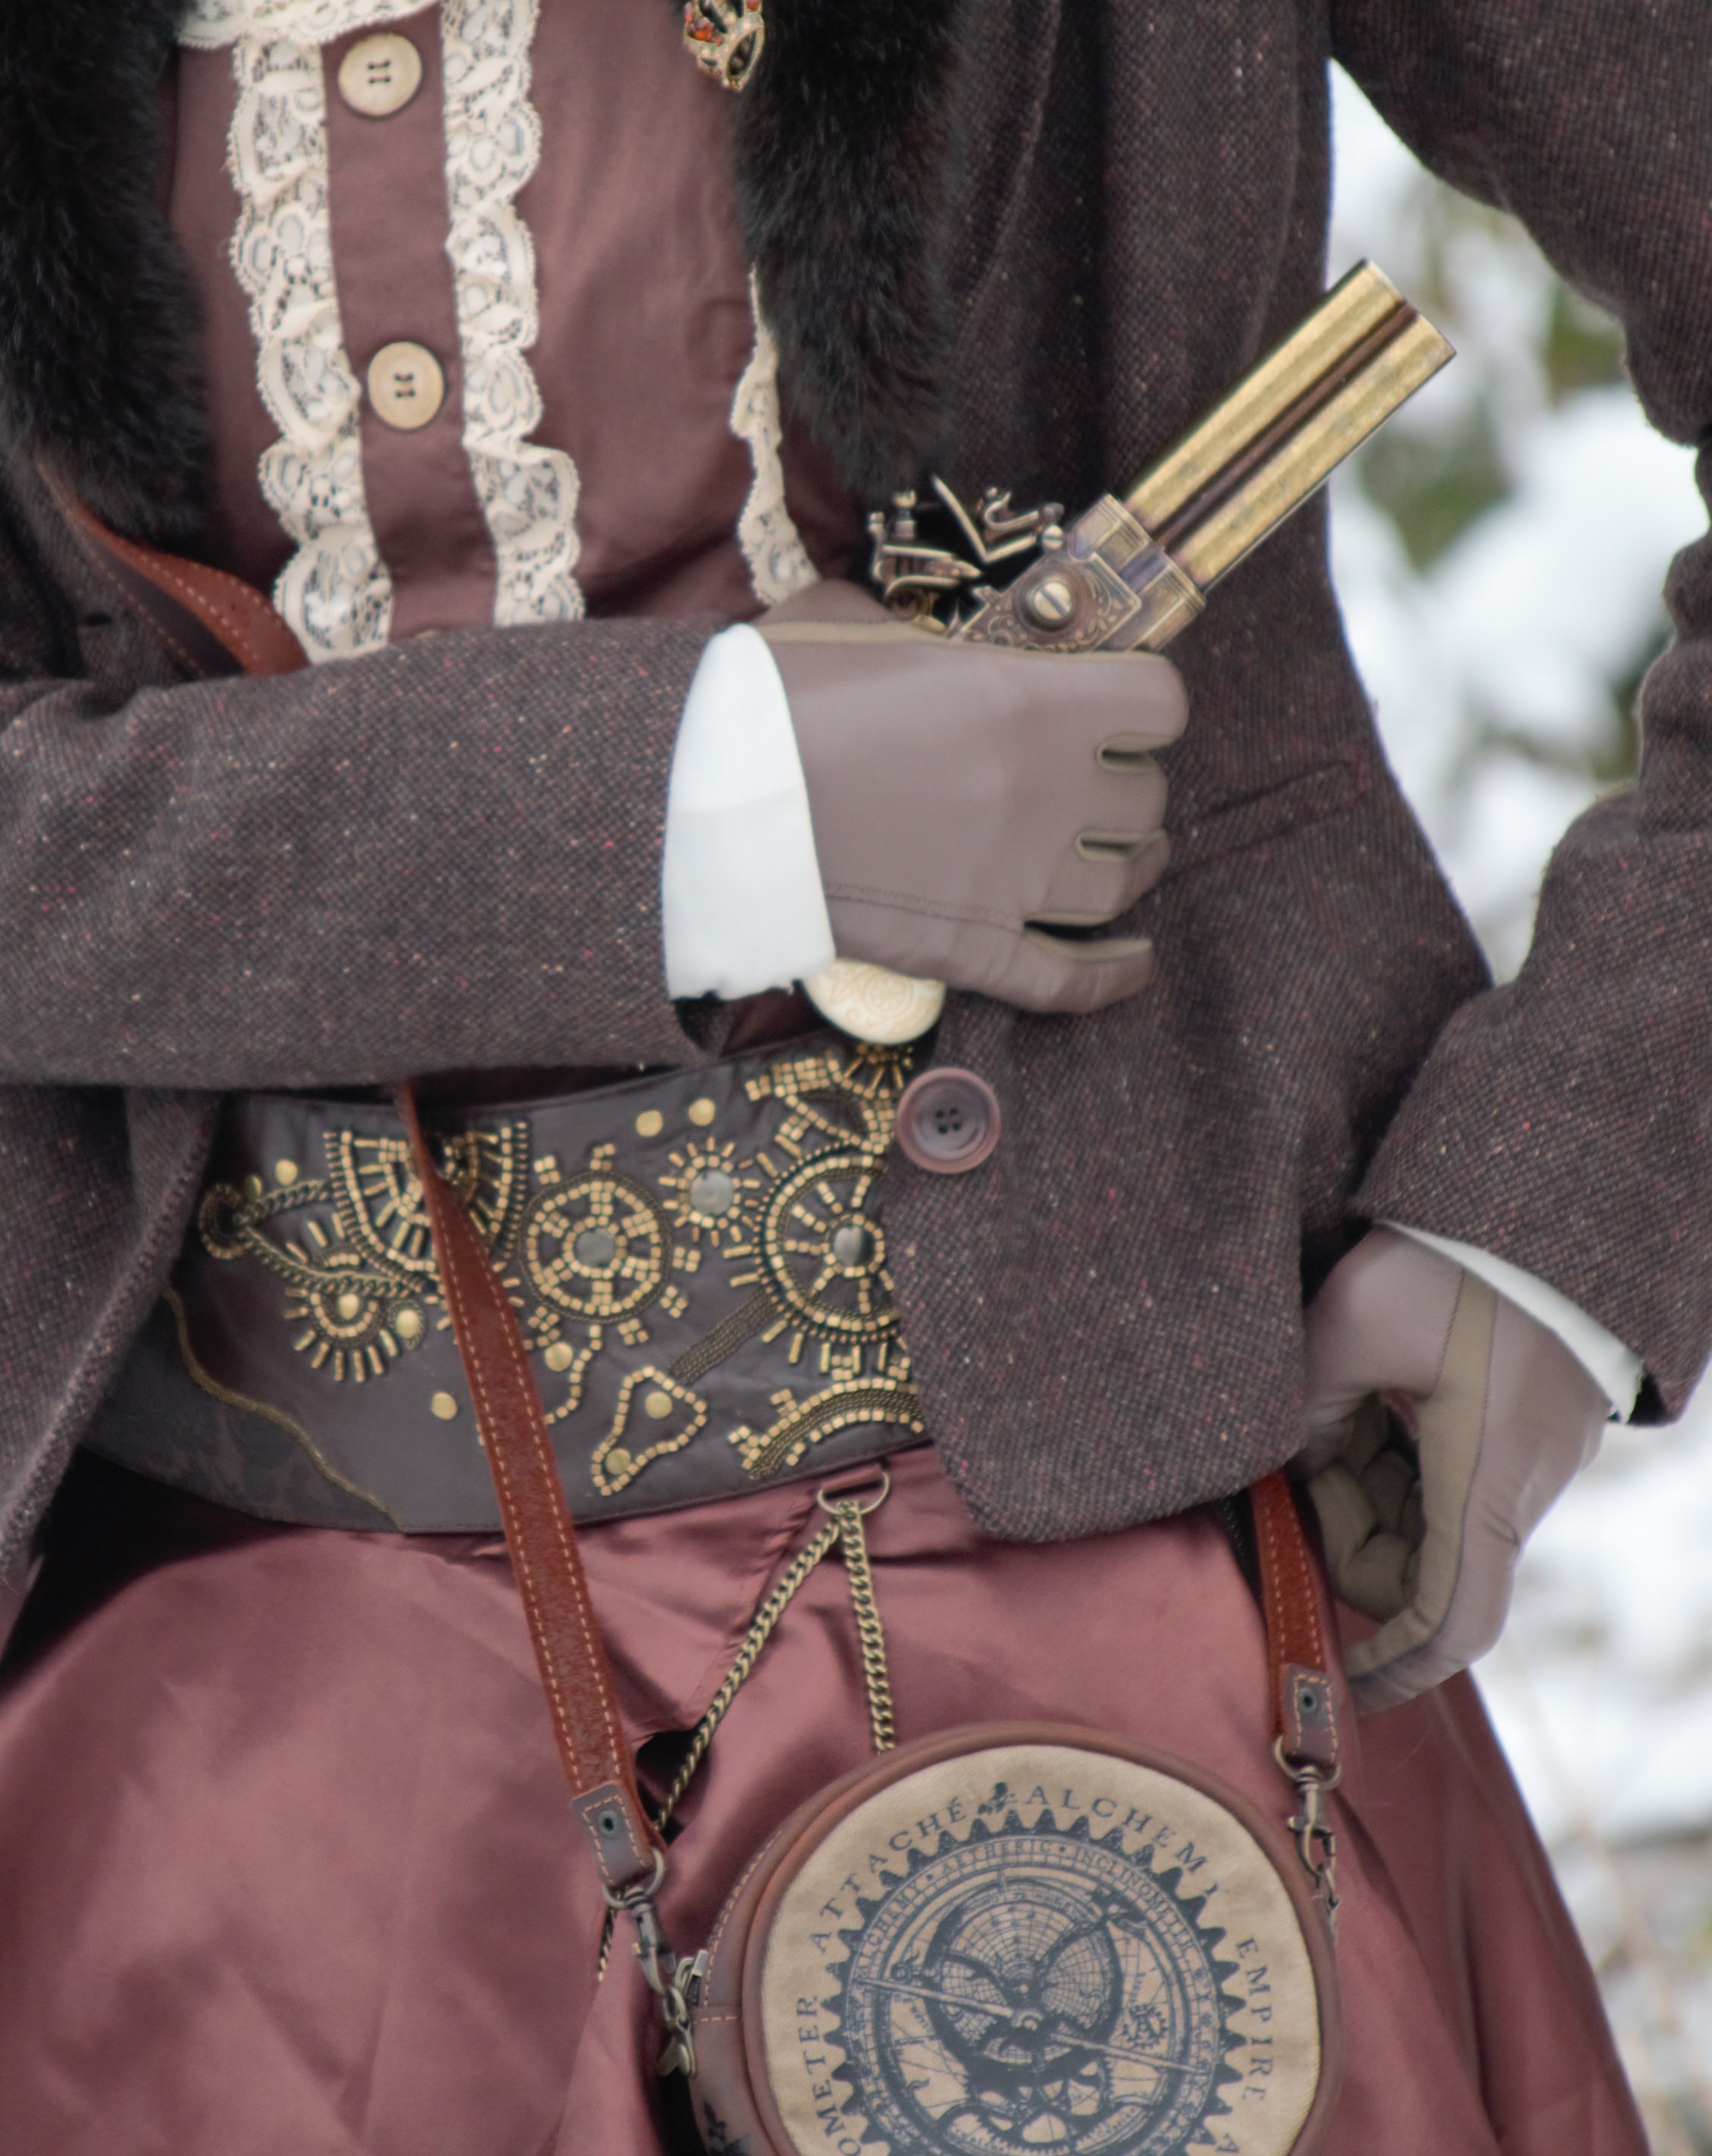
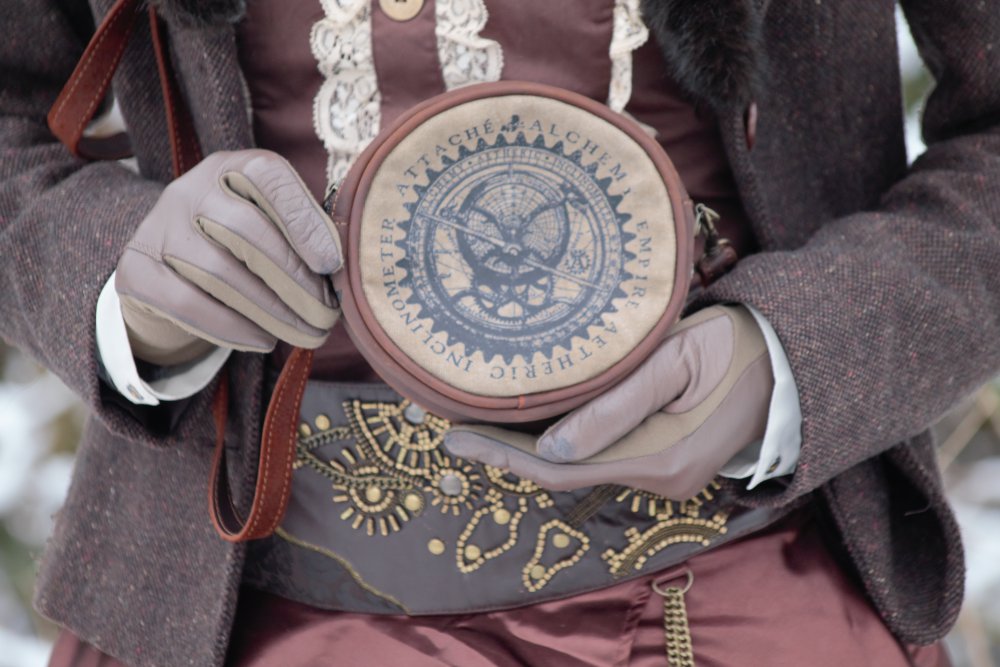
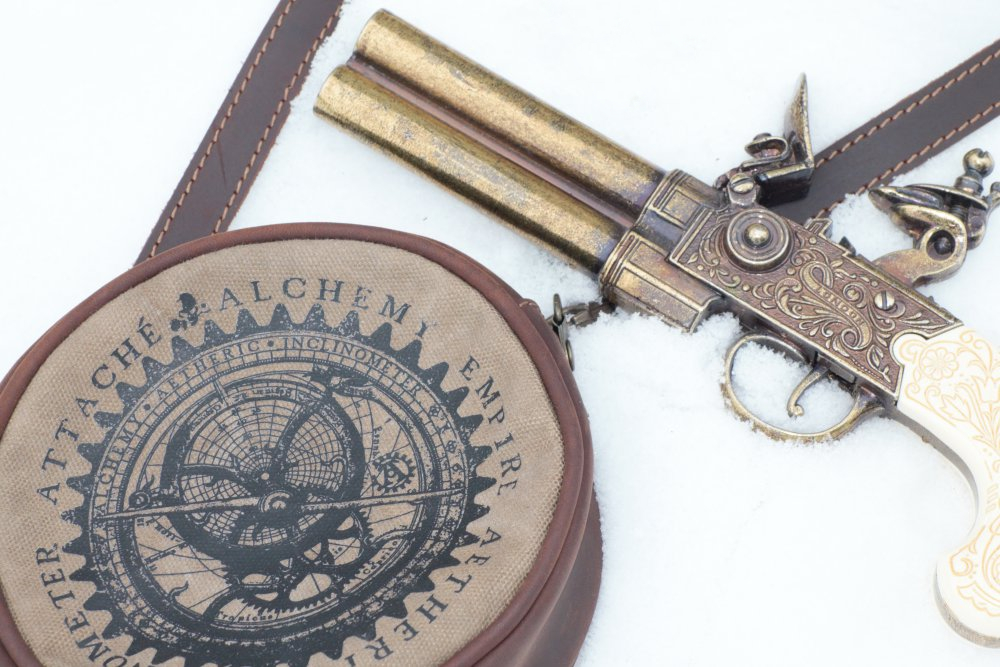
The next item is my really seriously cool Alchemy Gothic Aetheric Inclinometer Attache Bag from Blue Banana. I love the design with the compass, and it's made of a really sturdy canvass material with leather accents. It really adds to an Aethernaut inspired outfit, and would probably be good for an explorer style as well. The only thing I don't like is the size - it's not even big enough to fit my phone in, which makes it not particularly useful to take to events. I can fit small items such as makeup, tissues, money etc, but I will definitely need a larger bag for taking out with me.

Snowy Steampunk

Snowy Steampunk

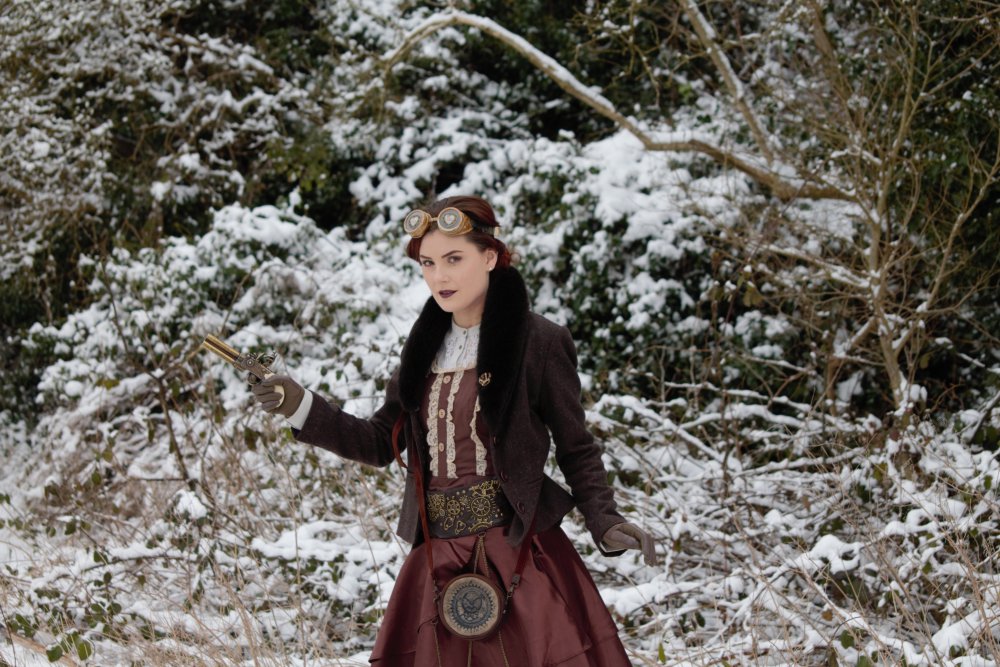
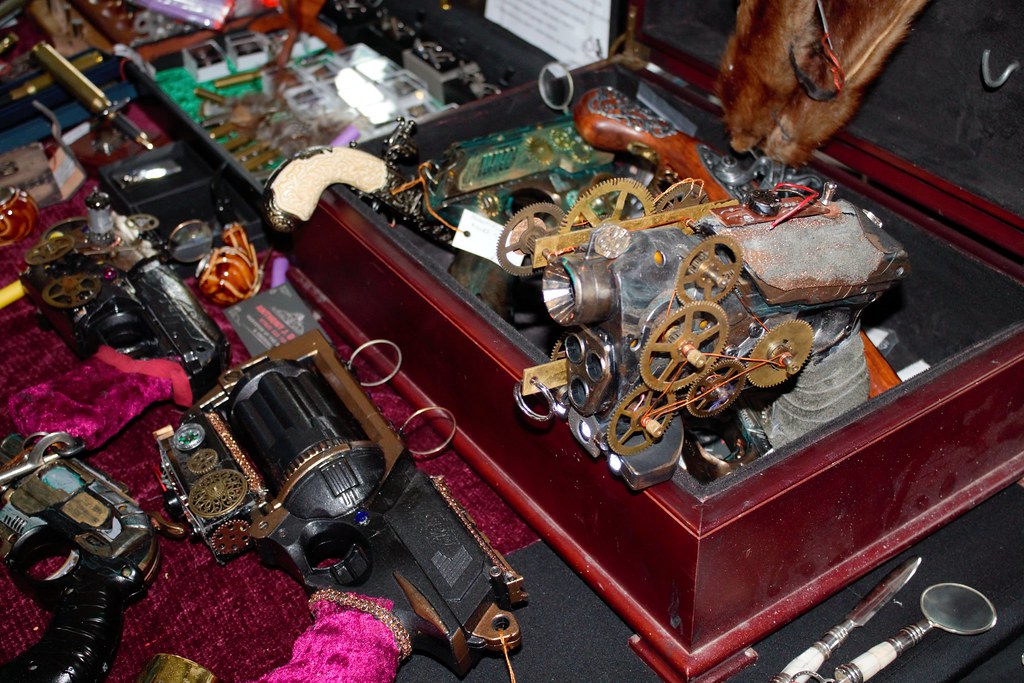
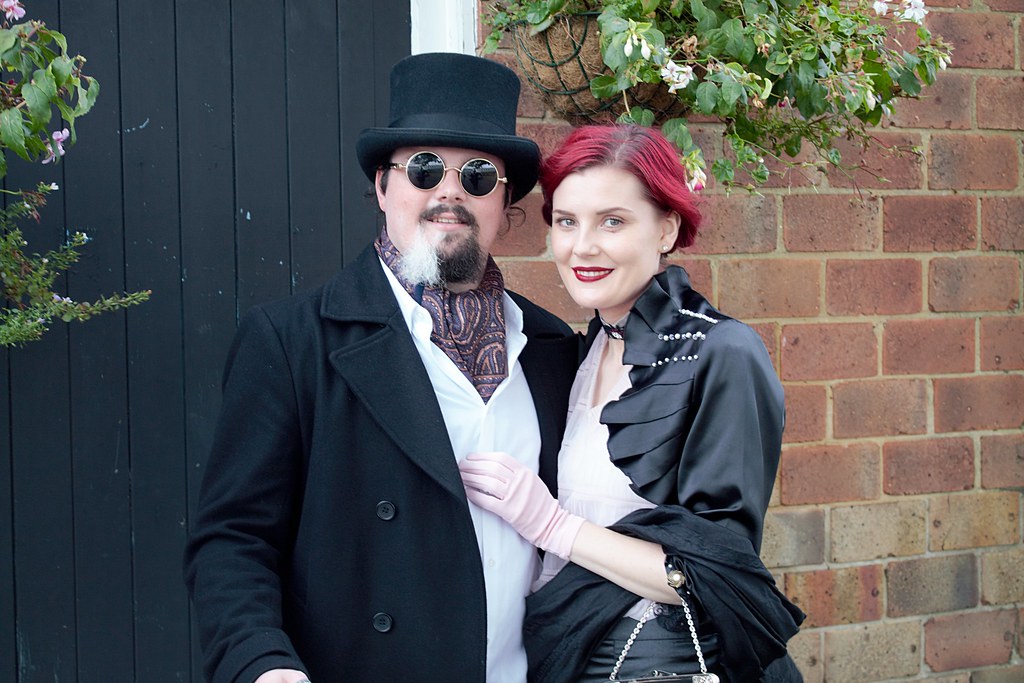
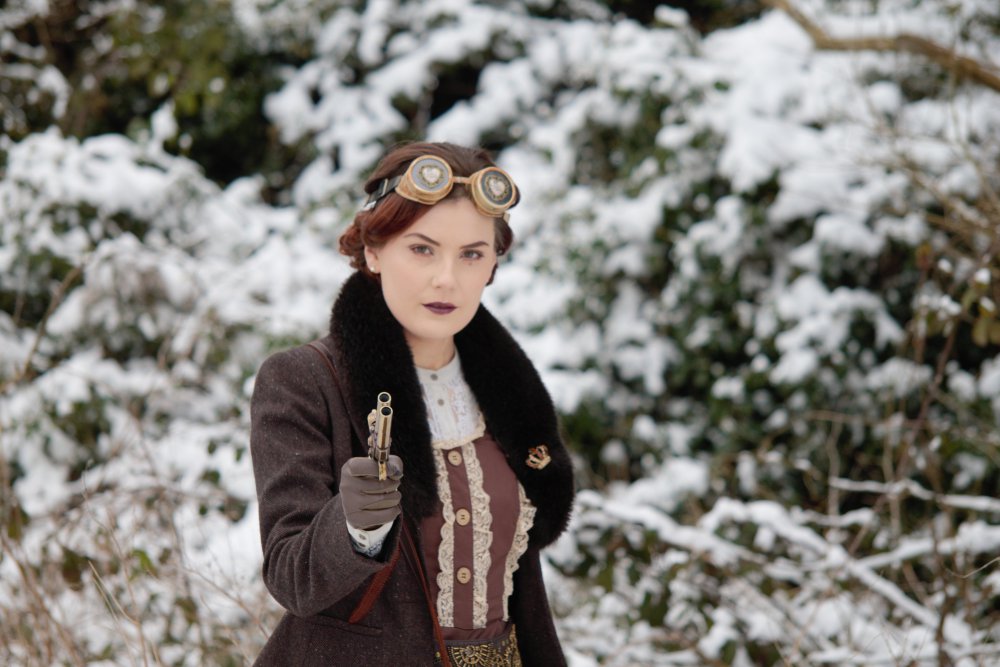
The last item for today's post is this gorgeous pistol that I borrowed from my other half. We got it from Head Case Curios in Southsea, and it's absolutely beautiful. I'd definitely like my own at some point, especially as you can get all sorts of different ones. I'm tempted by a little handbag pistol, something I can fit in a thigh holster, or a great big blunderbuss or something.

Anyway, that's pretty much it for today. Let me know in the comments which is your favourite item from today's post and I'll see you all soon.

Snowy Steampunk

Snowy Steampunk


Wearing:
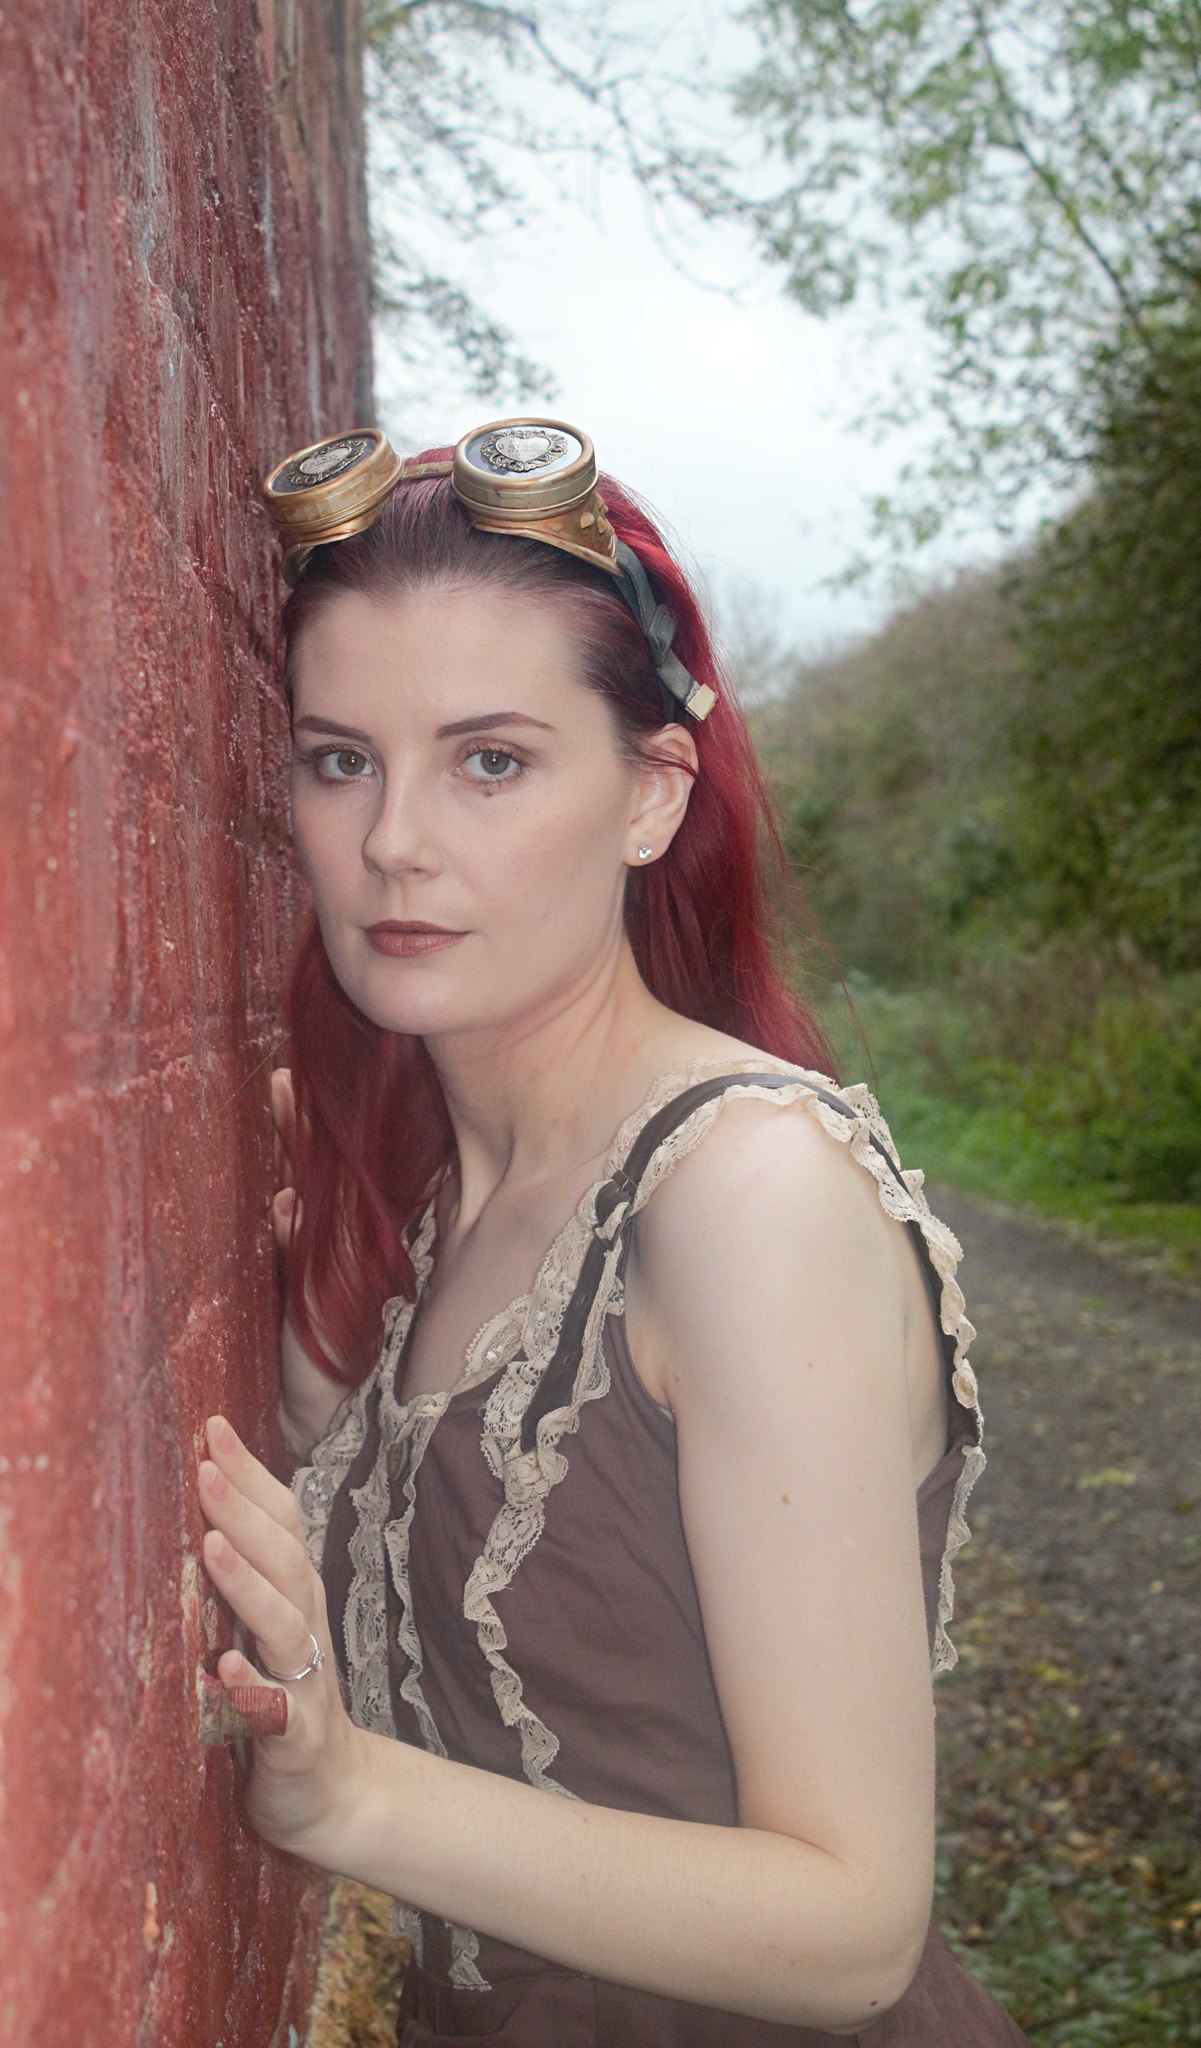
Blouse - Vero Moda via Asos | Dress (worn as a top) - Spin Doctor (I think via Angel Clothing)
Skirt - Corsets UK | Jacket - Dorothy Perkins via charity chop
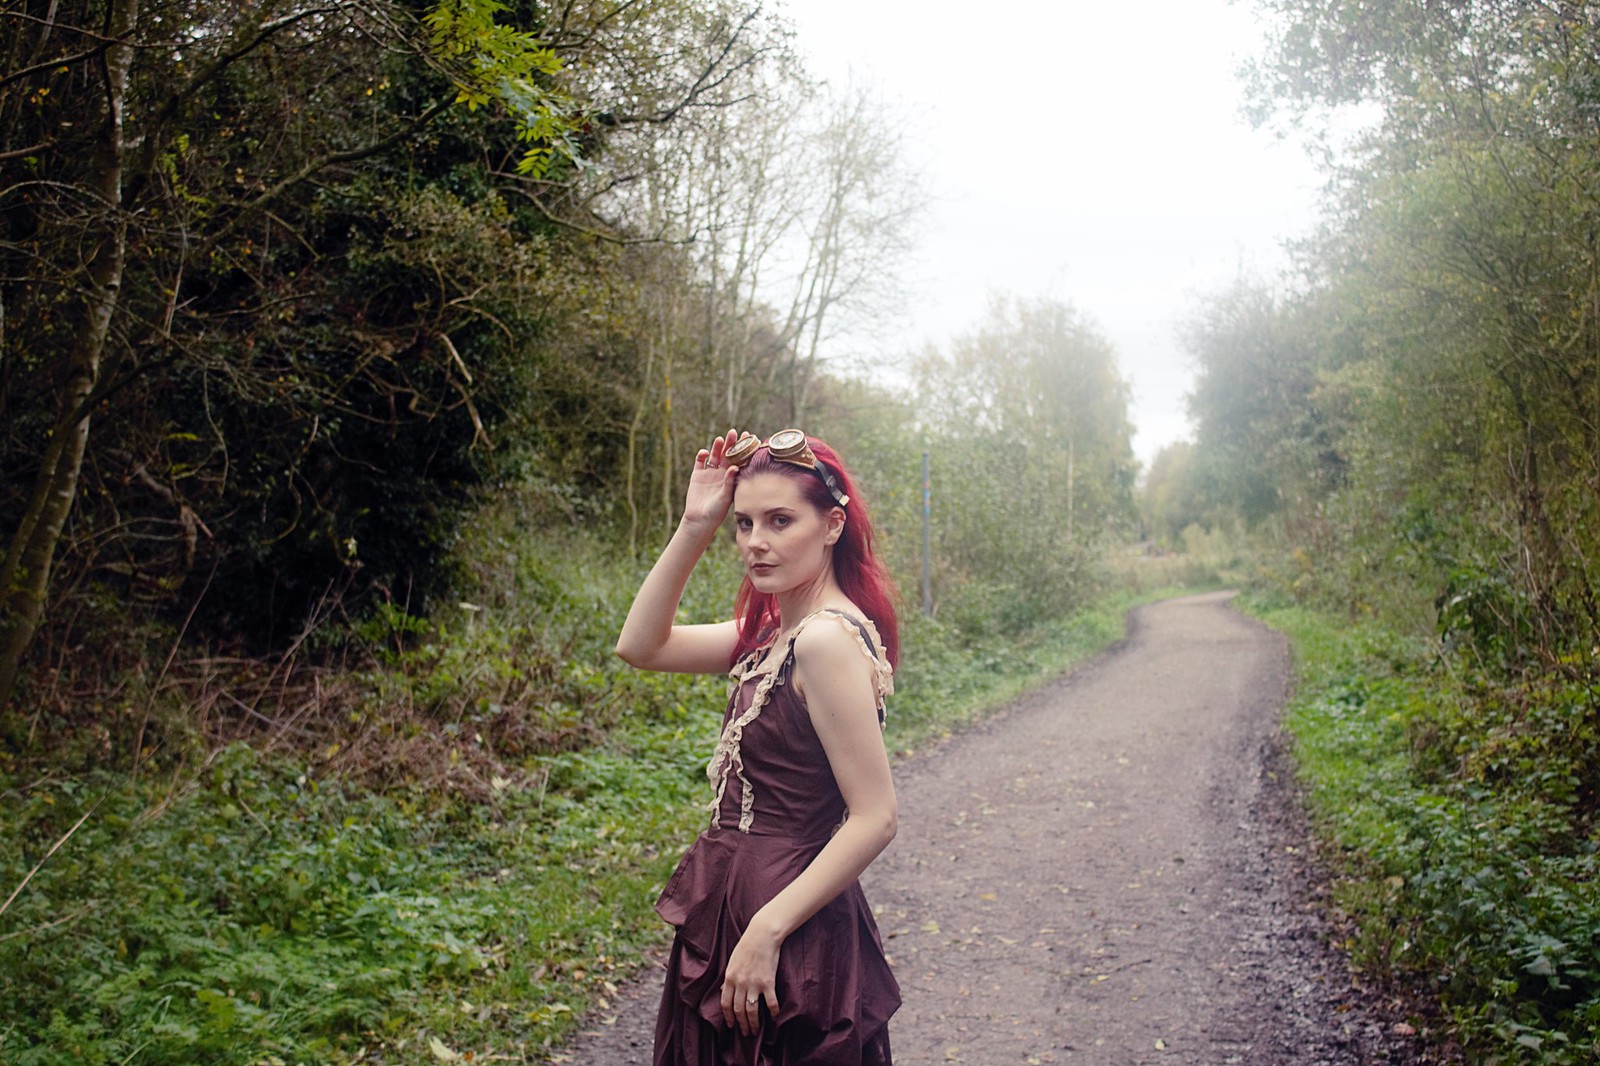
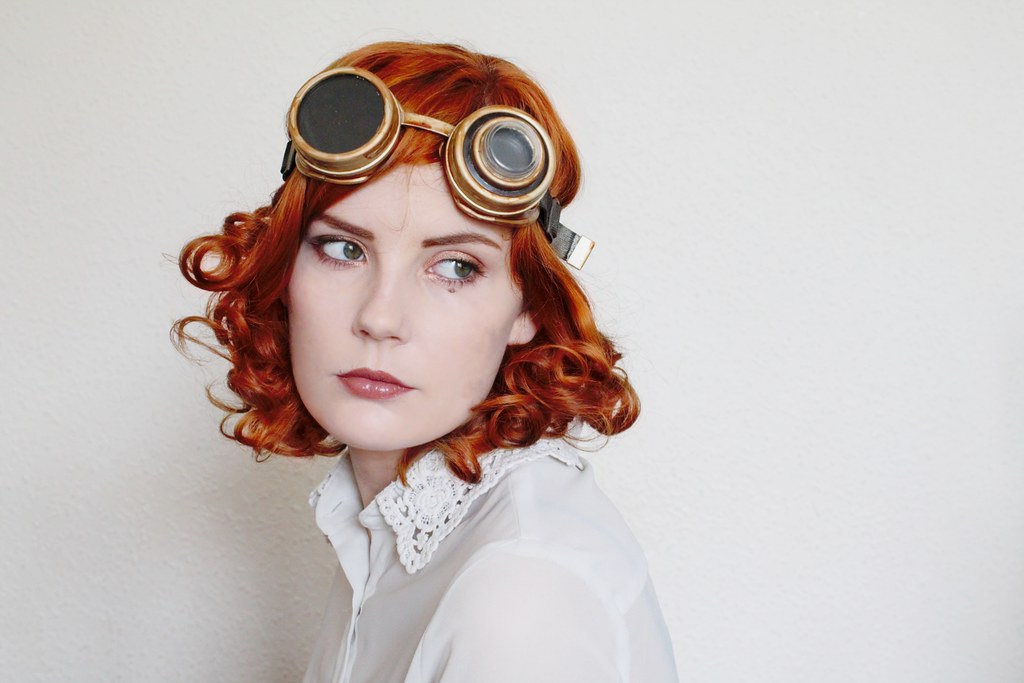
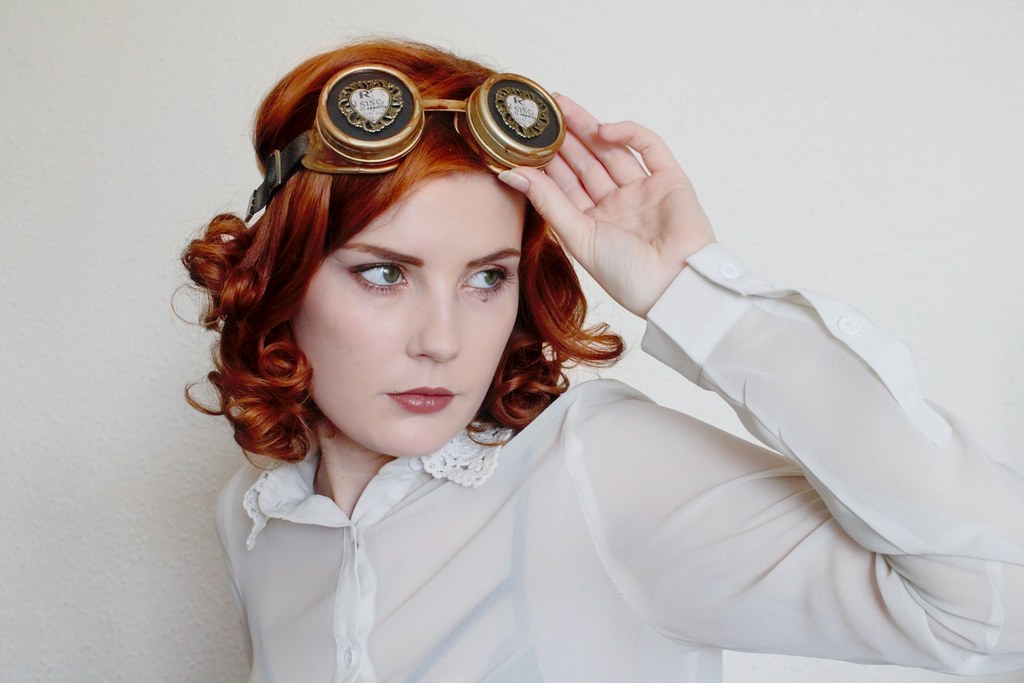
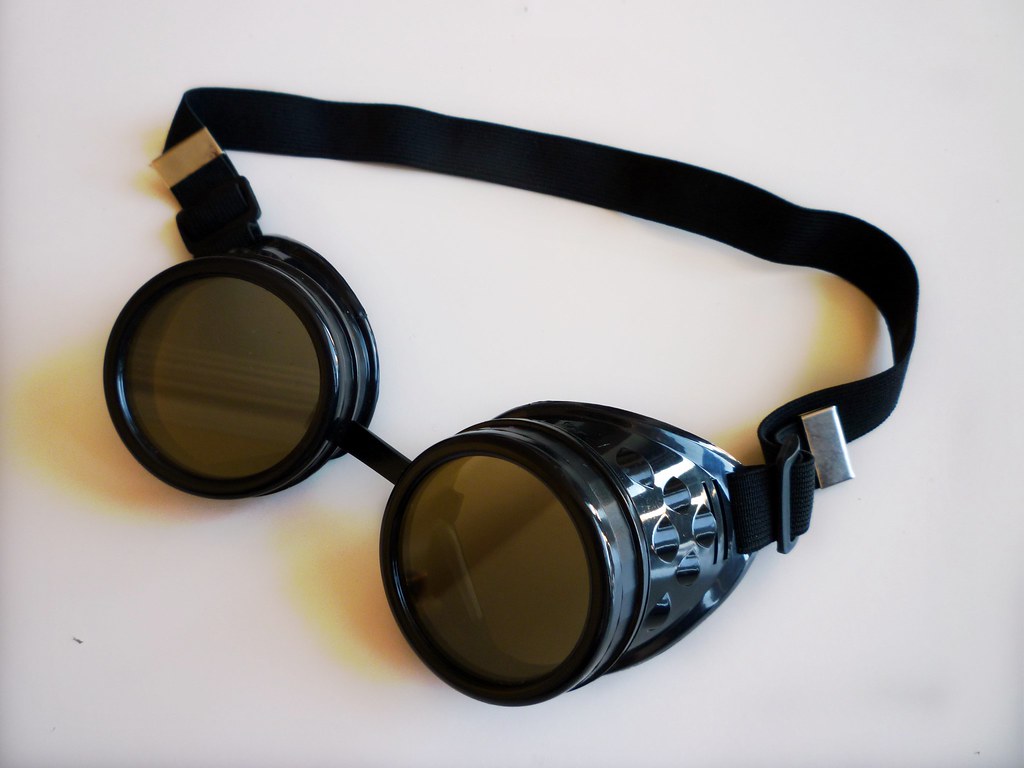
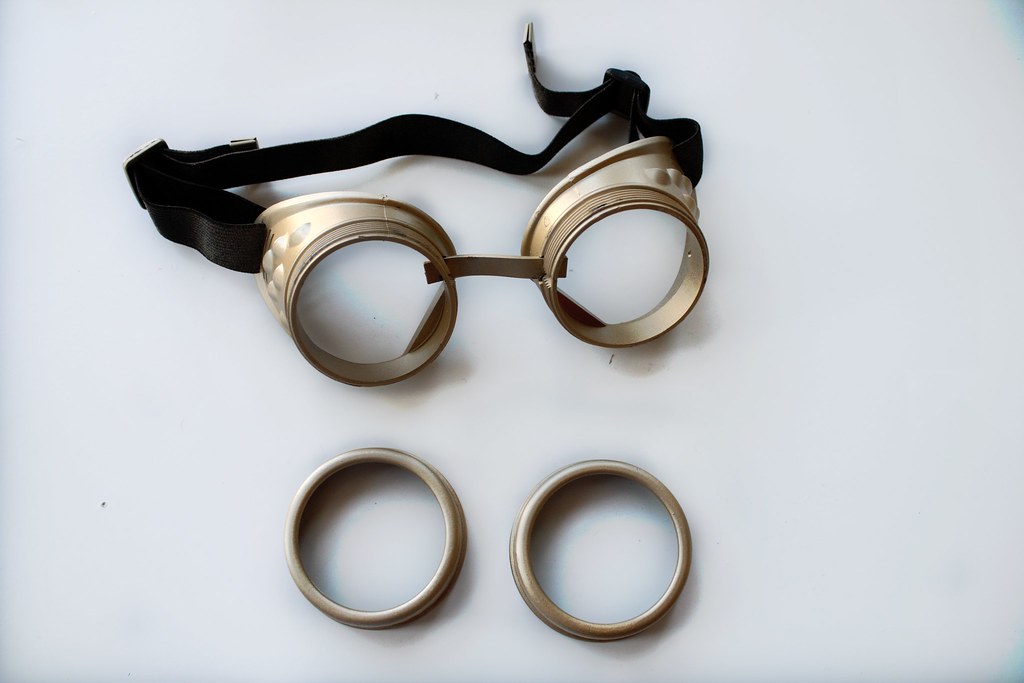
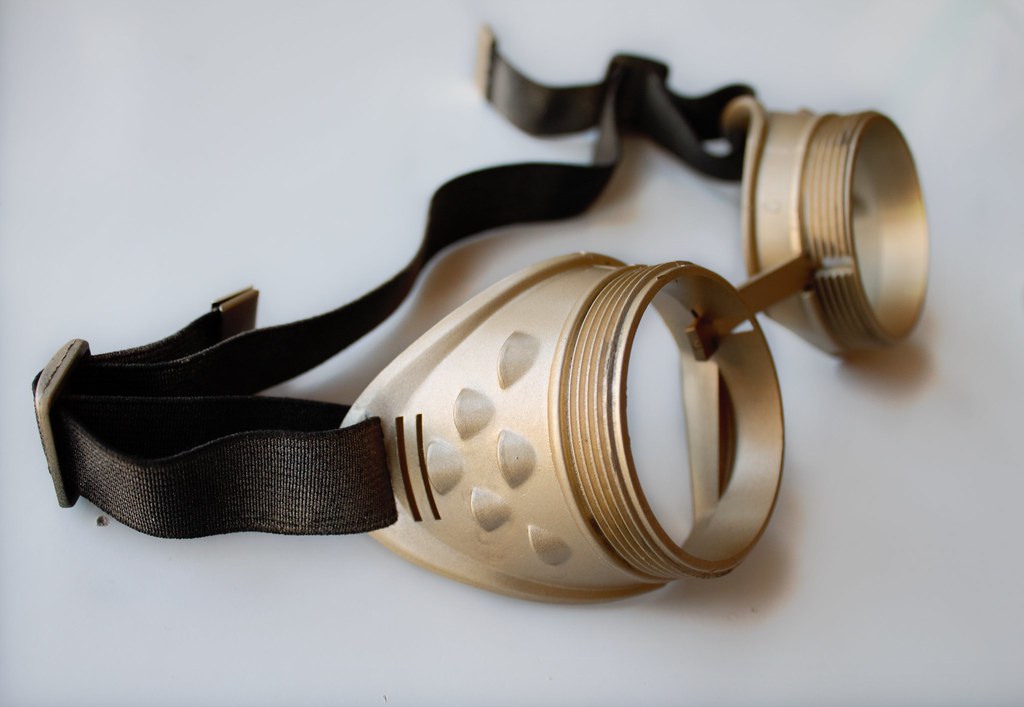
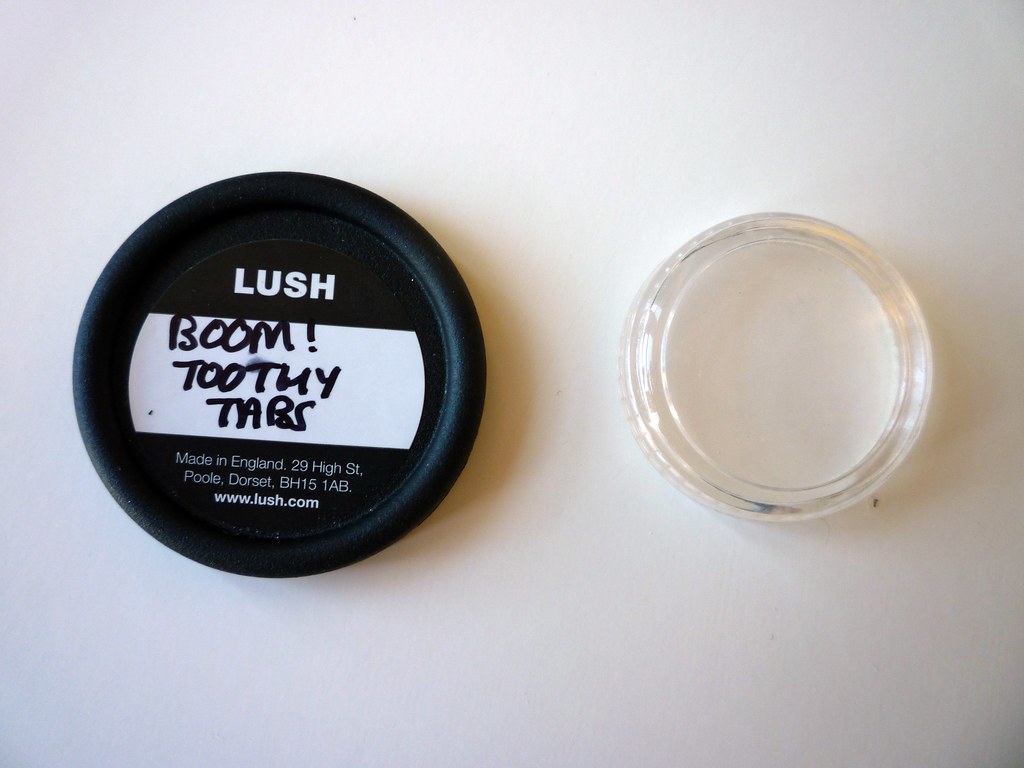
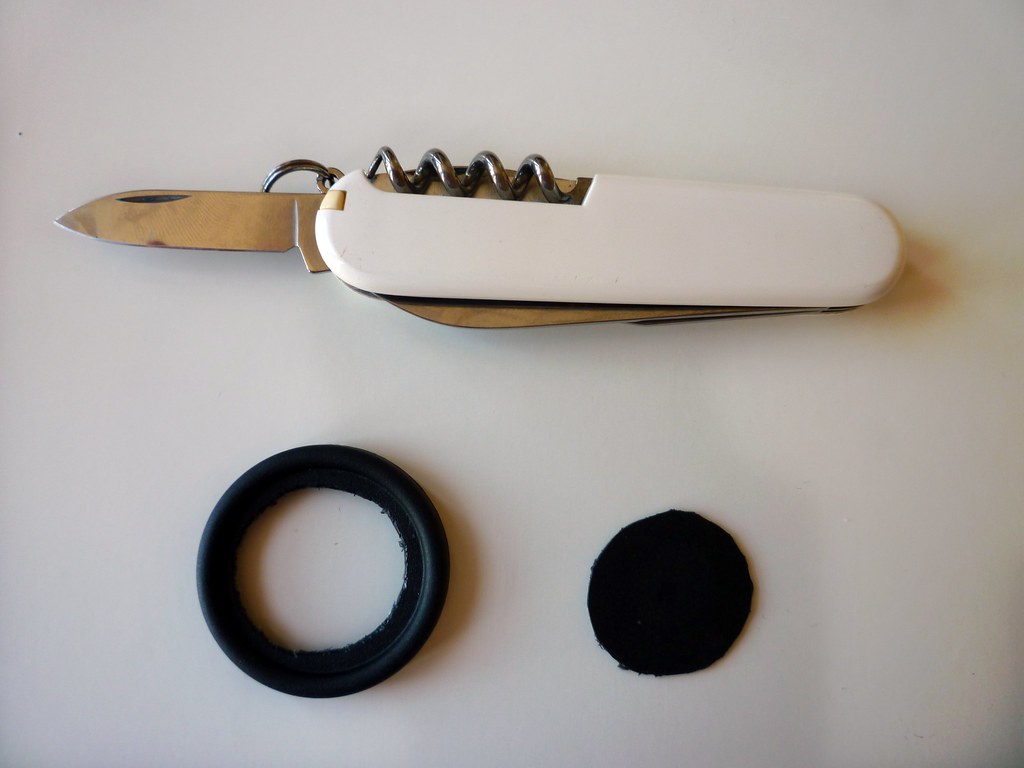
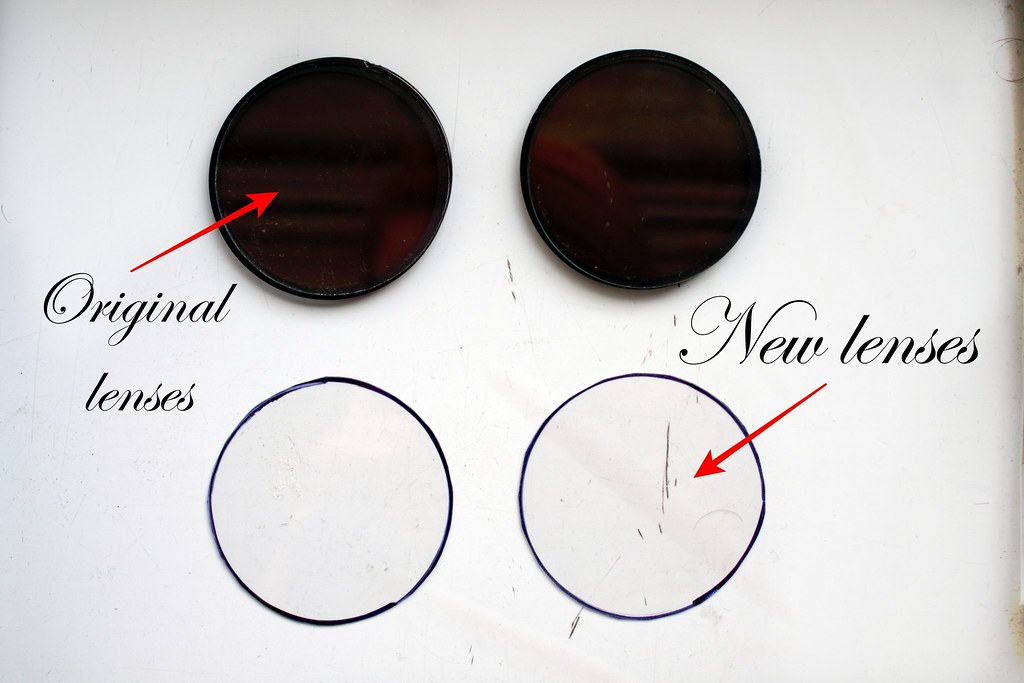
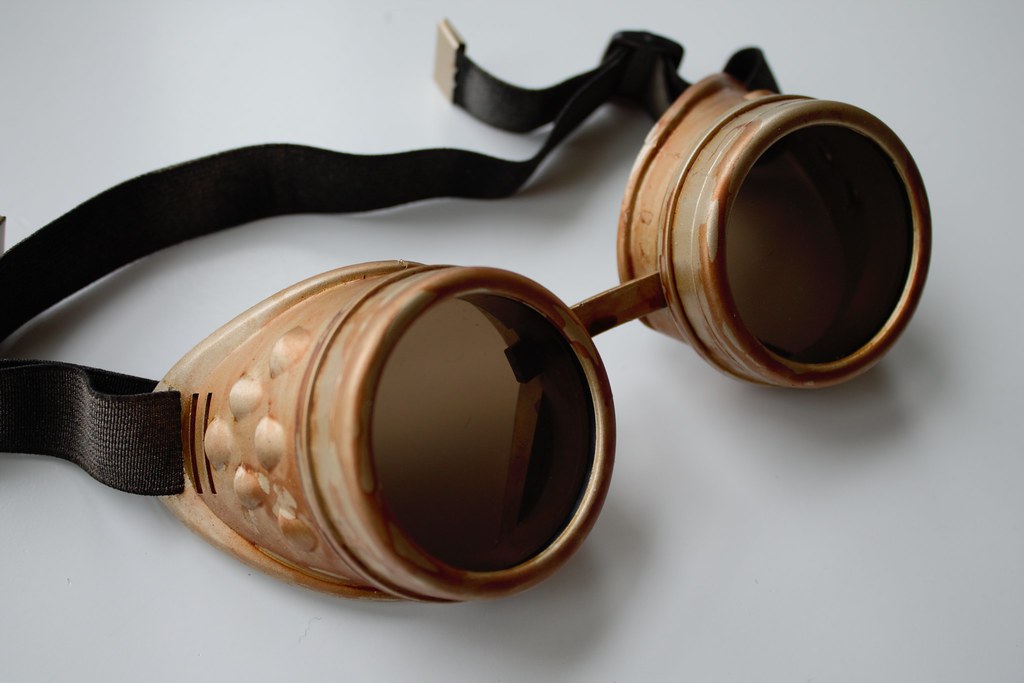
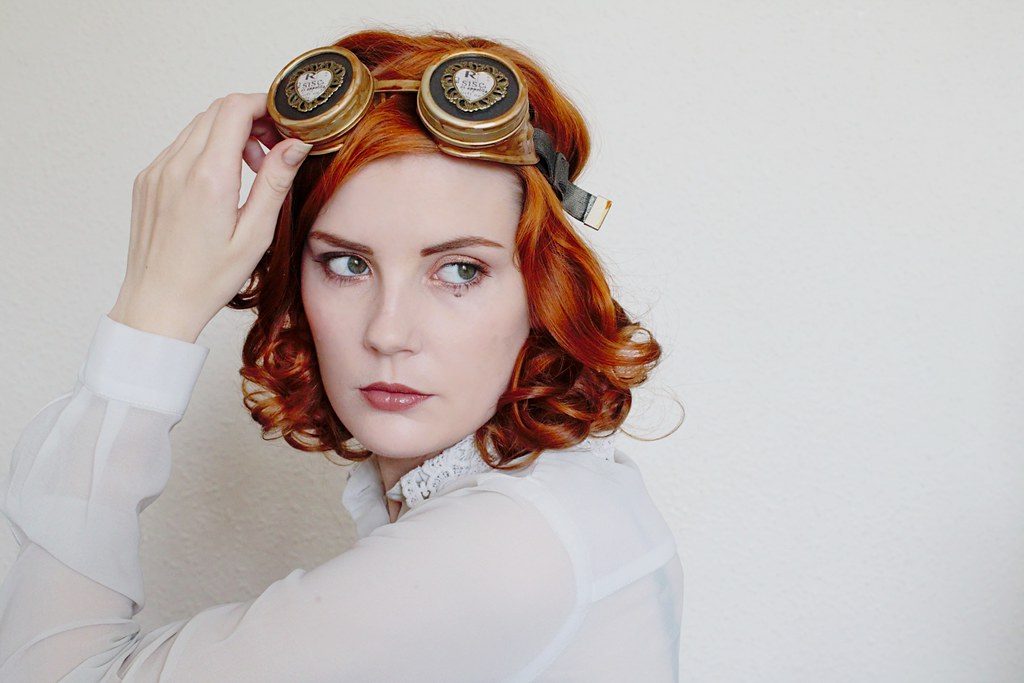
Goggles and pistol (made goggle lens insets myself) - Head Case Curios
Bag - Alchemy Gothic Aetheric Inclinometer Attache Bag from Blue Banana
Boots (just seen) - Vintage from Beyond Retro


Snowy Steampunk


Let's get social!
Facebook | Instagram | Pinterest
Bloglovin' | Twitter
Share
Tweet
Pin
Share
5 comments
For this week's Steampunk Saturdays post I have finally managed to get around to photographing my current most worn steampunk outfit featuring a western inspired dress from Spin Doctor.

Steampunk

Since I bought the dress, I've worn it to several different events and I really enjoy wearing it. I always wear it with my vintage western/Victorian style boots which I knew would be just perfect for steampunk outfits even though I wasn't attending any events when I bought them.

It was a bit nippy getting these photos so I'm not too sure how much more wear I'll get out of it this year, but I have worn it with a blouse underneath so that does help to make it just a little bit warmer.

A post shared by @helenmaegreen on Oct 4, 2017 at 4:18am PDT


Steampunk

I have a few additions and improvements in mind for the outfit for the future, including a gun (thigh holster maybe?) and saddlebags (something like this) so I have something to put my stuff in when I go out. I am also contemplating options for some additional jewellery - I usually wear the dress with my cog necklace but forgot to put it on for these photos. Here are some grainy mobile phone snaps so you can see what that looks like.


There are plenty of jewellery options available so the only problem will be choosing what to go for. Of course there are numerous online retailers and even a couple of physical shops locally where I will be able to look for jewellery, but I will also be the charity shops whenever possible for some more unique options.

Steampunk

Eventually I'd also like to upgrade my goggles as I've seen some amazing real leather and brass options which would be a really nice addition. That being said, I'm still really happy with my DIY ones for now.

Steampunk

Steampunk

Steampunk

Steampunk

A post shared by @helenmaegreen on Jul 26, 2017 at 12:46am PDT


Let's get social!
Facebook | Instagram | Pinterest
Bloglovin' | Twitter
Share
Tweet
Pin
Share
No comments

Last Saturday Iain and I headed over to the Subaquatic Steampunk Weekend at the Submarine Museum in Gosport. This was our first steampunk event that we have visited as a couple, so we were very excited about being able to dress up.

We started off our day by watching Victor and The Bully play their set, which we really enjoyed. We hadn't heard of Victor and The Bully prior to getting a flyer for the event but we checked them out on Youtube and really enjoyed their sound.

Subaquatic Steampunk Weekend

Here's a song we particularly like, called "The Devil's Got My Soul". Not all of their music has quite such an electroswing sound to it but it's all good, and you know I love me some electroswing anyway!


We also had the opportunity to see Mr. B The Gentleman Rhymer, whom some of you may have already heard of due to his also being known amongst the vintage community. Mr. B does "Chap-hop", which is sort of a Hip Hop parody (in this case played on a banjolele). If you enjoy Mr. B, you may also like Professor Elemental.

Subaquatic Steampunk Weekend

I think Mr. B was probably my favourite bit of our day out. He's very funny in between songs, not to mention his songs themselves are amusing. It's hard to choose a favourite song of his to show you (I strongly recommend checking him out on Youtube) but here is an acid house remix which was phenomenal:


We also had a great time looking round all the vendors. I didn't take many photos at all of the shopping (sadly really, because there was some wonderful stuff for sale). We both could have spent a lot of money but in the end we only came away with a top hat for Iain's costume. I also didn't take very many pictures of the other steampunks because I am always too shy to ask if I can take people's pictures, but if you are at all interested in steampunk I recommend having a look at other people's photos from the event on Flikr as there were some absolutely incredible costumes.

Subaquatic Steampunk Weekend

Subaquatic Steampunk Weekend

Subaquatic Steampunk Weekend

Subaquatic Steampunk Weekend

Subaquatic Steampunk Weekend

As for our own outfits, we did put them together on rather a tight budget but I think overall we did pretty well.We will both be upgrading these over time, but as with dressing in vintage clothing, it's something that you need to slowly build up and add to as you find pieces in the right style and size. I love a good charity shop scavenge, it's all part of the fun.

Subaquatic Steampunk Weekend

Subaquatic Steampunk Weekend

Subaquatic Steampunk Weekend

Subaquatic Steampunk Weekend

Subaquatic Steampunk Weekend

Subaquatic Steampunk Weekend

Subaquatic Steampunk Weekend
We were also captured a few times by other photographers. These first ones are by Steve Spurgin.

The Subaquatic Steampunk Weekend

The Subaquatic Steampunk Weekend

The Subaquatic Steampunk Weekend

The Subaquatic Steampunk Weekend

And this last couple are by Ross Underwood.


Share
Tweet
Pin
Share
No comments
You might remember from a couple of years ago (wow, is it really that long?) that for a while I ran a feature called 'Steampunk Saturdays', where I shared a few steampunk (or steampunk-inspired) looks, mostly put together using items I already owned. The series fizzled out after a while because I ran out of clothing that I already had which could be considered even loosely steampunk-y, but I'm very happy to say that I recently discovered that there's quite a large steampunk scene in my area and therefore I'm once again looking into becoming more involved with the subculture.

With that in mind, I am reinstating my Steampunk Saturdays feature. I will not be posting every Saturday, only when I have something new to blog about, and of course as with before this will not be replacing any of my normal vintage/retro content.

If you'd like to read any of my previous Steampunk Saturdays blog posts, you can do so here.

Without further ado, for my first post of the newly reinstated series I will be sharing a little DIY project I have just completed, working on creating a slick pair of brass goggles to add to my outfits. A pair of goggles is pretty much an essential for a lot of steampunk outfits, but the nicer and fancier designs can be quite expensive. Fortunately it's not too hard to make your own, from scratch if you're good at that sort of thing (there are tutorials online) or like I've done here using a cheap mass-produced pair as a base.

Here is the final product. The goggles have three sets of interchangeable lenses which I can swap out according to which set best matches my outfit.

Goggles

Goggles

Goggles

I started the process off with this pair of cheap black goggles, which I bought for £10 at Head Case Curios in Southsea. This style is readily available online and comes in a number of different colour combinations. As I wanted mine in my hands ready to go to an event, I decided against ordering them online and therefore made my choice from the stock that was available in the shop on the day I happened to go in. Starting off with a pair that was already brass-coloured would have made the process quicker, cheaper, and easier - but overall the black frame and dark lenses made for a pretty good neutral base to start from.

Goggles DIY

The first thing I did was to dismantle the goggles and remove the lenses in order to spray paint them gold. Unfortunately I couldn't manage to remove the strap without cutting it off, so I just left it in place. In the future I might remove it and change it for a leather strap or a ribbon, but it's fine for now. I used this gold spray paint, which was a brighter gold than the copper/brass tone I had wanted, but which did an excellent job of  covering the black plastic. I used about 2-3 coats of paint (it covered well in 2 coats but I had to touch up some bits that I'd missed), and here is what the goggles looked like once they'd been sprayed:

Goggles DIY

Goggles DIY

Next, I set about making my new lenses. When I first bought the goggles I knew I wanted to do something to them to make them look less plain and generic, and when I discovered by accident that the lenses are removable (in fact it appears you can buy different lenses for them online), I decided it wouldn't be too difficult to make my own. My first idea was for a zoom lens, which I initially wanted to attach so that it would either flip up and down from the top of one of the lenses (similar to this), or for it to stand out a bit from the lens (something like this). In the end I couldn't find all the parts I needed to make either of these ideas work, but by then I had come up with the idea of making my own lenses so was able to change my plans accordingly.

To make the zoom lens itself, I used the lid from a Lush sample container for the frame and the lid from a clear plastic loose eyeshadow container (that just happened to fit perfectly inside the rim of the other lid) for the lens. I used a pen knife to cut a hole out of the centre of the larger black lid making sure to leave a small margin to attach the clear lid to.

Goggles DIY

Goggles DIY

For the new large lens (to attach the zoom lens to), I traced around the original lenses from the goggles onto some clear plastic packaging and cut the lenses out.

Goggles DIY

I then left the zoom lens alone for a while because I knew I wanted to work on that a little more, and instead I assembled the other decorative lenses.

I had found these very cool and perfectly steampunk-appropriate stickers in Poundland: Goggles DIY

The sticky part on the back of them wasn't good enough to properly fix them onto the new lenses so I just superglued them instead. Here's what they look like all glued together:

Goggles DIY

I sprayed the black rim from the zoom lens with the same gold paint as the other parts and then started to work on the finish, darkening and weathering the gold paint. I started off applying and then immediately wiping off a strong coffee solution to dirty and weather the surface of the paint. You can see Adam Savage using the technique at the end of this Tested video. In short, I just made up a strong instant coffee solution, applied a thick layer to the surface using a paper towel and then immediately wiped it off again with a dry paper towel. This causes the coffee to sink into any little cracks/edges/recesses etc and leave a dirty and old-looking finish.

Goggles DIY

After a few layers of coffee I decided that the effect of the coffee was a bit too subtle, so I hit it with a layer of reddish brown acrylic wash paint (I used Citadel Reikland Fleshshade) and left it to dry for a few minutes before decided it was too much. I ended up taking the coffee solution again to wipe away some of the acrylic paint to tone it back down again.

This left me with the following weathered/corroded looking finish with the bright gold having been darkened quite nicely to a much more brassy colour.

Goggles DIY

Last of all, I glued my zoom lens together:

Goggles DIY

So, that's it! Drab to pretty fab, if I do say so myself. I may add to these in the future but for now I'm pretty happy with how they came out, especially as a first attempt.

I'll be back soon with another installation of Steampunk Saturdays. Leave me a comment if you have enjoyed this post and let me know what other steampunk things you'd like to see in the future!

Goggles

Let's get social!
Facebook | Instagram | Pinterest
Bloglovin' | Twitter
Share
Tweet
Pin
Share
2 comments
Older Posts

About me


recent posts

Blog Archive

  • ▼  2019 (1)
    • ▼  March (1)
      • Headshots
  • ►  2018 (19)
    • ►  December (2)
    • ►  November (2)
    • ►  September (1)
    • ►  July (1)
    • ►  May (1)
    • ►  April (2)
    • ►  March (4)
    • ►  February (4)
    • ►  January (2)
  • ►  2017 (56)
    • ►  December (4)
    • ►  November (4)
    • ►  October (5)
    • ►  September (4)
    • ►  August (3)
    • ►  July (5)
    • ►  June (4)
    • ►  May (5)
    • ►  April (5)
    • ►  March (4)
    • ►  February (7)
    • ►  January (6)
  • ►  2016 (56)
    • ►  December (7)
    • ►  November (3)
    • ►  October (5)
    • ►  September (4)
    • ►  August (5)
    • ►  July (3)
    • ►  June (6)
    • ►  May (5)
    • ►  April (4)
    • ►  March (4)
    • ►  February (5)
    • ►  January (5)
  • ►  2015 (96)
    • ►  December (9)
    • ►  November (8)
    • ►  October (7)
    • ►  September (6)
    • ►  August (7)
    • ►  July (9)
    • ►  June (6)
    • ►  May (4)
    • ►  April (10)
    • ►  March (9)
    • ►  February (10)
    • ►  January (11)
  • ►  2014 (103)
    • ►  December (9)
    • ►  November (8)
    • ►  October (8)
    • ►  September (9)
    • ►  August (11)
    • ►  July (8)
    • ►  June (9)
    • ►  May (12)
    • ►  April (6)
    • ►  March (8)
    • ►  February (7)
    • ►  January (8)
  • ►  2013 (83)
    • ►  December (8)
    • ►  November (7)
    • ►  October (8)
    • ►  September (11)
    • ►  August (9)
    • ►  July (7)
    • ►  June (6)
    • ►  May (4)
    • ►  April (7)
    • ►  March (9)
    • ►  February (4)
    • ►  January (3)
  • ►  2012 (14)
    • ►  December (2)
    • ►  November (1)
    • ►  October (2)
    • ►  September (3)
    • ►  August (6)

Featured Topics

Outfits
Urbex
Steampunk

Popular

  • Sunday
    Sunday
  • Potting Shed
    Potting Shed
  • Lou Lou's Vintage Fair at The Albert Hall
    Lou Lou's Vintage Fair at The Albert Hall
  • Outfit: Leopard and Emerald
    Outfit: Leopard and Emerald
  • Wuthering Heights
    Wuthering Heights
Vintage Queen Number 134


VintageSearch

Created with by BeautyTemplates| Distributed By Gooyaabi Templates